S T E P 2 0
Secure the second row seat belt, that was removed in STEP 8.
S T E P 2 1
Secure the third row seat belt, that was removed in STEP 7.
3.25-inches
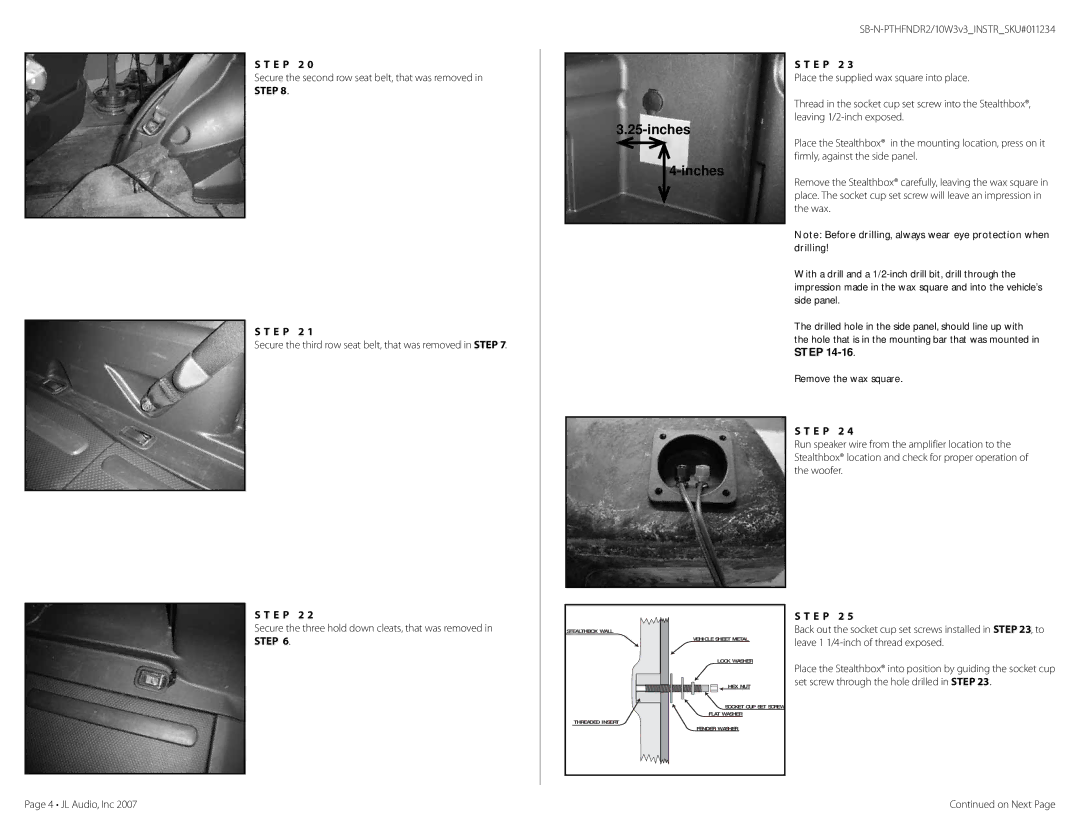
S T E P 2 3
Place the supplied wax square into place.
Thread in the socket cup set screw into the Stealthbox®, leaving
Place the Stealthbox® in the mounting location, press on it firmly, against the side panel.
Remove the Stealthbox® carefully, leaving the wax square in place. The socket cup set screw will leave an impression in the wax.
Note: Before drilling, always wear eye protection when drilling!
With a drill and a
The drilled hole in the side panel, should line up with the hole that is in the mounting bar that was mounted in STEP
Remove the wax square.
S T E P 2 4
Run speaker wire from the amplifier location to the Stealthbox® location and check for proper operation of the woofer.
S T E P 2 2
Secure the three hold down cleats, that was removed in STEP 6.
STEALTHBOX WALL |
VEHICLE SHEET METAL |
LOCK WASHER |
HEX NUT |
SOCKET CUP SET SCREW |
FLAT WASHER |
THREADED INSERT |
FENDER WASHER |
S T E P 2 5
Back out the socket cup set screws installed in STEP 23, to leave 1
Place the Stealthbox® into position by guiding the socket cup set screw through the hole drilled in STEP 23.
Page 4 • JL Audio, Inc 2007 | Continued on Next Page |
