ASSEMBLY
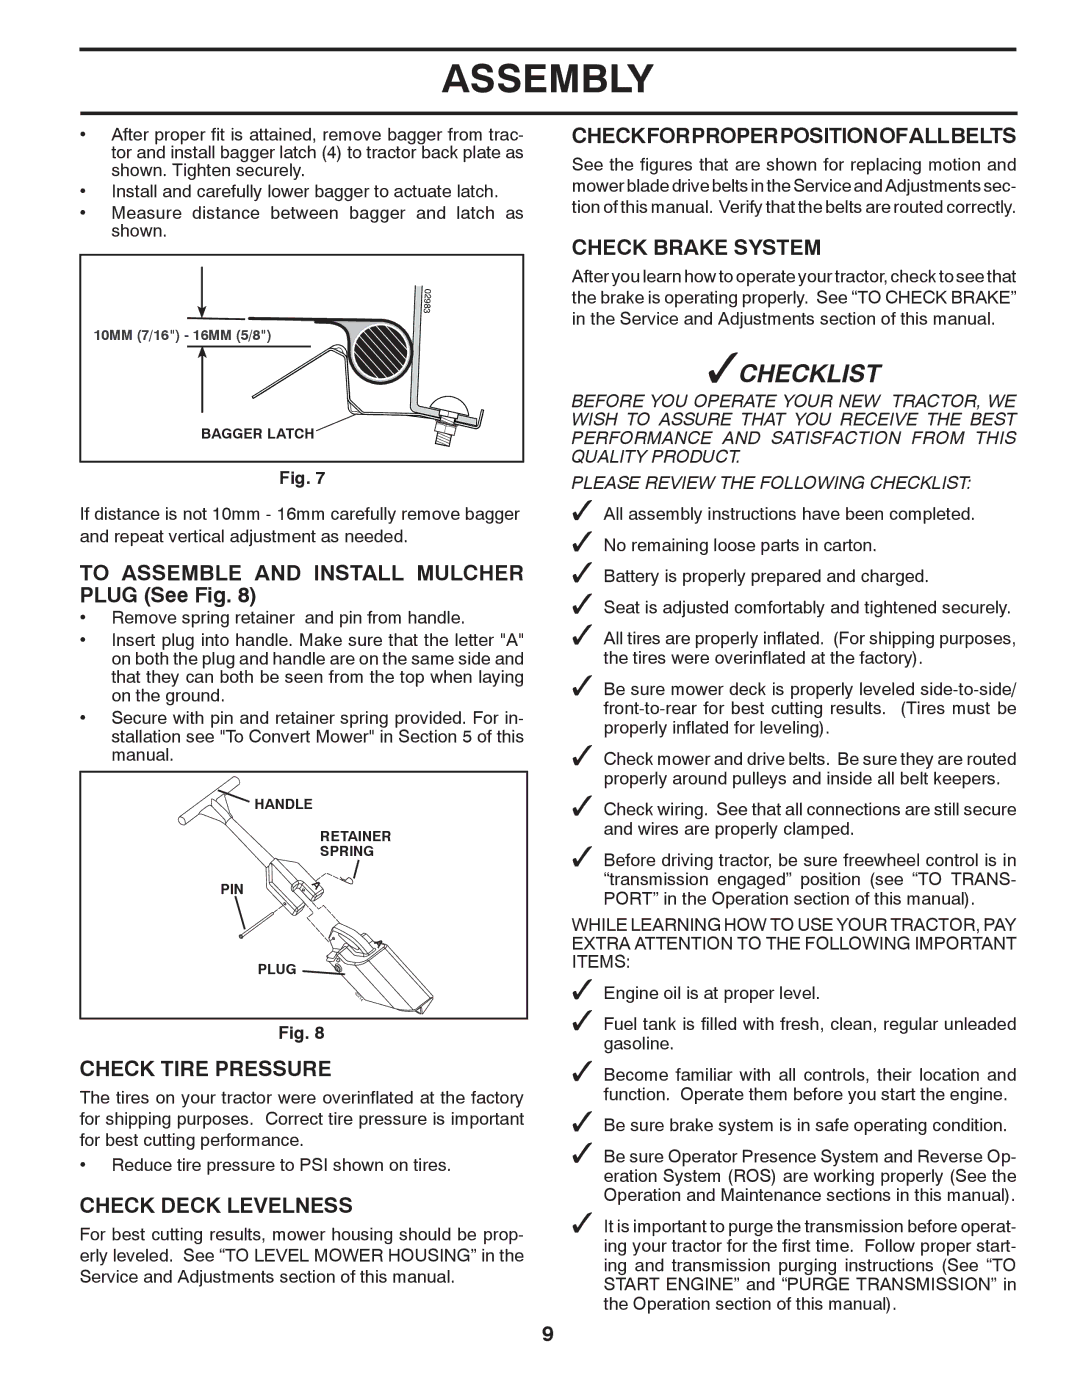
•After proper fit is attained, remove bagger from trac- tor and install bagger latch (4) to tractor back plate as shown. Tighten securely.
•Install and carefully lower bagger to actuate latch.
•Measure distance between bagger and latch as shown.
02983
10MM (7/16") - 16MM (5/8")
BAGGER LATCH
Fig. 7
If distance is not 10mm - 16mm carefully remove bagger and repeat vertical adjustment as needed.
TO ASSEMBLE AND INSTALL MULCHER PLUG (See Fig. 8)
•Remove spring retainer and pin from handle.
•Insert plug into handle. Make sure that the letter "A" on both the plug and handle are on the same side and that they can both be seen from the top when laying on the ground.
•Secure with pin and retainer spring provided. For in- stallation see "To Convert Mower" in Section 5 of this manual.
![]() HANDLE
HANDLE
RETAINER
SPRING
PIN | A |
![]() A
A
PLUG ![]()
0 2 2 1 4
Fig. 8
CHECK TIRE PRESSURE
The tires on your tractor were overinflated at the factory for shipping purposes. Correct tire pressure is important for best cutting performance.
•Reduce tire pressure to PSI shown on tires.
CHECK DECK LEVELNESS
For best cutting results, mower housing should be prop- erly leveled. See “TO LEVEL MOWER HOUSING” in the Service and Adjustments section of this manual.
CHECKFORPROPERPOSITIONOFALLBELTS
See the figures that are shown for replacing motion and mower blade drive belts in the Service and Adjustments sec- tion of this manual. Verify that the belts are routed correctly.
CHECK BRAKE SYSTEM
After you learn how to operate your tractor, check to see that the brake is operating properly. See “TO CHECK BRAKE” in the Service and Adjustments section of this manual.
✓CHECKLIST
BEFORE YOU OPERATE YOUR NEW TRACTOR, WE WISH TO ASSURE THAT YOU RECEIVE THE BEST PERFORMANCE AND SATISFACTION FROM THIS QUALITY PRODUCT.
PLEASE REVIEW THE FOLLOWING CHECKLIST:
✓All assembly instructions have been completed.
✓No remaining loose parts in carton.
✓Battery is properly prepared and charged.
✓Seat is adjusted comfortably and tightened securely.
✓All tires are properly inflated. (For shipping purposes, the tires were overinflated at the factory).
✓Be sure mower deck is properly leveled
✓Check mower and drive belts. Be sure they are routed properly around pulleys and inside all belt keepers.
✓Check wiring. See that all connections are still secure and wires are properly clamped.
✓Before driving tractor, be sure freewheel control is in “transmission engaged” position (see “TO TRANS- PORT” in the Operation section of this manual).
WHILE LEARNING HOW TO USE YOUR TRACTOR, PAY EXTRA ATTENTION TO THE FOLLOWING IMPORTANT ITEMS:
✓Engine oil is at proper level.
✓Fuel tank is filled with fresh, clean, regular unleaded gasoline.
✓Become familiar with all controls, their location and function. Operate them before you start the engine.
✓Be sure brake system is in safe operating condition.
✓Be sure Operator Presence System and Reverse Op- eration System (ROS) are working properly (See the Operation and Maintenance sections in this manual).
✓It is important to purge the transmission before operat- ing your tractor for the first time. Follow proper start- ing and transmission purging instructions (See “TO START ENGINE” and “PURGE TRANSMISSION” in the Operation section of this manual).
9