
JKXT12W specifications
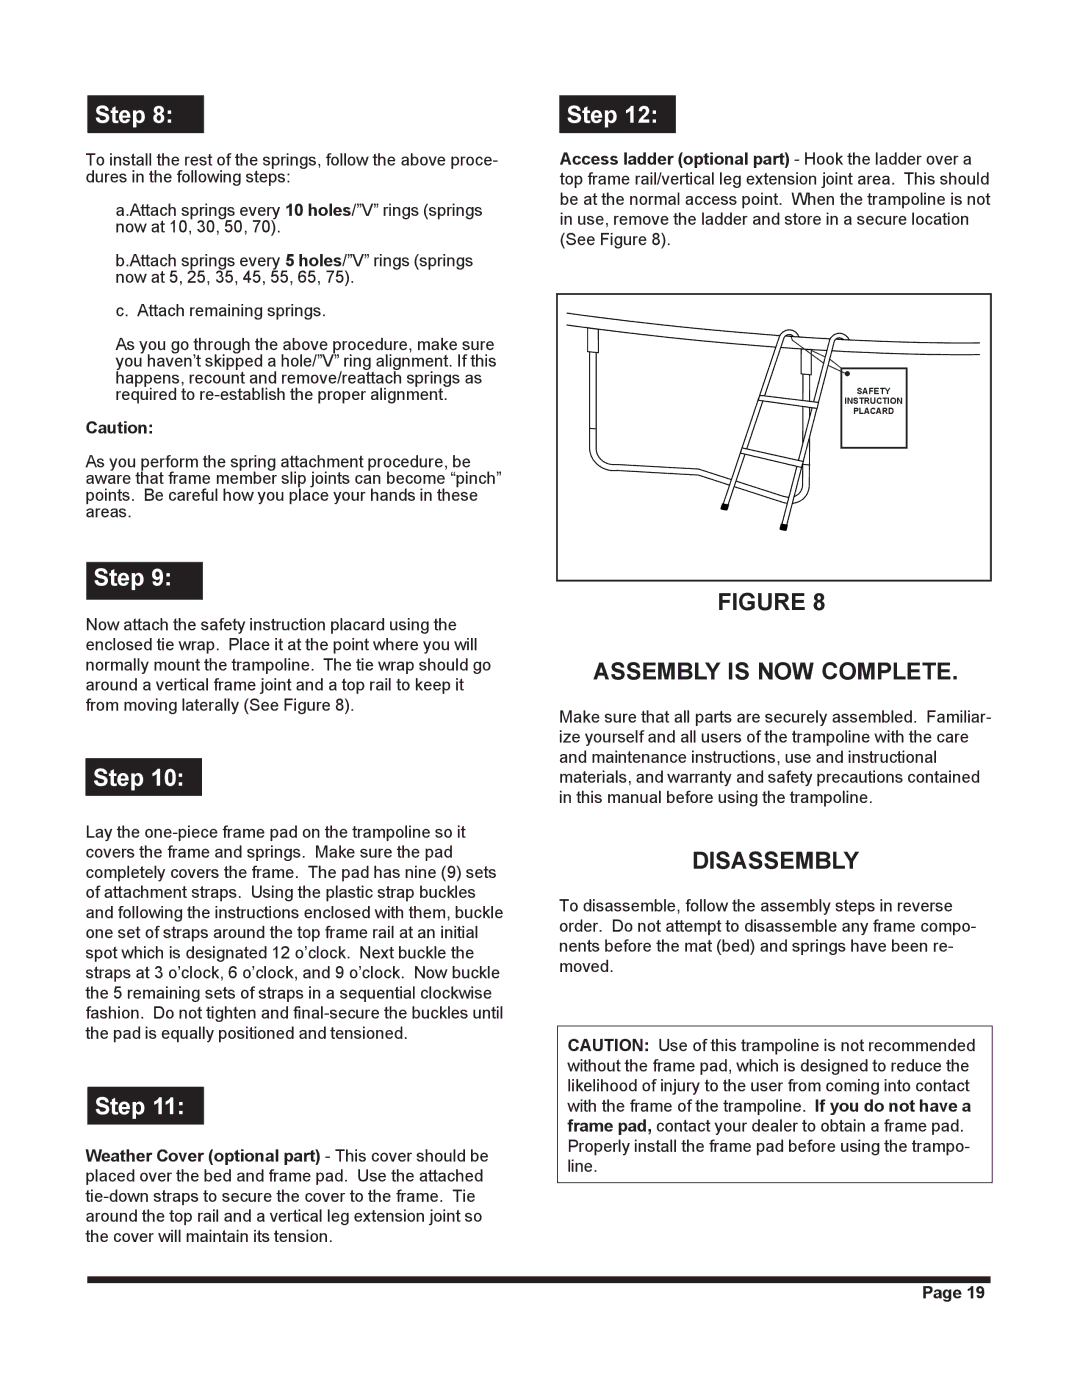
The Jumpking JKXT12W is a top-tier trampoline designed for recreational use, catering to both young jumpers and adults seeking a fun way to engage in physical activity. Measuring 12 feet in diameter, this trampoline stands out with its innovative design and robust features that ensure safety and durability during use.One of the key highlights of the JKXT12W is its advanced safety features. The trampoline is equipped with an enclosed safety net that provides a secure bouncing environment. This net is made from weather-resistant materials, ensuring longevity under various weather conditions. The net is designed to keep jumpers safely contained while allowing for clear visibility, thereby minimizing the risk of falls. Furthermore, the trampoline includes padded foam poles that provide additional protection against accidental impacts.
The construction of the JKXT12W focuses heavily on quality and strength. Its frame is made from heavy-duty galvanized steel, which not only prevents rust but also enhances structural integrity. The frame is supported by reinforced legs that provide additional stability on uneven surfaces. This robust construction ensures that the trampoline can handle the weight and energy of multiple jumpers at once.
The jump surface is another critical aspect of the JKXT12W. It features high-quality jumping mat made from UV-resistant polypropylene, designed to withstand prolonged exposure to sunlight without fading or degrading. The mat's design ensures a superior bounce while providing ample support for users of all sizes. Moreover, the trampoline is equipped with a series of 84 high-tension springs that improve the elasticity of the jump surface and deliver an exhilarating bouncing experience.
Ease of assembly is a significant advantage of the JKXT12W. The trampoline comes with a clear assembly guide that includes color-coded parts for a straightforward setup process. Most users can complete the assembly in a few hours with minimal tools, making it an accessible option for families eager to get active.
Overall, the Jumpking JKXT12W combines safety, durability, and performance, making it an excellent choice for anyone looking to enhance their outdoor fun. Its innovative design ensures a safe and entertaining experience, promoting active play for users of all ages. Whether used for exercise or simply enjoying time with family and friends, the JKXT12W is poised to deliver endless enjoyment.