10![]()
![]()
![]() EN
EN![]()
![]()
![]()
![]()
![]()
![]()
![]()
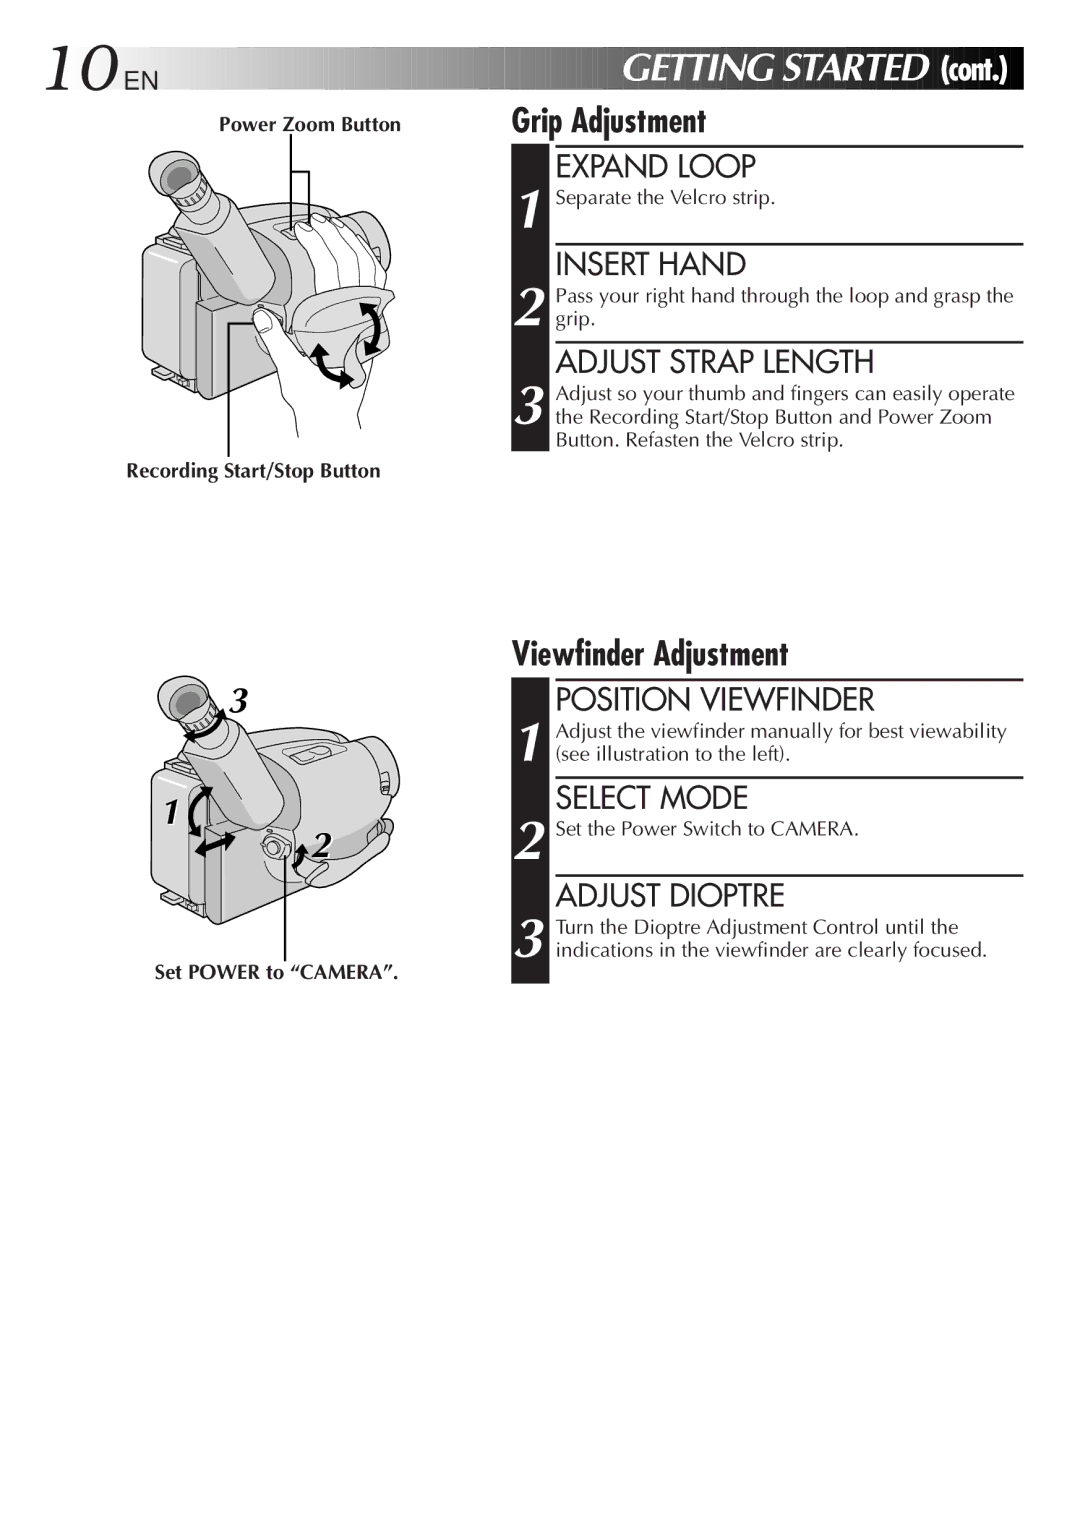
Power Zoom Button


 GETTING
 STARTED
 (cont.)


Grip Adjustment
EXPAND LOOP
1 Separate the Velcro strip.
INSERT HAND
2 Pass your right hand through the loop and grasp the grip.
ADJUST STRAP LENGTH
3 Adjust so your thumb and fingers can easily operate the Recording Start/Stop Button and Power Zoom Button. Refasten the Velcro strip.
Recording Start/Stop Button
![]() 3
3
1![]()
2
Set POWER to “CAMERA”.
Viewfinder Adjustment
POSITION VIEWFINDER
1 Adjust the viewfinder manually for best viewability (see illustration to the left).
SELECT MODE
2 Set the Power Switch to CAMERA.
ADJUST DIOPTRE
3 Turn the Dioptre Adjustment Control until the indications in the viewfinder are clearly focused.