CAUTION: If the Unit is unplugged, or a power failure occurs, the timer setting will be erased in a few days. If the settings are erased in this way, reset the timer settings.

Setting the Recording Timer

With the Recording Timer you can make a tape of a radio broadcast automatically whether or not you are home. For the timer to work correctly, you need to make sure of the following in addition to setting the time for the Tuner and Cassette Deck to come on:

You can set the Recording Timer whether the Unit is on or off. The tape you want to record onto must be in Deck B.

Procedure for Setting the Recording Timer

1. Press TIMER/CLOCK repeatedly until “REC” appears on the display.

The REC indicator flashes on the display.

Each time you press the button, the timer setting indication changes as follows:

DAILY = ON TIME (flashes) = REC = ON TIME (flashes) = Clock setting = Cancelled (current source) =(back to the beginning)

Note: If the clock has not been set, even if TIMER/CLOCK is pressed you cannot select the Recording

Timer.

2. Press TIMER/CLOCK again.

After “ON TIME” flashes for 2 seconds, it switches to the time setting display.

3. Set the time you want the Unit to be turned on.

Press 4 P. DOWN or ¢P. UP on the MULTI CONTROL to adjust the hours and press SET. Then press 4P. DOWN or ¢ P. UP to adjust the minutes and press SET .

4. Set the time you want the Unit to be turned off.

Press 4 P. DOWN or ¢P. UP on the MULTI CONTROL to adjust the hours and press SET. Then press 4 P. DOWN or ¢P. UP to adjust the minutes and press SET.

5. Select the Recording band.

Press 4 P. DOWN or ¢ P. UP on the MULTI CONTROL to select “TUNER FM” or “TUNER

AM” and press SET.

6. Select the preset channel for the station to be recorded.

Press 4 P. DOWN or ¢P. UP on the MULTI CONTROL to select.

7. Press SET.

The REC indicator stops flashing and remains lit. The on-time, off-time, and Recording band (“TUNER FM” or “TUNER AM”) appear on the display.

Turn the power off if you made the timer settings with the power turned on.

A few seconds before the on-time for the recording, the Unit automatically turns on the power. When the on-time comes, recording starts using the selected source. A few seconds before the off-time, “OFF” flashes on the display. When the off-time comes, the power is automatically turned off.

Before the timer starts

Check that tape direction is correct. This is important especially when Reverse Mode is off.

Set Reverse Mode on if you want to record on both sides of the tape.

The volume level is automatically set to 0 when Recording Timer starts.

It is very easy, and can be very disappointing, to forget to put in a tape, or to accidentally leave a tape in Deck B you don’t want recorded over. Although this happens to almost everyone at one time or another, we hope it won’t happen to you!

To change the Recording Timer setting

Repeat the setting procedure from the beginning.

English

39

Page 43
Image 43
JVC CA-D752TR manual Setting the Recording Timer

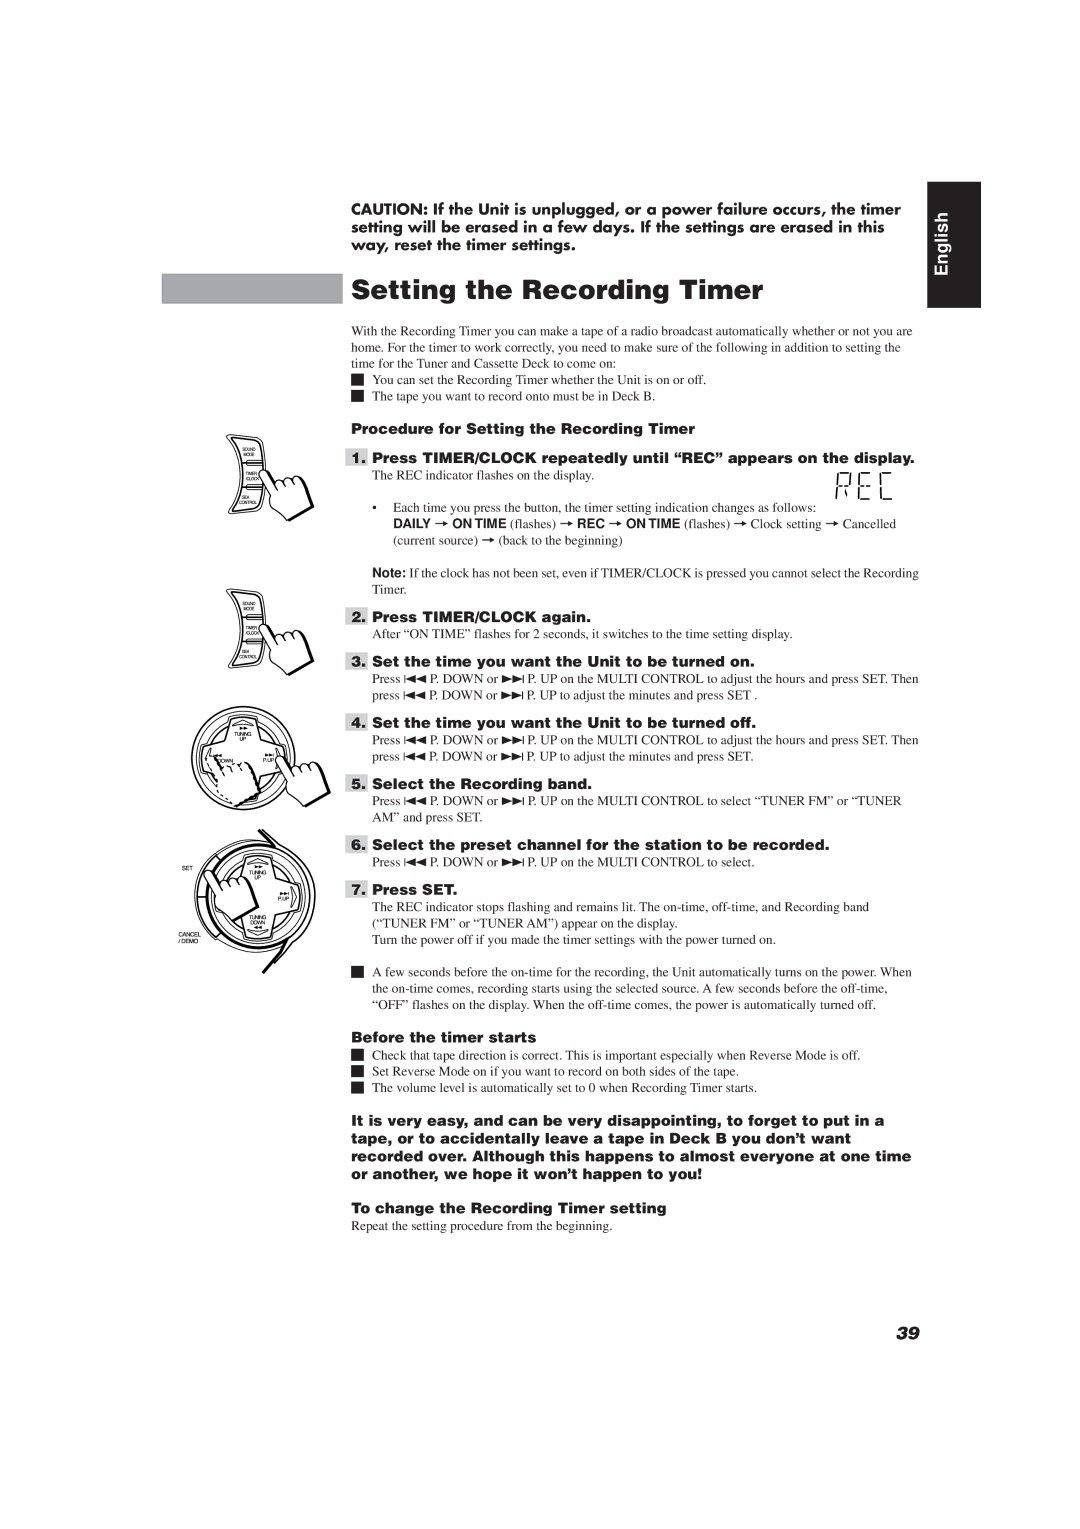
CA-D752TR specifications

The JVC CA-D752TR is a versatile and compact stereo system that delivers impressive sound quality and a plethora of features for music enthusiasts. Designed for modern convenience and aesthetic appeal, this system integrates various playback options, making it ideal for both casual listeners and audiophiles.

One of the standout features of the CA-D752TR is its robust audio performance. Equipped with a powerful amplifier and high-quality speakers, it produces clear and dynamic sound across different music genres. Its output power ensures that it can fill a room with rich audio without distortion, making it suitable for parties or quiet evenings at home.

The system comes with integrated CD playback capability, allowing users to enjoy their favorite CDs with ease. It supports various disc formats, ensuring compatibility with a wide range of media. Additionally, the CA-D752TR features an FM/AM tuner, enabling users to listen to local radio stations, further expanding their listening options.

Incorporating modern technology, the JVC CA-D752TR includes Bluetooth connectivity, allowing for wireless streaming from smartphones, tablets, or other Bluetooth-enabled devices. This feature enhances the user experience by providing the flexibility to play music from apps or playlists without the need for physical connections. Furthermore, it supports USB playback, providing another convenient way to access digital music files.

Another notable characteristic of the CA-D752TR is its user-friendly interface. The system is equipped with an intuitive remote control and clear display, making navigation through tracks and settings seamless. It also includes multiple audio input options, such as auxiliary ports, ensuring compatibility with various devices.

The design of the JVC CA-D752TR is sleek and modern, making it an attractive addition to any home environment. Its compact size allows for easy placement in various settings, whether it be on a shelf, desk, or entertainment center.

Overall, the JVC CA-D752TR stands out as a multifunctional stereo system that combines quality sound performance with modern technology and convenience. Its feature-rich design, including CD playback, Bluetooth streaming, and auxiliary inputs, makes it a great choice for anyone looking to enhance their audio experience at home. Whether hosting a gathering or enjoying a quiet night in, the CA-D752TR caters to a variety of audio needs with style and functionality.