English
Auto Edit Recording
By using Auto Edit Recording, you can record the CD tracks to fit the tape. Auto Edit Recording makes a program by selecting the CD tracks in numerical order. However, to prevent the end of the last track on the front side from being cut off, the last track is selected so as to fit on the remaining tape length.
On the unit ONLY:
1 Load CDs.
•If the current playing source is not the CD player, press CD £·8, then 7before going to the next step.
2 Press EDIT.
![]() 1
1 ![]() 2
2 ![]() 3
3 ![]()
3 Press the disc number button | 3 | ||
|
|
| |
(CD1 to CD3) for the disc you | 2 | ||
want to record from. |
| 1 | |
|
|
| |
1 | 2 | 3 |
|
![]() 1
1 ![]() 2
2 ![]() 3
3 ![]()
The optimum tape length for the disc appears.
To change the tape length manually
If the tape length selected is not satisfactory, you can change the tape length by pressing 4or ¢.
You can select the tape length among the following — 40, 46, 50, 54, 60, 64, 70, 74, 80, 84, and 90.
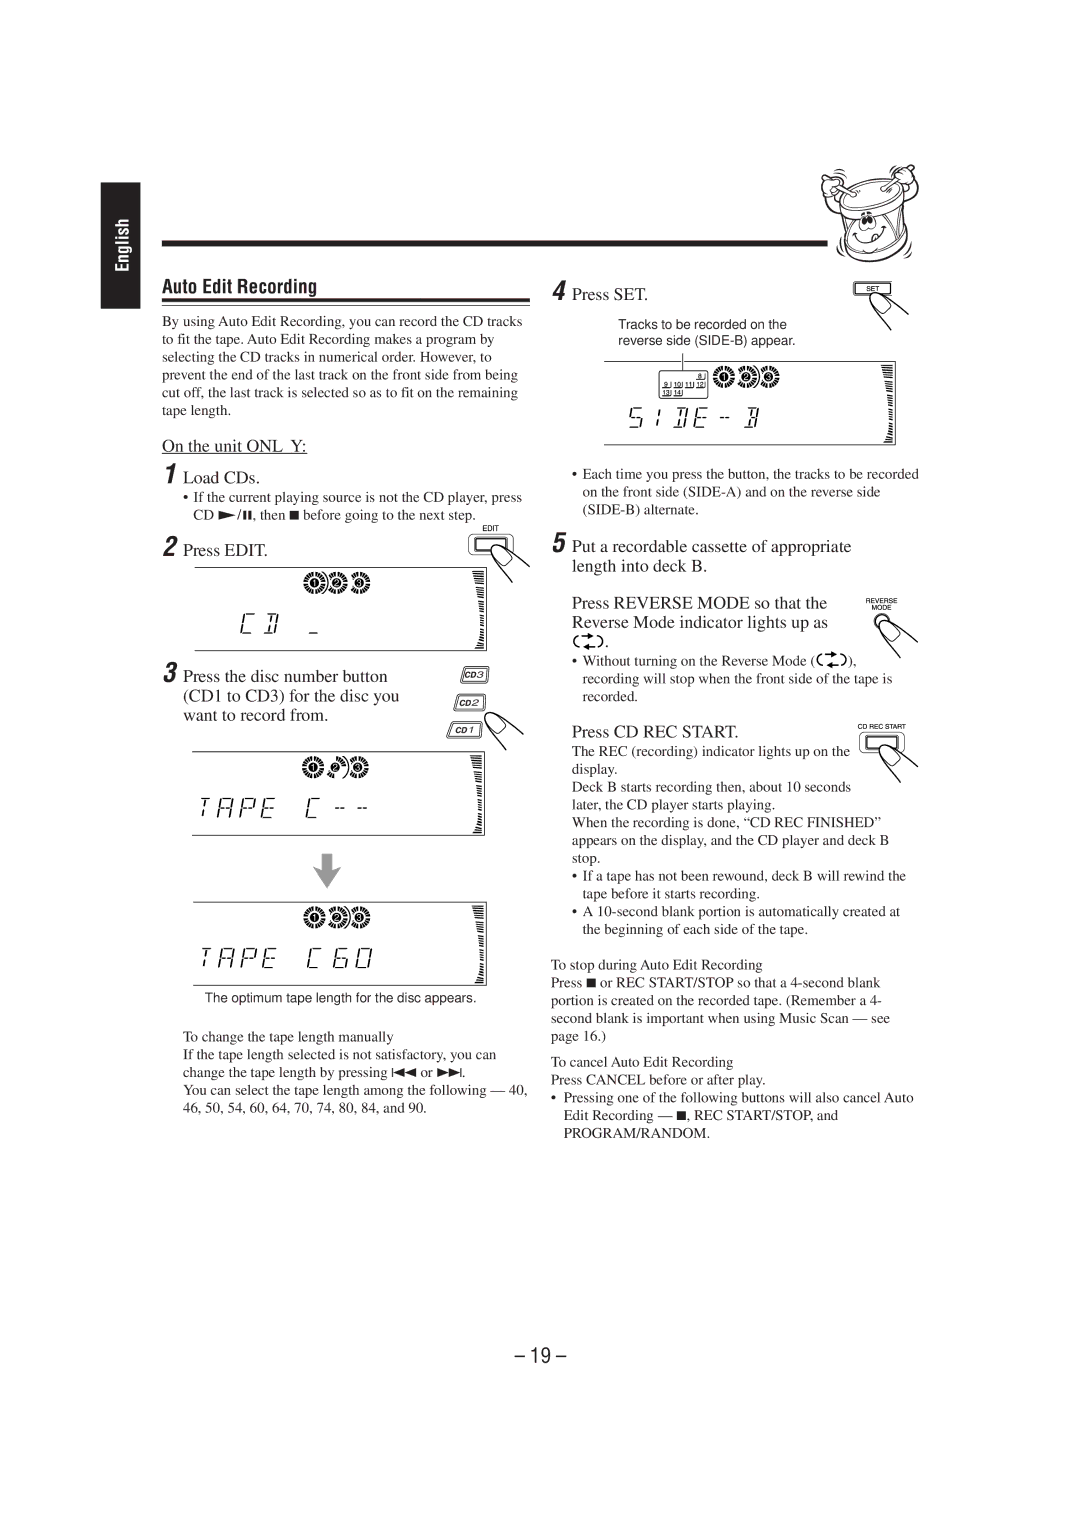
4 Press SET.
Tracks to be recorded on the reverse side
![]() 1
1 ![]() 2
2 ![]() 3
3 ![]()
•Each time you press the button, the tracks to be recorded on the front side
5 Put a recordable cassette of appropriate length into deck B.
6 Press REVERSE MODE so that the Reverse Mode indicator lights up as ![]()
![]()
![]() .
.
•Without turning on the Reverse Mode (![]()
![]()
![]() ), recording will stop when the front side of the tape is
), recording will stop when the front side of the tape is
recorded.
7 Press CD REC START.
The REC (recording) indicator lights up on the display.
Deck B starts recording then, about 10 seconds later, the CD player starts playing.
When the recording is done, “CD REC FINISHED” appears on the display, and the CD player and deck B stop.
•If a tape has not been rewound, deck B will rewind the tape before it starts recording.
•A
To stop during Auto Edit Recording
Press 7or REC START/STOP so that a
To cancel Auto Edit Recording
Press CANCEL before or after play.
•Pressing one of the following buttons will also cancel Auto Edit Recording — 7, REC START/STOP, and
PROGRAM/RANDOM.
– 19 –