English
Maintenance
To get the best performance of the unit, keep your discs, tapes, and mechanism clean.
Handling discs | Handling cassette tapes |
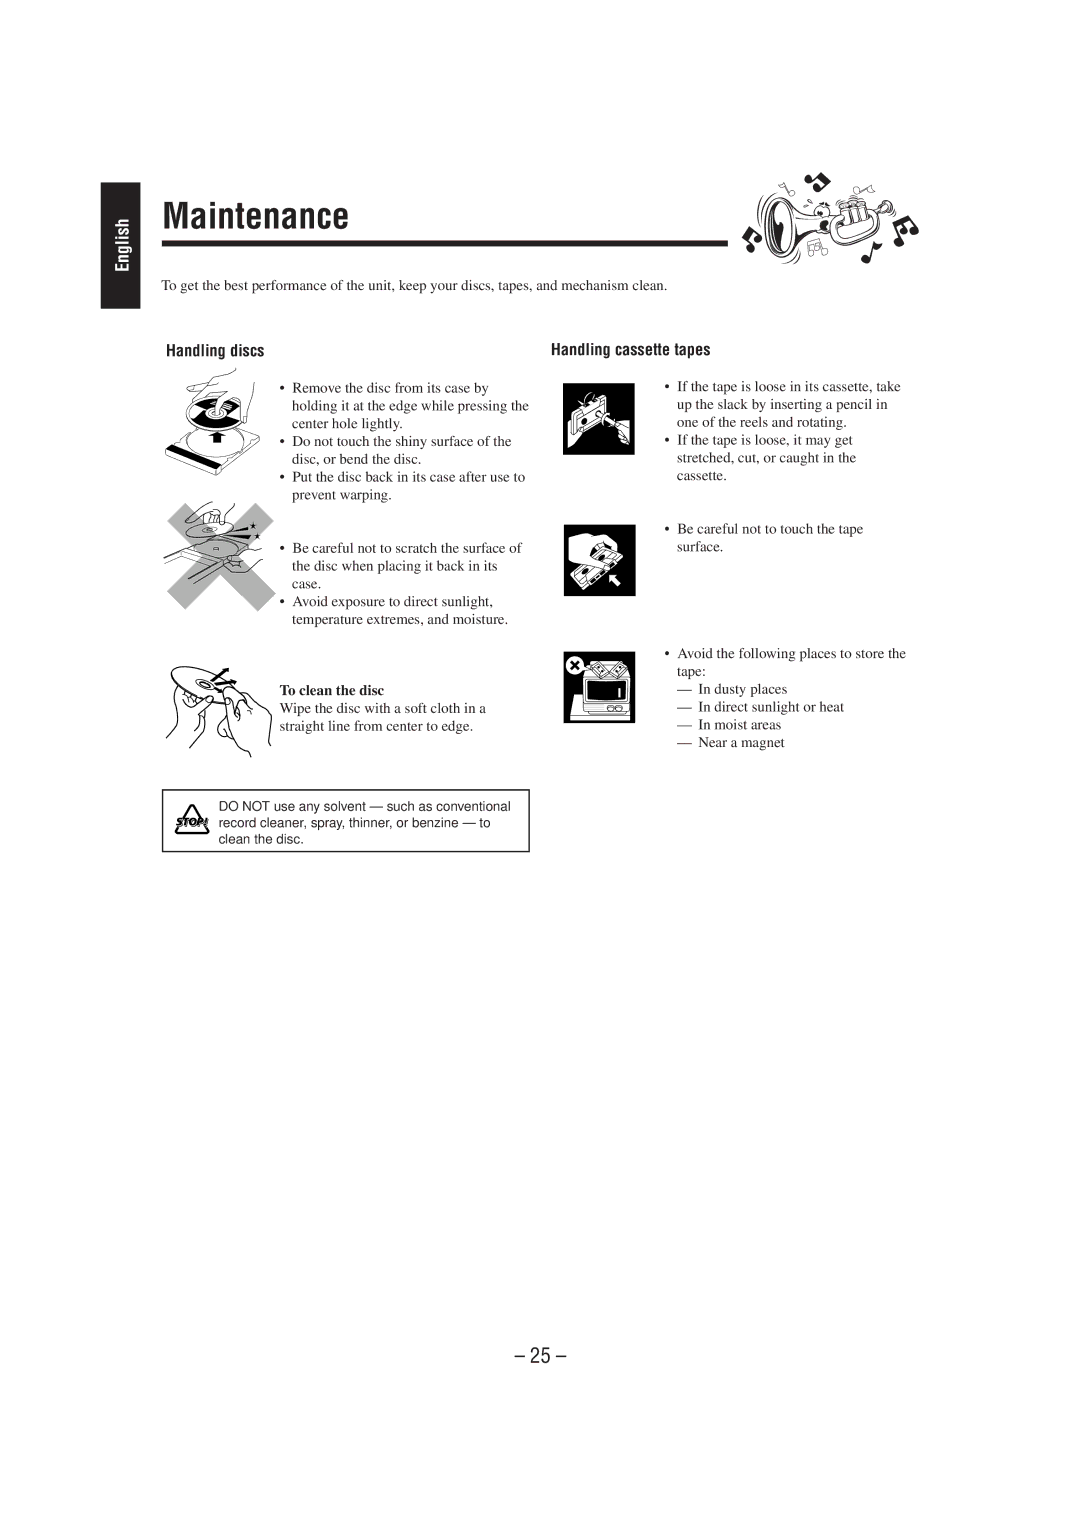
• Remove the disc from its case by holding it at the edge while pressing the center hole lightly.
• Do not touch the shiny surface of the disc, or bend the disc.
• Put the disc back in its case after use to prevent warping.
• Be careful not to scratch the surface of the disc when placing it back in its case.
•Avoid exposure to direct sunlight, temperature extremes, and moisture.
To clean the disc
Wipe the disc with a soft cloth in a straight line from center to edge.
DO NOT use any solvent — such as conventional record cleaner, spray, thinner, or benzine — to clean the disc.
•If the tape is loose in its cassette, take up the slack by inserting a pencil in one of the reels and rotating.
•If the tape is loose, it may get stretched, cut, or caught in the cassette.
•Be careful not to touch the tape surface.
•Avoid the following places to store the tape:
—In dusty places
—In direct sunlight or heat
—In moist areas
—Near a magnet
– 25 –