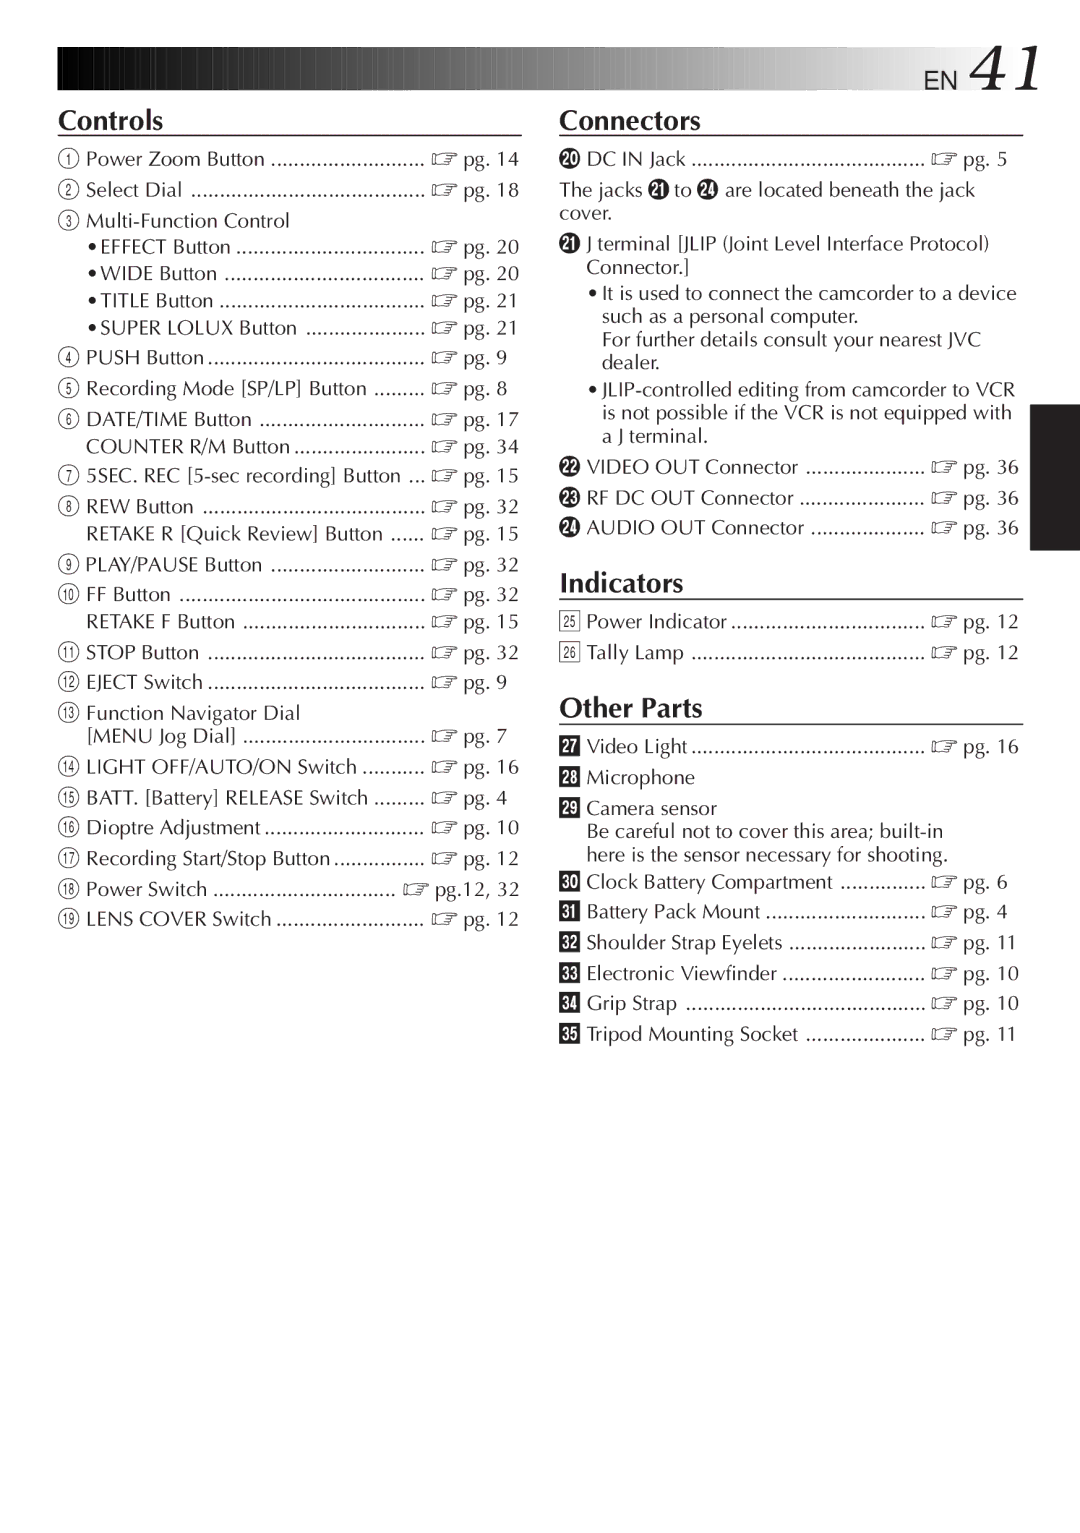
Controls |
|
|
1 Power Zoom Button | ☞ pg. | 14 |
2 Select Dial | ☞ pg. | 18 |
3 |
|
|
•EFFECT Button | ☞ pg. | 20 |
•WIDE Button | ☞ pg. | 20 |
•TITLE Button | ☞ pg. | 21 |
•SUPER LOLUX Button | ☞ pg. | 21 |
4 PUSH Button | ☞ pg. | 9 |
5 Recording Mode [SP/LP] Button | ☞ pg. | 8 |
6 DATE/TIME Button | ☞ pg. | 17 |
COUNTER R/M Button | ☞ pg. | 34 |
7 5SEC. REC | ... ☞ pg. | 15 |
8 REW Button | ☞ pg. | 32 |
RETAKE R [Quick Review] Button | ☞ pg. | 15 |
9 PLAY/PAUSE Button | ☞ pg. | 32 |
0 FF Button | ☞ pg. | 32 |
RETAKE F Button | ☞ pg. | 15 |
! STOP Button | ☞ pg. | 32 |
@ EJECT Switch | ☞ pg. | 9 |
# Function Navigator Dial |
|
|
[MENU Jog Dial] | ☞ pg. | 7 |
$ LIGHT OFF/AUTO/ON Switch | ☞ pg. | 16 |
% BATT. [Battery] RELEASE Switch | ☞ pg. | 4 |
^ Dioptre Adjustment | ☞ pg. | 10 |
& Recording Start/Stop Button | ☞ pg. | 12 |
* Power Switch | ☞ pg.12, 32 | |
( LENS COVER Switch | ☞ pg. 12 | |


 EN
EN 41
41

Connectors
) DC IN Jack .........................................
The jacks q to r are located beneath the jack cover.
qJ terminal [JLIP (Joint Level Interface Protocol) Connector.]
•It is used to connect the camcorder to a device such as a personal computer.
For further details consult your nearest JVC dealer.
•
w VIDEO OUT Connector | ☞ pg. 36 |
e RF DC OUT Connector | ☞ pg. 36 |
r AUDIO OUT Connector | ☞ pg. 36 |
Indicators
t Power Indicator | ☞ pg. 12 |
y Tally Lamp | ☞ pg. 12 |
Other Parts
u Video Light | ☞ pg. 16 |
iMicrophone
oCamera sensor
Be careful not to cover this area;
p Clock Battery Compartment | ☞ pg. 6 |
Q Battery Pack Mount | ☞ pg. 4 |
W Shoulder Strap Eyelets | ☞ pg. 11 |
E Electronic Viewfinder | ☞ pg. 10 |
R Grip Strap | ☞ pg. 10 |
T Tripod Mounting Socket | ☞ pg. 11 |