English

Using the CD Player

You can insert a CD while listening to the other source.

However, while the CD door is operating (opening or closing), the other source will be muted.

CAUTION:

DO NOT try to open or close the CD door by hands as it will be damaged.

To Unload a CD

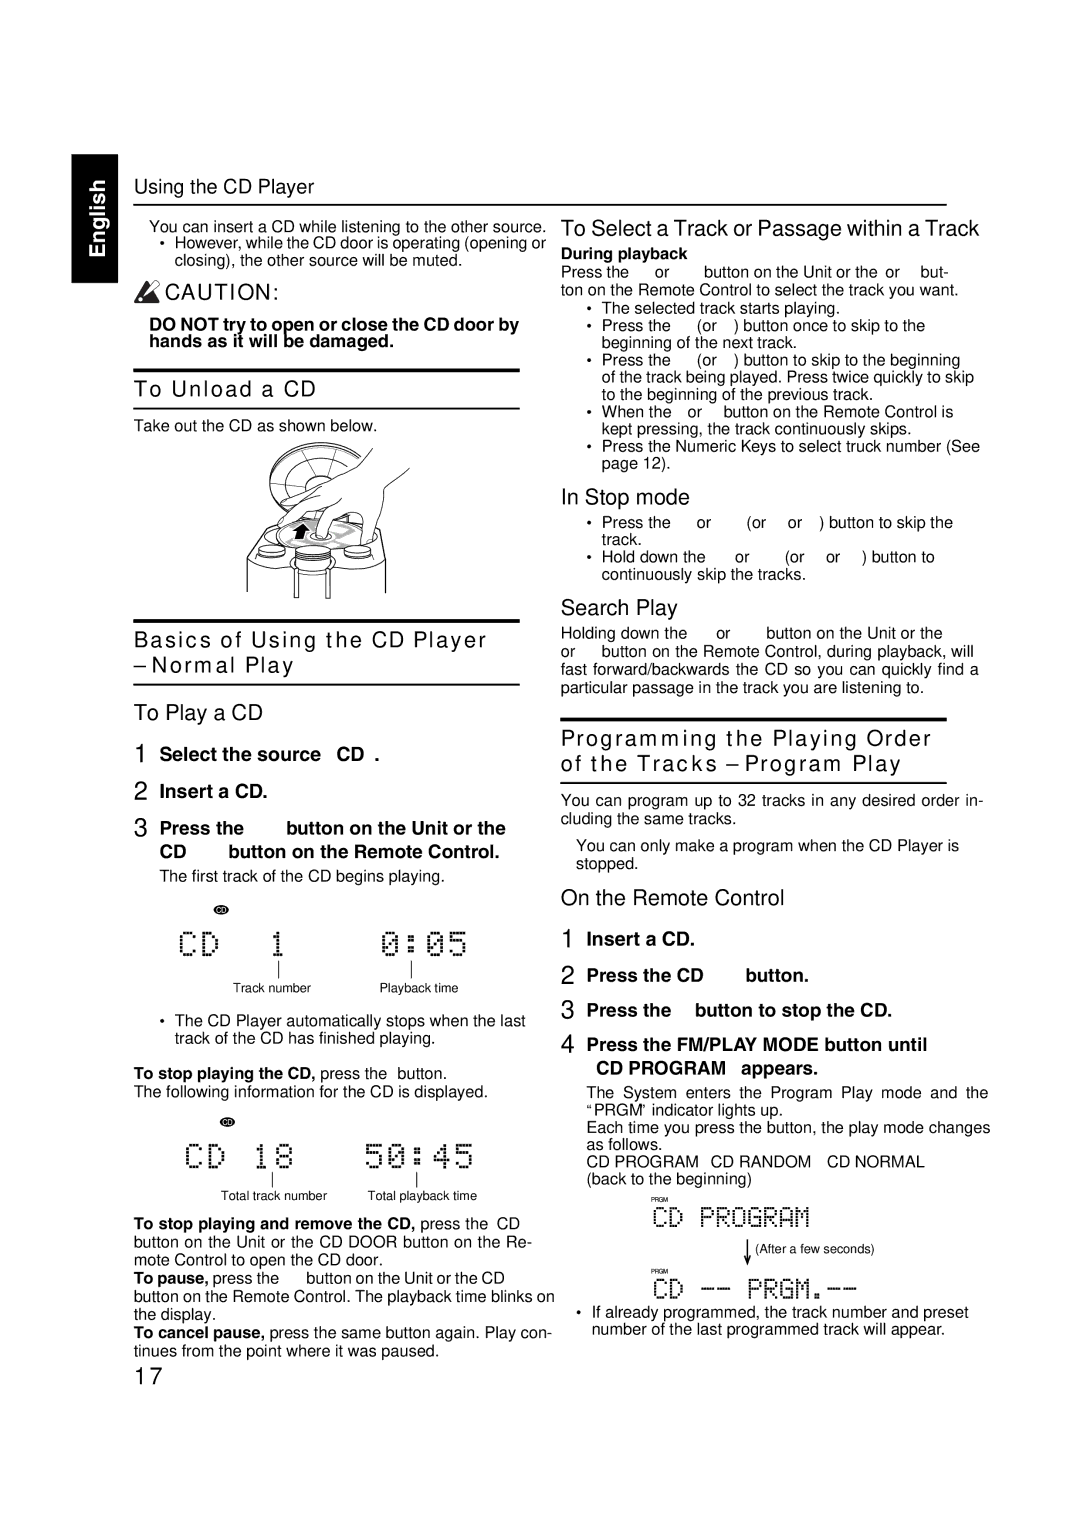
Take out the CD as shown below.

Basics of Using the CD Player

– Normal Play

To Select a Track or Passage within a Track

During playback

Press the ¢ or 4 button on the Unit or the 3 or 2 but- ton on the Remote Control to select the track you want.

The selected track starts playing.

Press the ¢ (or 3) button once to skip to the beginning of the next track.

Press the 4 (or 2) button to skip to the beginning of the track being played. Press twice quickly to skip to the beginning of the previous track.

When the 3 or 2 button on the Remote Control is kept pressing, the track continuously skips.

Press the Numeric Keys to select truck number (See page 12).

In Stop mode

Press the ¢ or 4 (or 3 or 2) button to skip the track.

Hold down the ¢ or 4 (or 3 or 2 ) button to continuously skip the tracks.

Search Play

Holding down the ¢ or 4 button on the Unit or the 5 or button on the Remote Control, during playback, will fast forward/backwards the CD so you can quickly find a particular passage in the track you are listening to.

To Play a CD

1 Select the source “CD”.

2 Insert a CD.

3 Press the 6button on the Unit or the CD 6button on the Remote Control.

The first track of the CD begins playing.

Track number

Playback time

The CD Player automatically stops when the last track of the CD has finished playing.

To stop playing the CD, press the 7 button. The following information for the CD is displayed.

Total track number

Total playback time

To stop playing and remove the CD, press the 0CD button on the Unit or the CD DOOR 0 button on the Re- mote Control to open the CD door.

To pause, press the 6button on the Unit or the CD 6 button on the Remote Control. The playback time blinks on the display.

To cancel pause, press the same button again. Play con- tinues from the point where it was paused.

Programming the Playing Order of the Tracks – Program Play

You can program up to 32 tracks in any desired order in- cluding the same tracks.

You can only make a program when the CD Player is stopped.

On the Remote Control

1 Insert a CD.

2 Press the CD 6button.

3 Press the 7 button to stop the CD.

4 Press the FM/PLAY MODE button until “CD PROGRAM” appears.

The System enters the Program Play mode and the “PRGM” indicator lights up.

Each time you press the button, the play mode changes as follows.

CD PROGRAM=CD RANDOM=CD NORMAL= (back to the beginning)

(After a few seconds)

If already programmed, the track number and preset number of the last programmed track will appear.

17

Page 20
Image 20
JVC FS-X3, FS-X1 manual To Unload a CD, Basics of Using the CD Player Normal Play

FS-X1, FS-X3 specifications

JVC has long been recognized as a key player in the consumer electronics sector, particularly in audio and video technology. Among its noteworthy products are the JVC FS-X1 and FS-X3, two speaker systems designed to deliver impressive sound quality and performance for various audio applications.

The JVC FS-X1 is positioned as a compact and versatile speaker option suitable for smaller spaces or as part of a multi-room audio setup. It features a well-engineered two-way design that includes a high-quality woofer and a dome tweeter. This combination ensures a balanced sound profile, making it ideal for listening to a range of music genres. With a frequency response that captures both low-end punch and crisp high notes, the FS-X1 is tailored for audiophiles and casual listeners alike.

One of the standout technologies employed in the FS-X1 is its advanced cabinet design, which minimizes unwanted vibrations and ensures clean sound reproduction. Additionally, the speaker integrates JVC's proprietary audio processing technologies, enhancing overall clarity and detail. This model is particularly user-friendly, with a variety of input options, including standard wire connections, allowing it to be easily integrated into existing audio setups.

On the other hand, the JVC FS-X3 builds upon the foundation of the FS-X1 while offering enhanced features for discerning users. This speaker system boasts a larger woofer, which contributes to improved bass response and a more robust overall soundstage. The FS-X3 is designed for those who prioritize sound depth and are looking for a speaker that can handle more demanding audio tracks.

Key features of the FS-X3 include an upgraded crossover network, which ensures a smooth transition between the woofer and tweeter frequencies. The design also focuses on aesthetics, featuring a stylish finish that can seamlessly blend into various home environments. Like its counterpart, the FS-X3 is equipped with multiple connectivity options for user convenience.

In summary, the JVC FS-X1 and FS-X3 are outstanding offerings in the world of audio equipment. The FS-X1 serves as an excellent entry-level choice for casual listeners, while the FS-X3 caters to those seeking superior sound performance. Both models embody JVC's commitment to delivering quality, versatility, and cutting-edge technology to enhance the listening experience at home or in any audio setup.