GR-AX841 specifications
The JVC GR-AX841 is a compact and innovative camcorder that gained popularity in the early 1990s, standing out for its unique feature set and user-friendly operation. This model is part of JVC's GR series, renowned for its advanced technologies and robust performance in video recording.One of the main features of the GR-AX841 is its lightweight and portable design, which makes it an excellent choice for capturing moments on the go. The camcorder is equipped with a high-quality 16:9 widescreen recording capability, allowing users to produce videos with a more cinematic aspect ratio. This feature enhances the viewing experience, creating a wider and more immersive presentation of footage.
The GR-AX841 incorporates a 3CCD image sensor technology, which significantly improves color accuracy and image quality compared to traditional single-chip systems. By utilizing three separate sensors for red, green, and blue, the camcorder generates vibrant and true-to-life colors. This technology is particularly beneficial for amateur filmmakers and videographers who desire professional-looking results without needing professional equipment.
In terms of recording capability, the GR-AX841 supports various tape formats, including S-VHS and VHS-C. This versatility allows users to choose their preferred recording medium while maintaining high video quality. The S-VHS format, in particular, offers superior resolution and clarity, making it ideal for capturing detailed images.
The camcorder also features advanced image stabilization technology, which significantly reduces the effects of shaky hands and movement during recording. This feature is crucial for creating smooth and stable footage, particularly when filming while walking or in dynamic environments.
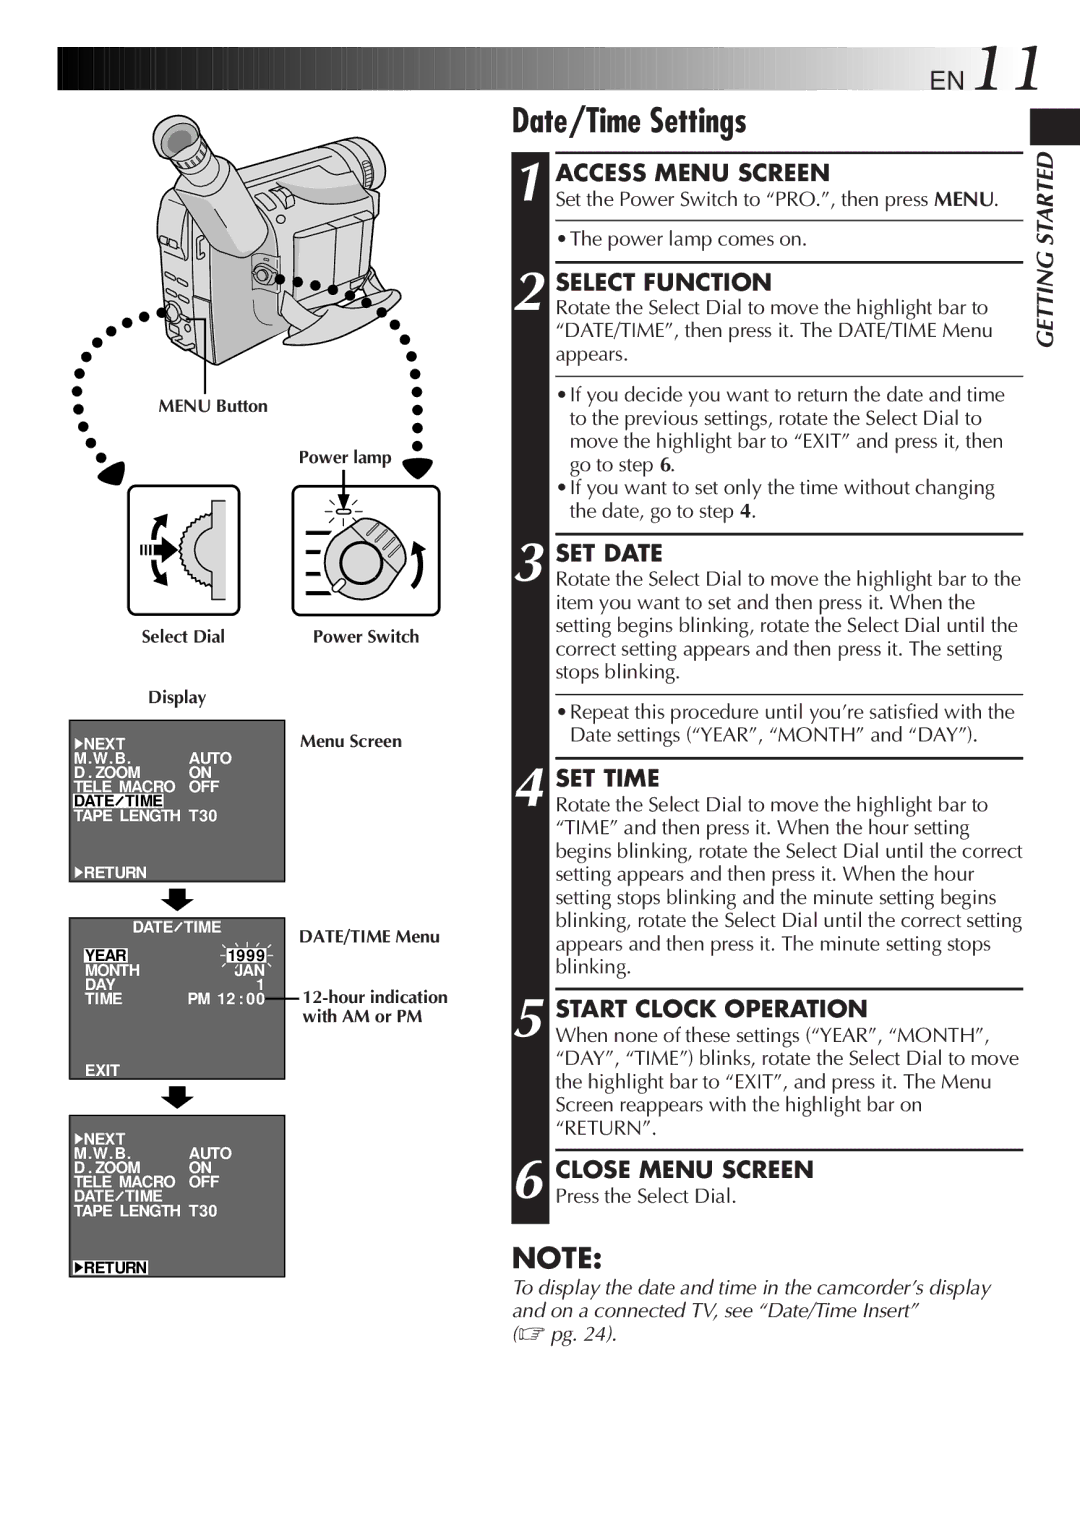
Another noteworthy characteristic of the GR-AX841 is its intuitive control layout and user-friendly interface. This makes it accessible for beginners while still offering advanced options for seasoned users. The built-in LCD screen provides real-time feedback and preview capabilities, enabling users to frame their shots accurately.
Overall, the JVC GR-AX841 marries compact design with advanced technology to deliver an exceptional video recording experience. Its combination of 3CCD imaging, widescreen recording, and user-friendly features ensures that both casual users and serious videographers can achieve stunning results and cherish their memories in high quality. Whether for home videos or more creative projects, the GR-AX841 remains a noteworthy option in the history of camcorders.