GR-DVF21, GR-DVF11 specifications
The JVC GR-DVF11 and GR-DVF21 camcorders represent a fusion of advanced technology and user-friendly features, appealing to both amateur filmmakers and seasoned videographers. These models, part of JVC's renowned GR series, showcase the brand's commitment to high-quality video recording and ease of use.One of the standout features of the GR-DVF11 and GR-DVF21 is their compact design, which makes them highly portable. Weighing less than a traditional camcorder, these models are designed for on-the-go shooting, allowing users to capture life’s moments without the burden of heavy equipment.
Both camcorders come equipped with a high-resolution 16:9 widescreen CCD sensor that ensures stunning image quality. This sensor captures crisp and vibrant colors, making it ideal for shooting in various lighting conditions. The GR-DVF21, in particular, boasts a higher pixel count, further enhancing its capability to deliver exceptionally detailed video.
The JVC GR-DVF11 and GR-DVF21 also leverage advanced digital zoom technology, providing up to 700x zoom capabilities. This feature allows users to capture distant subjects with clarity, making it particularly useful for wildlife filming or events where the subject is far away. The optical zoom feature, essential for maintaining image quality, complements the digital zoom, offering users flexibility in framing their shots.
A unique characteristic of these camcorders is the integration of JVC's Digital Image Stabilization (DIS) technology, which minimizes shaking and enhances video stability. This feature is especially beneficial for handheld shooting, where any unintended movements can spoil the footage. Consequently, users can achieve smoother recordings, even during dynamic filming situations.
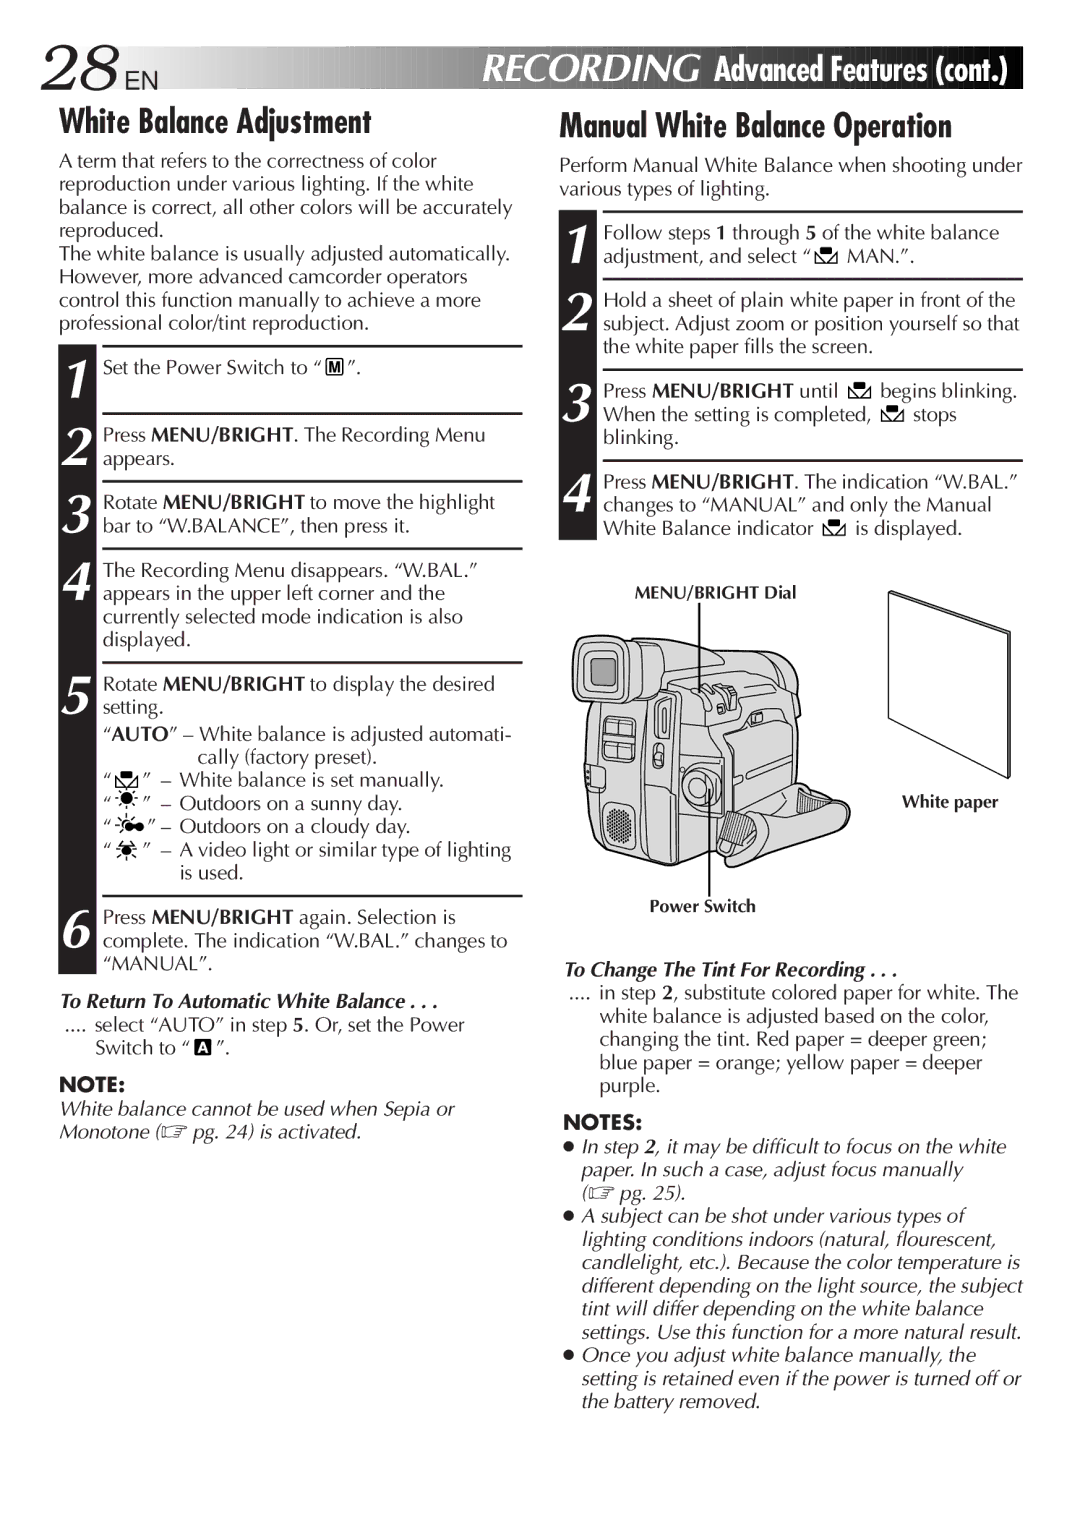
Both models include a versatile selection of shooting modes, including a range of preset effects and manual control options. This versatility empowers users to experiment with their video creation, whether they choose to shoot with automatic settings or dive into manual adjustments for greater creative control.
In terms of connectivity, the GR-DVF11 and GR-DVF21 offer multiple interfaces, including USB and FireWire compatibility, allowing for quick and efficient video transfer to computers. This feature streamlines the editing process, making it easy for users to work with their footage right after shooting.
In summary, the JVC GR-DVF11 and GR-DVF21 camcorders combine cutting-edge technology with intuitive features, appealing to a wide range of users. With their compact design, high-resolution sensors, advanced zoom capabilities, and robust stabilization technology, these camcorders are well-suited for capturing high-quality video in diverse shooting conditions. Whether for personal memories or professional projects, they deliver performance that satisfies the demands of modern videography.

