Main
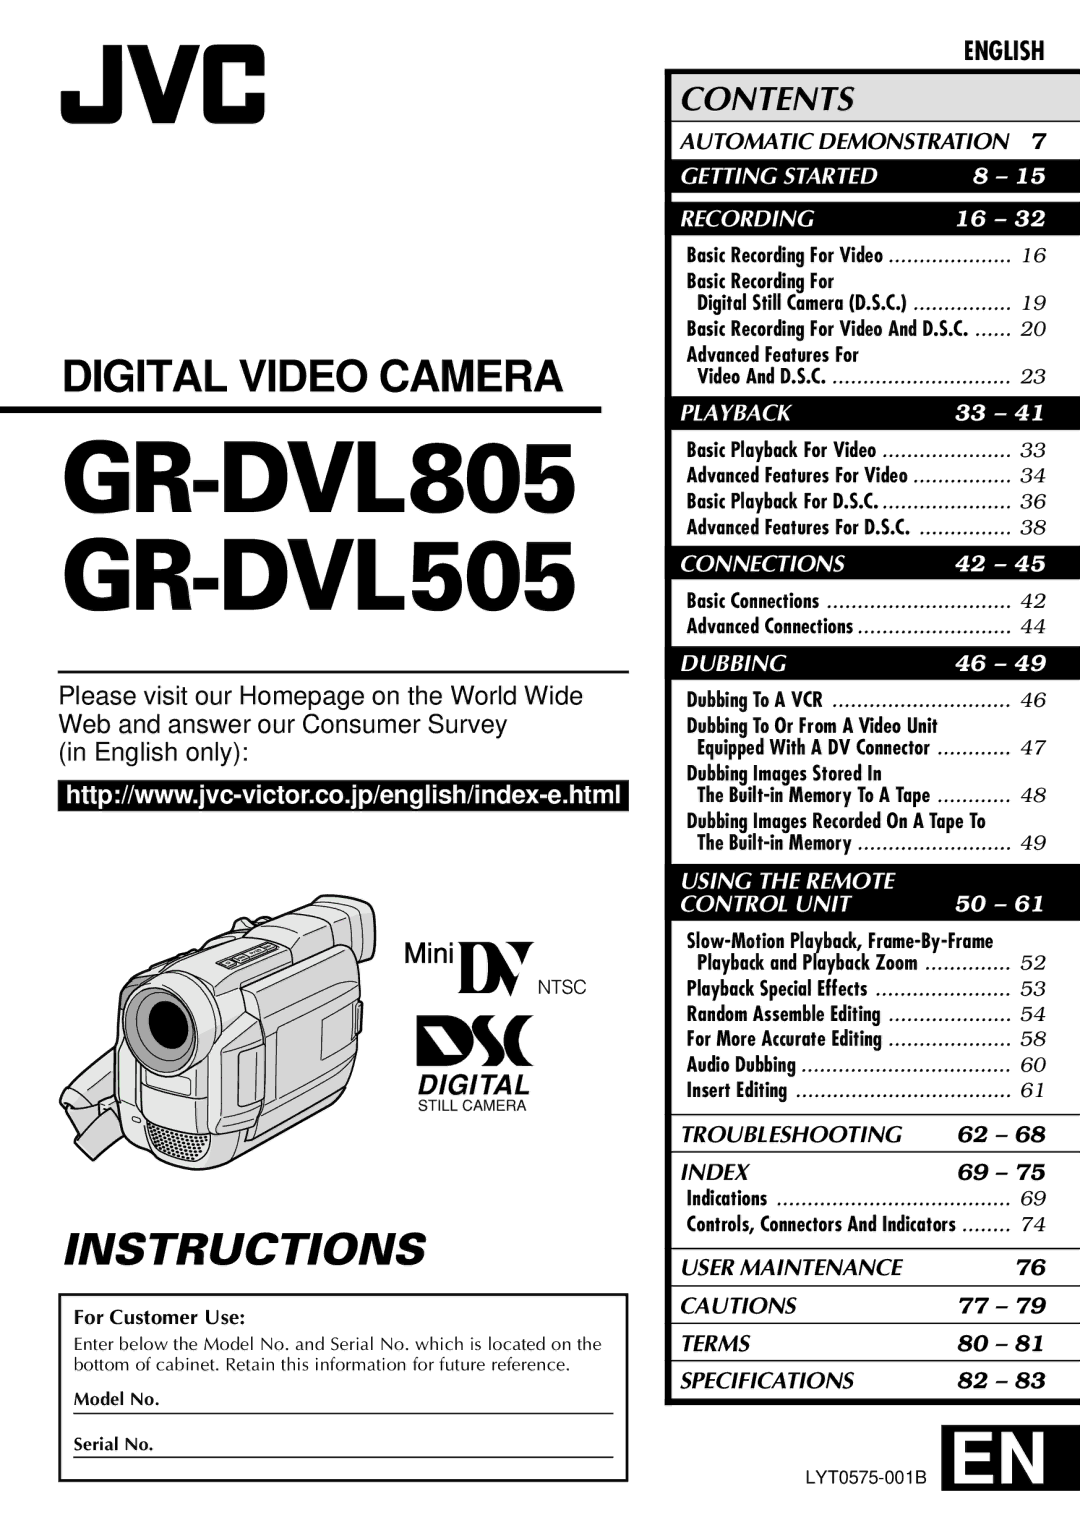
DIGITAL VIDEO CAMERA
INSTRUCTIONS
GR-DVL805 GR-DVL505
ENGLISH
CONTENTS
Using This Instruction Manual
It is recommended that you . . .
SAFETY PRECAUTIONS
CAUTION
The rating plate (serial number plate) of the AC Power Adapter/Charger is on its bottom.
WARNING: TO PREVENT FIRE OR SHOCK HAZARD, DO NOT EXPOSE THIS UNIT TO RAIN OR MOISTURE.
CAUTION (applies to the AA-V40U)
IMPORTANT PRODUCT SAFETY INSTRUCTIONS
ATTENTION:
INSTALLATION
1. Grounding or Polarization
2. Power Sources
USE
1. Accessories
2. Product and Cart Combination
3. Water and Moisture
4. Object and Liquid Entry
SAFETY PRECAUTIONS
CAUTION!
Before recording an important scene . . .
PROVIDED ACCESSORIES
AUTOMATIC DEMONSTRATION
How To Attach The Lens Cap
12 3
To protect the lens, attach the provided lens cap to the camcorder as shown in the illustration.
Power
CHARGING THE BATTERY PACK
If the protective cap is attached to the battery pack, remove it first.
Charging times noted above are for a fully discharged battery pack.
Charging time varies according to the ambient temperature and the status of the battery pack.
USING THE BATTERY PACK
USING AC POWER
Grip Adjustment
Viewfinder Adjustment
(cont.)
Shoulder Strap Attachment
Tripod Mounting
Date/Time Settings
Power lamp
DISPLAY MENU
1
Rotate the MENU/BRIGHT wheel to select . Press it and DISPLAY MENU appears.
Loading/Unloading A Cassette
(cont.)
*
To Protect Valuable Recordings . . .
Recording Mode Setting
Picture Quality Mode Setting
(cont.)
Operation Mode
/
Basic Recording For Video
To Adjust The Brightness Of The Display
You should already have performed the procedures listed below. If not, do so before continuing.
Shooting while using the viewfinder:
Shooting while using the LCD monitor:
JOURNALISTIC SHOOTING
SELF-RECORDING
Basic Recording For Video (cont.) Snapshot (For Video Recording)
SNAPSHOT MODE SELECTION
SNAPSHOT RECORDING
Motor Drive Mode
Basic Recording For Digital Still Camera (D.S.C.) Basic Shooting (Snapshot)
SNAPSHOT MODE SELECTION
SNAPSHOT RECORDING
Basic Recording For Video And D.S.C.
Zooming
NOTE: Recording From The Middle Of A Tape
Time Code
The time code is displayed only when TIME CODE is set to ON (
Recording From The Middle Of A Tape
The time code cannot be reset.
Basic Recording For Video And D.S.C. (cont.)
DANGER
Video Light
Advanced Features For Video And D.S.C.
Auto Focus
When shooting a subject close to the lens, zoom out first (
pg. 26) is activated.
Manual Focus
Advanced Features For Video And D.S.C. (cont.) Using Menus For Detailed Adjustment
1
Set the Power Switch to while pressing down the Lock Button located on the switch.
Function menu setting depends on the function.
If you have selected , , or . . .
Menu Screen Explanations
The CAMERA MENU settings are effective when the Power Switch is set to both and .
pg. 13, 34).
REC MODE can be set when the Power Switch is set to or (
Menu Screen Explanations (cont.)
The MANUAL MENU settings are effective only when the Power Switch is set to .
/
pg. 34). CLOCK ADJ. only appears when the Power Switch is set to .
The DISPLAY MENU settings are effective even when the Power Switch is set to .
pg. 43, 46, 55).
2
FADE/WIPE SELECTION ( , , , , , , , , , and )
PICTURE WIPE OR DISSOLVE SELECTION ( , , , , , and )
Fader And Wipe Menu
Advanced Features For Video And D.S.C. (cont.) Program AE With Special Effects
To Deactivate The Selected Mode . . .
Program AE with special effects can be changed during recording or during Record-Standby.
When using SLOW, the image takes on a strobe-like effect.
If the manual focus indicator blinks when SLOW is used, adjust focus manually and use a tripod.
Exposure Control
When shooting using reverse lighting or when the background is too bright.
When shooting on a reflective natural background such as at the beach or when skiing.
When the background is overly dark or the subject light.
To Return To Automatic Exposure Control . . .
White Balance Adjustment
Advanced Features For Video And D.S.C. (cont.)
Manual White Balance Operation
Basic Playback For Video
Still Playback:
Shuttle Search:
Frame-By-Frame Playback:
Playback Zoom and Playback Special Effects
Advanced Features For Video
Using Menus For Detailed Adjustment
Synchro Comp (
pg. 58, 59).
Playback Sound
Display
Normal Playback
Basic Playback For D.S.C.
EXIT
INDEX
<
INDEX Screen
01: Index number
: Picture Quality mode
: Protect icon
Selected Image
Slide Show
You can run through all the images stored in memory automatically in numerical order.
4
4
.... after step 1, press
Protecting Images
TO PROTECT AN IMAGE
TO REMOVE PROTECTION
Deleting Images
TO SELECT AN IMAGE BY BROWSING IMAGES STORED IN MEMORY
Protected images (
TO DELETE ALL IMAGES
pg. 39) cannot be deleted with the above operation. To delete them, remove protection first.
Initializing The Built-in Memory
CONNECTIONS
Basic Connections
B.Connection to a TV or VCR equipped only with A/V input connectors
To TV or VCR
VCR
Page
CONNECTIONS
Advanced Connections Connection To A Personal Computer
Connection To A Video Unit Equipped With A DV Connector
DUBBING
Dubbing To A VCR
Dubbing To Or From A Video Unit Equipped With A DV Connector (Digital Dubbing)
[To use this camcorder as a player]
To Use This Camcorder As A Recorder . . .
DUBBING
Dubbing Images Stored In The Built-in Memory To A Tape
(cont.)
Dubbing Images Recorded On A Tape To The Built-in Memory
pg. 53).
If an image recorded on the tape using the WIDE mode (
+ +
Installing The Batteries
10
)
@ $
! # % ^& *(
4 6 8
Slow-Motion Playback
Due to digital image processing, the quality of the image may suffer.
During Slow-Motion Playback, press PAUSE
or
After SLOW
Playback Special Effects
To allow you to add creative effects to the video playback image.
4
1)To start playback, press PLAY (
).
Random Assemble Editing [R.A.Edit]
SET REMOTE/VCR CODE
You are now ready to try Random Assemble Editing.
If the VCRs power does not come on in step 1, try another code from the VCR CODE LIST.
If the remote control is not able to control the VCR, use the controls on the VCR.
MAKE CONNECTIONS
A JVC VCR equipped with a remote pause connector . . .
A JVC VCR not equipped with a remote pause connector but equipped with an R.A. EDIT connector . . .
A VCR other than above . . .
SELECT SCENES
1
Turning off the camcorders power erases all registered Edit-In and Edit-Out points.
STOP PAUSE R.A.EDIT ON/OFF VCR REC STBY
FADE/WIPE EFFECT EDIT IN/OUT CANCEL
AUTOMATIC EDITING TO VCR
Remote Sensor
Rewind the tape in the camcorder to the beginning of the scene you want to edit and press PAUSE (6).
pg. 21).
Recording Start/Stop Button Random Assemble Editing Menu
(cont.) For More Accurate Editing
DIAGNOSING VCR/CAMCORDER TIMING
ADJUSTMENT OF VCR/CAMCORDER TIMING
(cont.) Audio Dubbing
Insert Editing
Page
Page
16.
16
Page
Page
Page
Page
Indications LCD Monitor/Viewfinder Indications During Video Recording Only
1
1 532 4 6
10/30
DSC STD
LCD Monitor/Viewfinder Indications During Both Video And D.S.C. Recording
Indications (cont.)
+
1* 2 4 6 7
3 5
LCD Monitor/Viewfinder Indications During Video Playback
5
1 2 3
2
46
Warning Indications
Indications (cont.)
TAPE END
Indications Function
COPYING FAILED
Controls, Connectors And Indicators
Controls
Connectors
Indicators
Other Parts
USER MAINTENANCE
Cleaning The Camcorder
Avoid using strong cleaning agents such as benzine or alcohol.
Mold may form if the lens is left dirty.
When using a cleaner or chemically treated cloth refer to the cautions of each product.
CAUTIONS
Battery Packs
Recharging time is based on room temperature of 20C (68F).
The lower the temperature, the longer recharging takes.
Cassettes
CAUTIONS
LCD Monitor
Main Unit
How To Handle A CD-ROM
TERMS
F
G
I
J
P
R
S
T
U
SPECIFICATIONS
Camcorder
For General
For Digital Video Camera
For Digital Still Camera
AC Power Adapter/Charger AA-V40U