Dubbing Still Images Recorded On A

Tape To A Memory Card

Still images can be dubbed from a tape to a memory card.

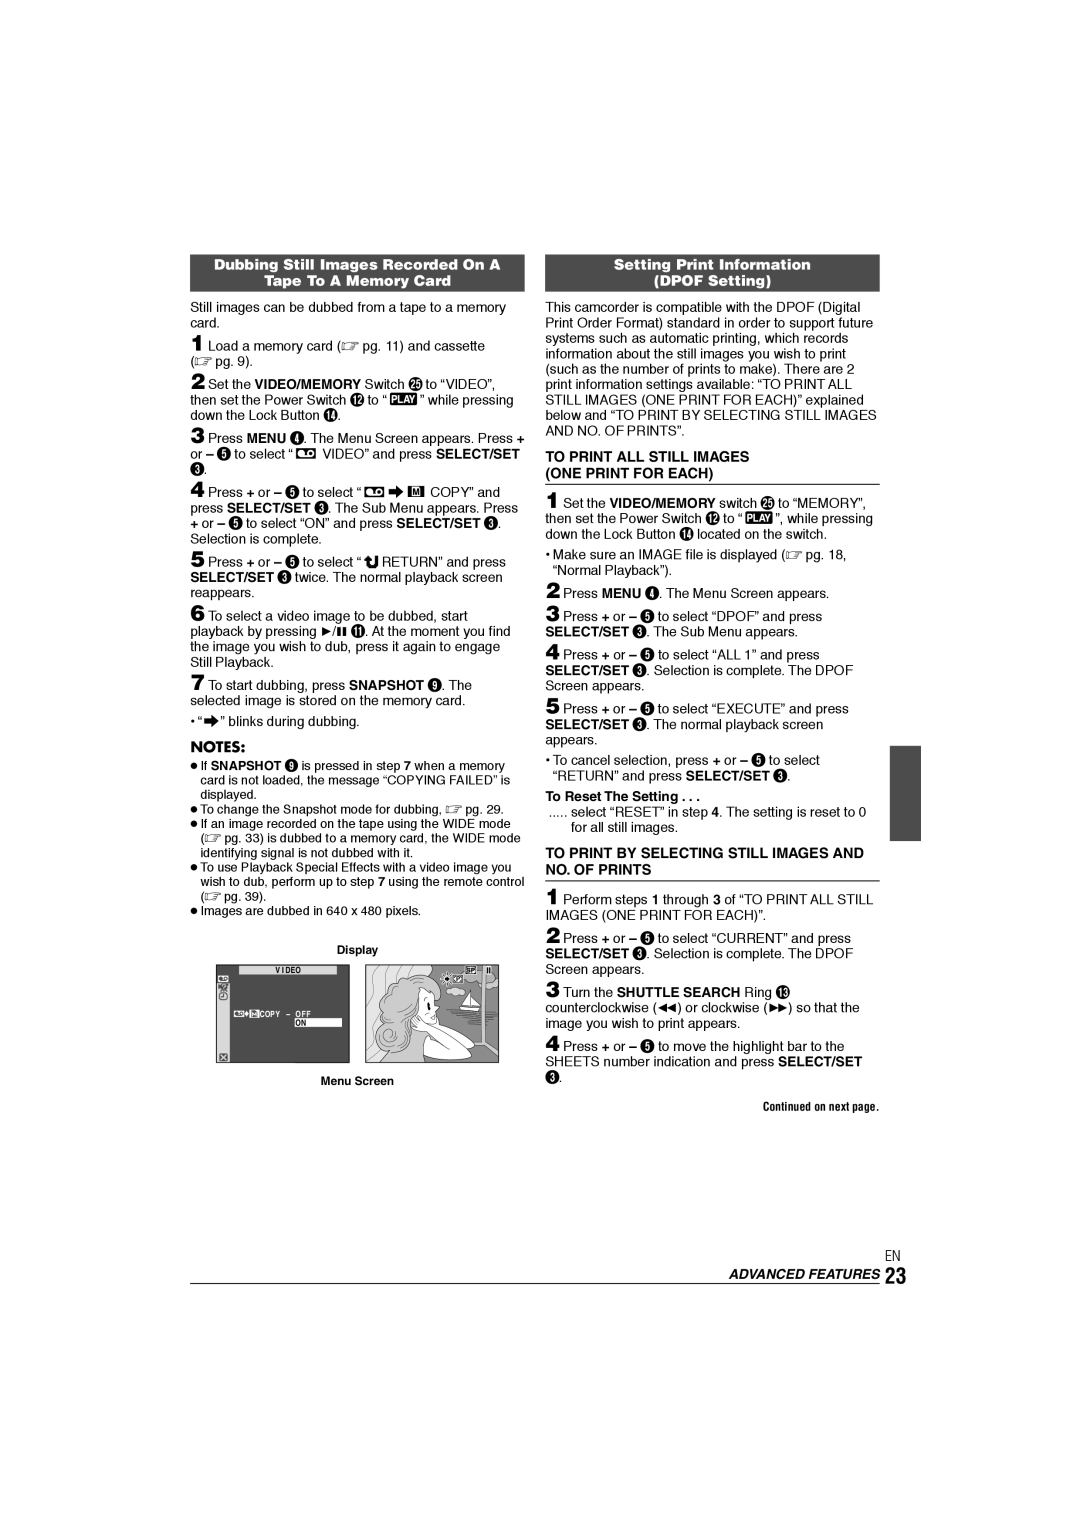
1 Load a memory card ( pg. 11) and cassette ( pg. 9).

2 Set the VIDEO/MEMORY Switch t to “VIDEO”,

then set the Power Switch @ to “ ” while pressing down the Lock Button $.

3 Press MENU 4. The Menu Screen appears. Press + or 5 to select “ VIDEO” and press SELECT/SET

3.

4 Press + or 5 to select “ COPY” and press SELECT/SET 3. The Sub Menu appears. Press

+or 5 to select “ON” and press SELECT/SET 3. Selection is complete.

5 Press + or 5 to select “ RETURN” and press SELECT/SET 3 twice. The normal playback screen reappears.

6 To select a video image to be dubbed, start playback by pressing 4/6 !. At the moment you find the image you wish to dub, press it again to engage Still Playback.

7 To start dubbing, press SNAPSHOT 9. The selected image is stored on the memory card.

• “” blinks during dubbing.

NOTES:

If SNAPSHOT 9 is pressed in step 7 when a memory card is not loaded, the message “COPYING FAILED” is displayed.

To change the Snapshot mode for dubbing,  pg. 29.

If an image recorded on the tape using the WIDE mode ( pg. 33) is dubbed to a memory card, the WIDE mode identifying signal is not dubbed with it.

To use Playback Special Effects with a video image you

wish to dub, perform up to step 7 using the remote control ( pg. 39).

Images are dubbed in 640 x 480 pixels.

Display

V I DEO

6

COPY – OF F

ON

Menu Screen

Setting Print Information

(DPOF Setting)

This camcorder is compatible with the DPOF (Digital Print Order Format) standard in order to support future systems such as automatic printing, which records information about the still images you wish to print (such as the number of prints to make). There are 2 print information settings available: “TO PRINT ALL STILL IMAGES (ONE PRINT FOR EACH)” explained below and “TO PRINT BY SELECTING STILL IMAGES AND NO. OF PRINTS”.

TO PRINT ALL STILL IMAGES (ONE PRINT FOR EACH)

1 Set the VIDEO/MEMORY switch t to “MEMORY”, then set the Power Switch @ to “ ”, while pressing down the Lock Button $ located on the switch.

Make sure an IMAGE file is displayed ( pg. 18, “Normal Playback”).

2 Press MENU 4. The Menu Screen appears.

3 Press + or 5 to select “DPOF” and press SELECT/SET 3. The Sub Menu appears.

4 Press + or 5 to select “ALL 1” and press SELECT/SET 3. Selection is complete. The DPOF Screen appears.

5 Press + or 5 to select “EXECUTE” and press SELECT/SET 3. The normal playback screen appears.

To cancel selection, press + or 5 to select “RETURN” and press SELECT/SET 3.

To Reset The Setting . . .

..... select “RESET” in step 4. The setting is reset to 0

for all still images.

TO PRINT BY SELECTING STILL IMAGES AND NO. OF PRINTS

1 Perform steps 1 through 3 of “TO PRINT ALL STILL IMAGES (ONE PRINT FOR EACH)”.

2 Press + or 5 to select “CURRENT” and press SELECT/SET 3. Selection is complete. The DPOF Screen appears.

3 Turn the SHUTTLE SEARCH Ring # counterclockwise (2) or clockwise (3) so that the image you wish to print appears.

4 Press + or 5 to move the highlight bar to the SHEETS number indication and press SELECT/SET

3.

Continued on next page.

EN

ADVANCED FEATURES 23

Page 23
Image 23
JVC GR-DX106/76AG manual Dubbing Still Images Recorded On a Tape To a Memory Card, Setting Print Information Dpof Setting

GR-DX106/76AG specifications

The JVC GR-DX106/76AG is a compact and versatile MiniDV camcorder that has gained attention for its robust feature set and user-friendly design. Launched in the early 2000s, this camcorder is ideal for both amateur filmmakers and those who want to capture life's precious moments with high-quality video.

One of the standout features of the GR-DX106/76AG is its advanced optical zoom capabilities. With a powerful 10x optical zoom lens, users can capture distant subjects without sacrificing image quality. Additionally, the camcorder is equipped with a digital zoom that can reach up to 400x, allowing for extreme close-ups when needed. This versatility makes it suitable for various shooting conditions, from family gatherings to outdoor adventures.

The camcorder utilizes a 1/6-inch CCD sensor, providing clear and vibrant images even in challenging lighting conditions. The CCD technology ensures high-resolution video capture, enabling users to record in a resolution of up to 640 x 480 pixels in MPEG format. The GR-DX106/76AG also supports progressive scan recording, further enhancing the quality of the footage.

Another notable technology found in the JVC GR-DX106/76AG is its built-in image stabilization system. This feature is crucial for reducing the blurriness caused by hand movements, ensuring that videos remain smooth and professional-looking. The camcorder also offers a variety of shooting modes, including night mode, which enhances low-light performance, as well as various scene modes that tailor the camera’s settings to specific environments.

User convenience is prioritized in the design of the GR-DX106/76AG. The camcorder features a flip-out LCD screen that allows for easy framing and playback of recorded videos. This screen provides a clear view of the scene, making it easier to capture the perfect shot. Additionally, the camcorder has an intuitive menu system, allowing users to quickly adjust settings without feeling overwhelmed.

The GR-DX106/76AG also includes various connectivity options, such as USB and AV outputs, enabling easy transfer of footage to computers or TVs. This compatibility allows for seamless editing and sharing of videos, catering to the needs of the modern user.

In summary, the JVC GR-DX106/76AG is a feature-rich camcorder that combines portability with advanced recording capabilities. Its optical zoom, image stabilization, and user-friendly interface make it an excellent choice for capturing high-quality video in a variety of scenarios. Whether for documenting family events or exploring creative filmmaking, this camcorder remains a solid option for enthusiasts.