
HR-A56U specifications
The JVC HR-A56U is a VCR that emerged as a noteworthy entry in the realm of home entertainment systems, particularly during the late 1990s. It is known for its robust performance and a spectrum of features that cater to both casual viewers and avid tape collectors alike.One of the prominent features of the HR-A56U is its remarkable video quality, enhanced by JVC's proprietary Super VHS (S-VHS) technology. This feature allows for higher resolution and improved color fidelity when using S-VHS tapes, making it an excellent choice for those who prioritize picture quality. The VCR also supports standard VHS tapes, ensuring broad compatibility with existing collections.
The SR-DST (Super Dynamic Noise Reduction) is another standout technology in the HR-A56U. This feature effectively reduces noise in the analog signal, delivering clearer audio and video playback, which is especially beneficial for tapes that have undergone multiple recordings or those stored for extended periods. The result is a pristine viewing experience, minimizing artifacts that could detract from the tape's original quality.
In addition to video playback, the HR-A56U offers versatile recording capabilities. It supports a range of recording speeds, including SP (Standard Play) and LP (Long Play), allowing users to choose between quality and tape duration based on their needs. The built-in timer recording function further enhances user convenience, enabling programming for up to eight different recordings at set times, ensuring that users never miss their favorite shows.
The device also incorporates an on-screen display (OSD) that provides clear information about the current status, time remaining, and other operational details. This function simplifies navigation and settings adjustments, making it user-friendly even for those unfamiliar with VCR technology.
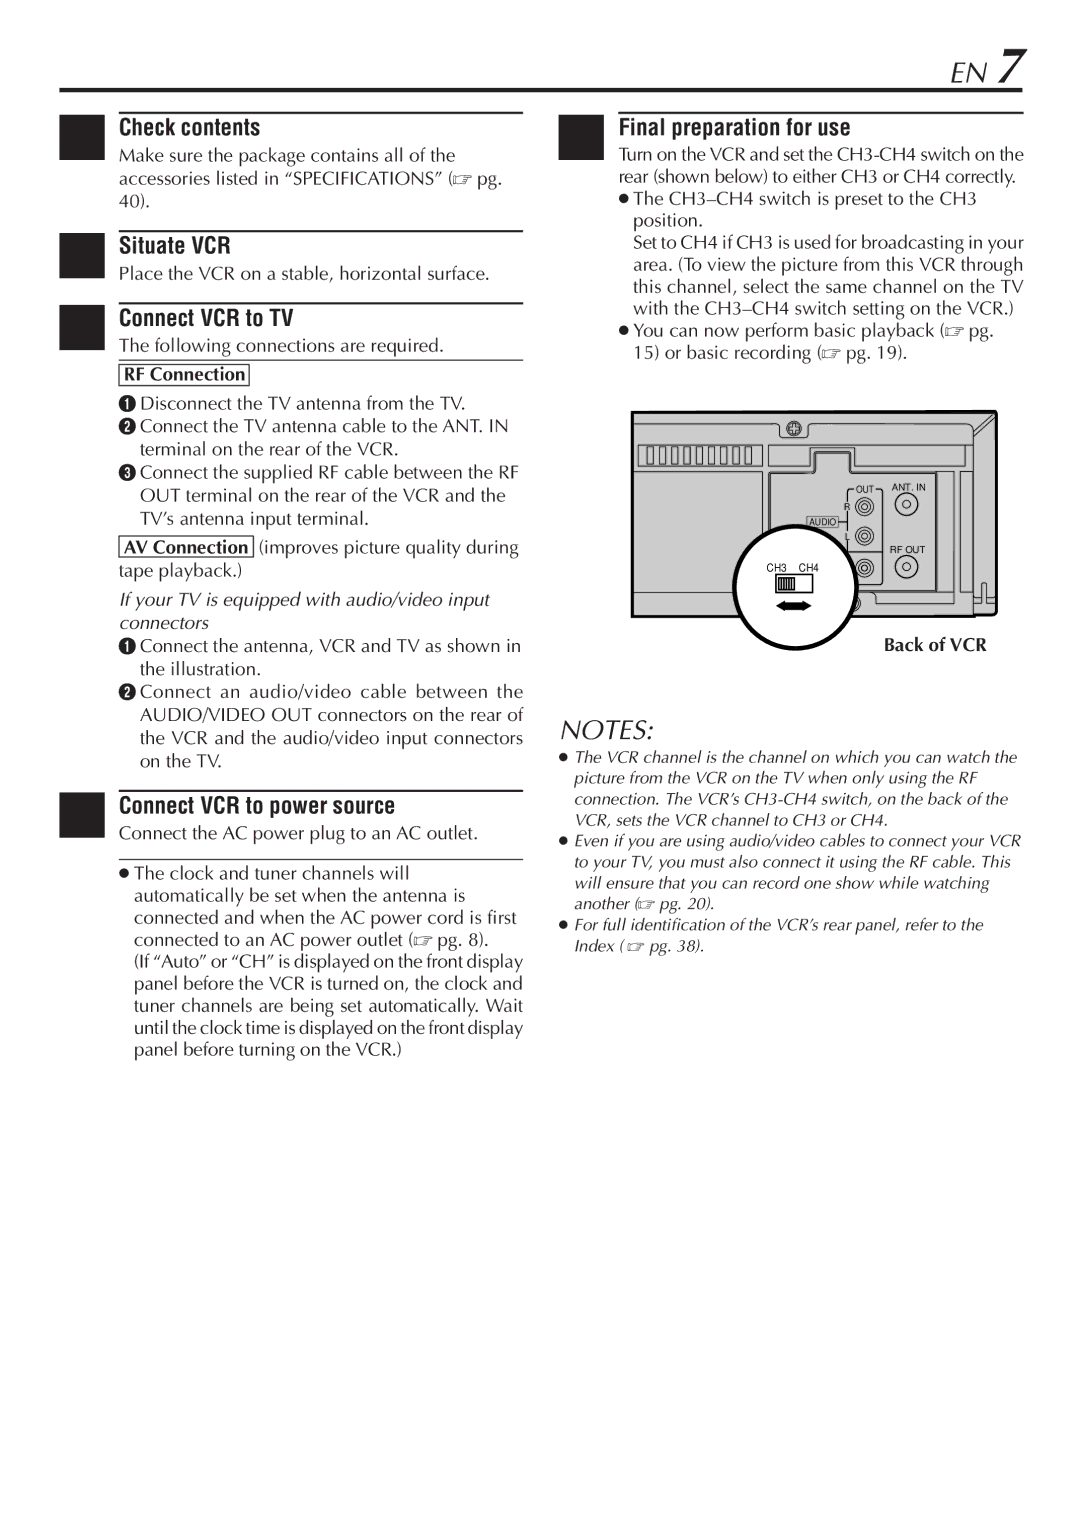
For connectivity, the HR-A56U includes various inputs and outputs, including standard composite video and audio connections. This allows easy integration with other audio-visual components such as televisions and sound systems, ensuring a seamless viewing experience.
Overall, the JVC HR-A56U remains a noteworthy option for anyone seeking a reliable and feature-rich VCR with the capacity to deliver exceptional performance. Its combination of advanced technologies, ease of use, and superior picture quality makes it a timeless choice for both collectors of vintage recordings and new users looking to explore the world of VHS.