– Connections and VCR channel Setting –
4Set VCR channel
To view playback of a recorded tape, or to watch a program selected by the VCR's channel selector, the TV must be set to channel 3 or 4 (video channel) when a TV is connected with the 75 ohm coaxial cable only.
1Set the 3/4 Channel selector switch (Rear of the VCR) to CH 3 or 4.
2Turn ON the TV and set to CH 3 or 4 to correspond with the channel selected in 1.
3Press POWER to turn on the VCR. The POWER indicator will light.
4Press TV/VCR to select the VCR
position. | CAN 125 |
The TV/VCR indicator will light. |
|
5Select any channel to receive a TV station in your area.
The channel number will appear on the screen for about 4 seconds.
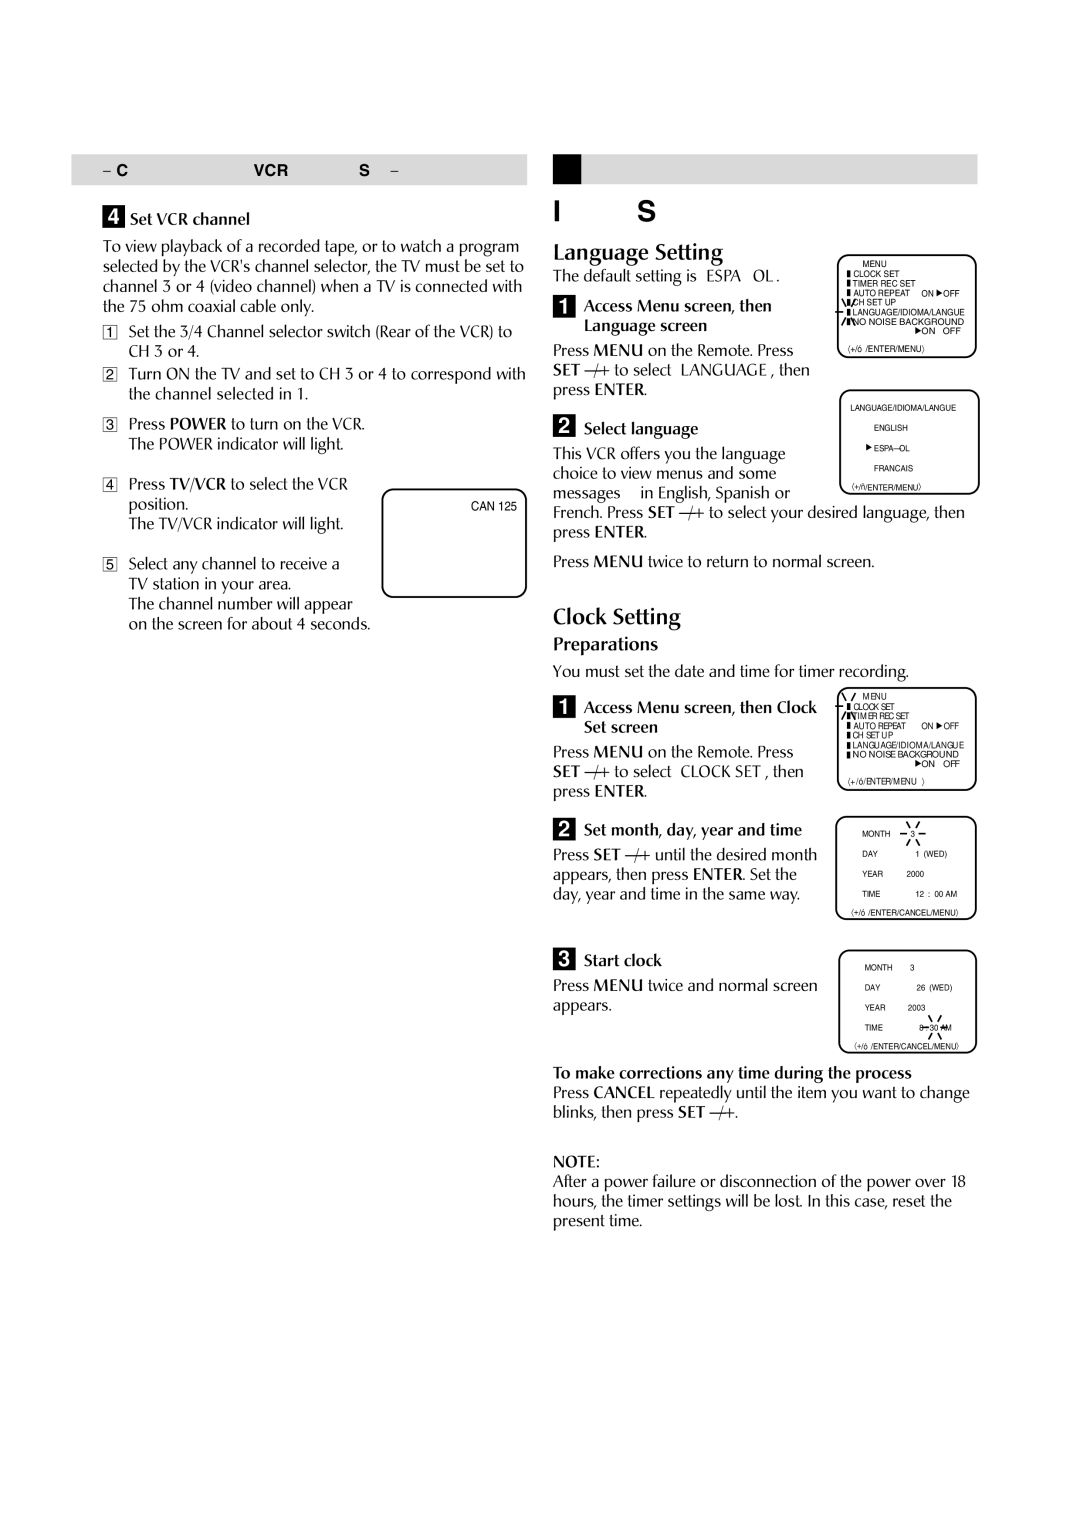
Initial Settings
Language Setting
The default setting is “ESPAÑOL”.
1 Access Menu screen, then Language screen
Press MENU on the Remote. Press SET
2 Select language
This VCR offers you the language choice to view menus and some
messages — in English, Spanish or
French. Press SET
Press MENU twice to return to normal screen.
Clock Setting
Preparations
You must set the date and time for timer recording.
1Access Menu screen, then Clock Set screen
Press MENU on the Remote. Press SET
2Set month, day, year and time
Press SET
3Start clock
Press MENU twice and normal screen appears.
MENU
![]() CLOCK SET
CLOCK SET
![]() TIMER REC SET
TIMER REC SET
![]() AUTO REPEAT ON
AUTO REPEAT ON ![]() OFF
OFF ![]() CH SET UP
CH SET UP
![]() LANGUAGE/IDIOMA/LANGUE
LANGUAGE/IDIOMA/LANGUE
![]() NO NOISE BACKGROUND
NO NOISE BACKGROUND ![]() ON OFF
ON OFF
〈+/—/ENTER/MENU〉
MONTH | 3 |
|
DAY | 1 (WED) | |
YEAR | 2000 |
|
TIME | 12 | : 00 AM |
MONTH | 3 |
|
DAY | 26 | (WED) |
YEAR | 2003 |
|
TIME | 8 : 30 AM | |
To make corrections any time during the process
Press CANCEL repeatedly until the item you want to change blinks, then press SET
NOTE:
After a power failure or disconnection of the power over 18 hours, the timer settings will be lost. In this case, reset the present time.
