
LPT0684-001A, HR-J491MS specifications
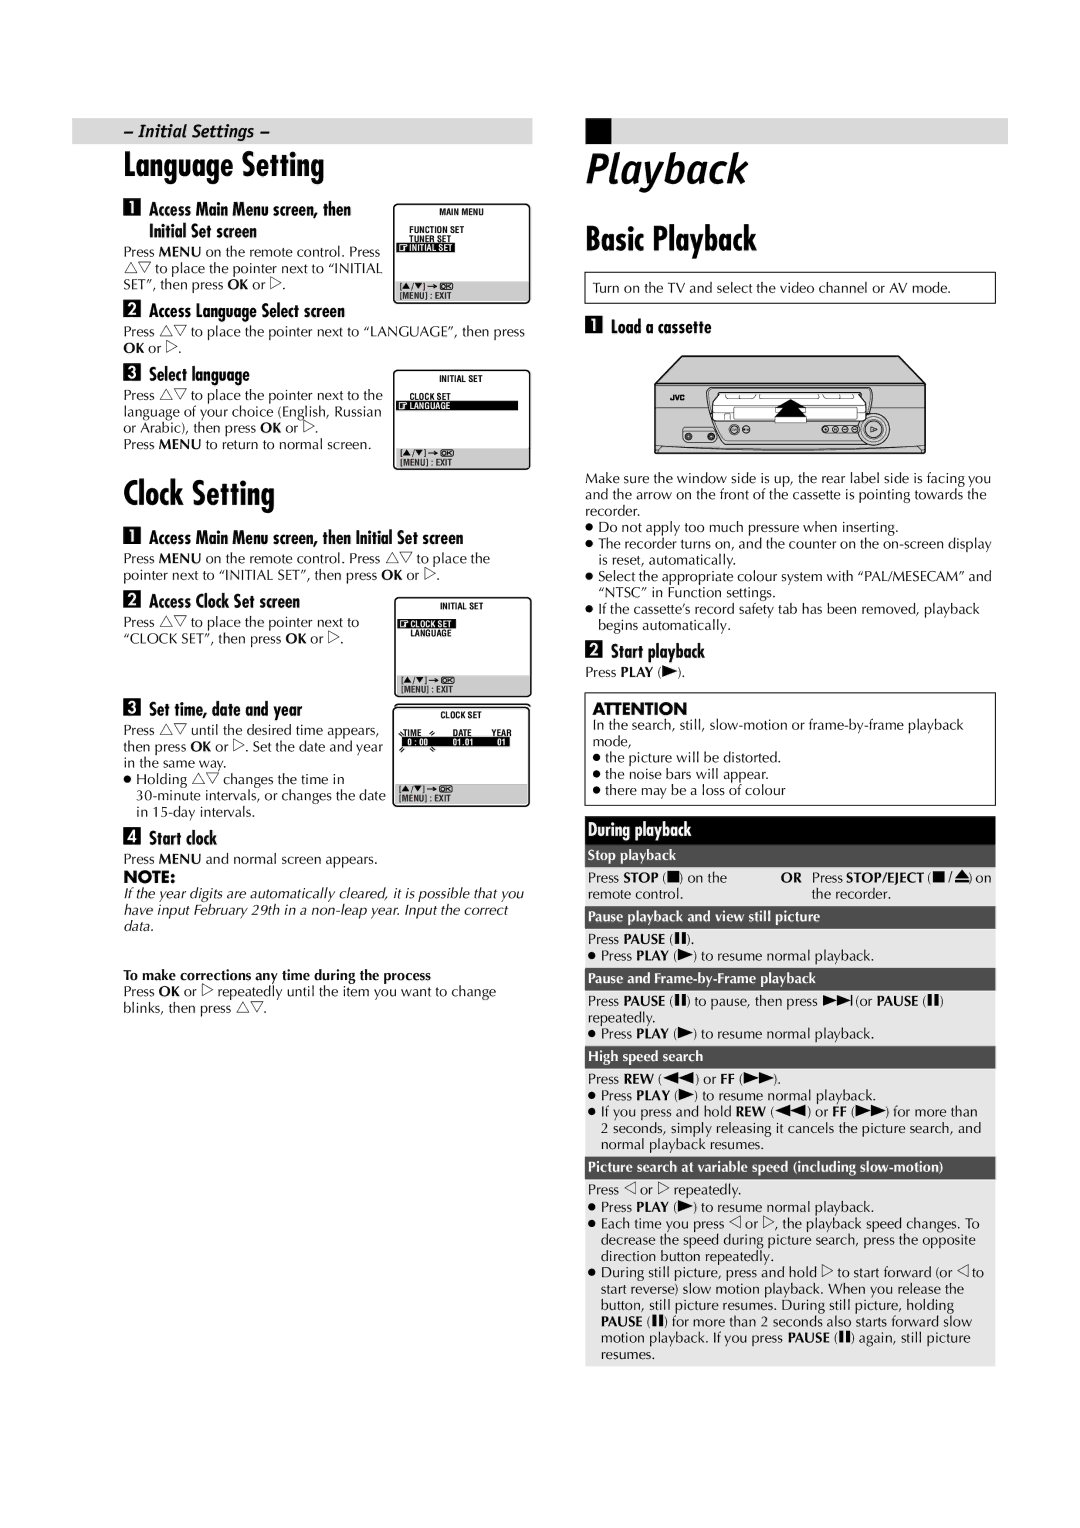
The JVC HR-J491MS, identified by the model number LPT0684-001A, is a VCR that encapsulates the essence of vintage video technology, showcasing the brand's dedication to quality and user-friendly design. Released during the height of the VHS format's popularity, this model is often recognized for its robust performance and compatibility features that cater to a variety of user needs.One of the standout features of the HR-J491MS is its excellent tape handling capabilities. The model is equipped with JVC's proprietary Super VHS technology, which enhances video playback quality. Super VHS allows for higher resolution recordings compared to standard VHS, delivering sharper images and more vivid colors. This is particularly appealing for users looking to archive home videos or watch classic films with improved clarity.
Another important characteristic of the HR-J491MS is its built-in timer recording feature. This allows users to schedule recordings well in advance, ensuring that they never miss their favorite programs. The intuitive interface makes setting up recordings straightforward, with options to specify date, time, and duration easily.
The design of the HR-J491MS supports a variety of media formats, allowing users to play both standard VHS tapes and Super VHS tapes. This versatility means that it can serve as a reliable choice for those with a substantial collection of video media from different eras. Its compatibility with various tape formats ensures that it remains functional for a broad user base.
The VCR also integrates noise reduction technologies that help minimize video and audio artifacts during playback. This feature enhances the overall viewing experience, particularly for older or more worn tapes, ensuring that users enjoy a cleaner, more enjoyable playback.
Moreover, the JVC HR-J491MS is equipped with multiple connectivity options, including composite and RF outputs. This makes it easy to connect to a range of televisions and audio systems, allowing users to enjoy their videos on different setups without hassle.
In summary, the JVC HR-J491MS, LPT0684-001A, is a remarkable piece of vintage technology that balances functionality and quality. With features like Super VHS compatibility, timer recording, and noise reduction, it stands out as an excellent choice for both collectors and casual users looking to relive their video memories.