– Other Functions –

Changing Remote Control Code

This remote control is capable of transmitting two control codes; one set to respond to A code control signals and another set to respond to B code control signals. This remote control is preset to send A code signals because your recorder is initially set to respond to A code signals. You can easily modify your recorder and the remote control to respond to B code signals. When using two JVC recorders, set two recorders and their remote controls to different codes, so that you can operate these recorders separately.

ASet remote control code for remote control

APress and hold VCR.

BPress the Number key 2”.

C Press OK, and release VCR.

The remote control now can transmit B code control signals.

BCheck remote control code for recorder

Press and hold PLAY (4) on the recorder for more than 5 seconds while the recorder is turned off. The code currently set appears on the display panel.

CChange code for recorder

Press any key on the remote control. The recorder now responds to B code control signals.

To set the remote control and the recorder back to A code

control signals, repeat the same procedure as shown above except pressing the Number key 1” in step B of 1.

To control two recorders with the same remote control

You can control two JVC recorders by switching the remote control code for the remote control between A and B ( step A), keeping two recorders to different control codes.

To change only the remote control code for the remote control, DO NOT perform steps Band C.

Editing

You can use your recorder as the playback or recording deck.You can use a camcorder as the source player and your recorder as the recording deck. Refer also to the other components’ instruction manuals for connection and its operations.

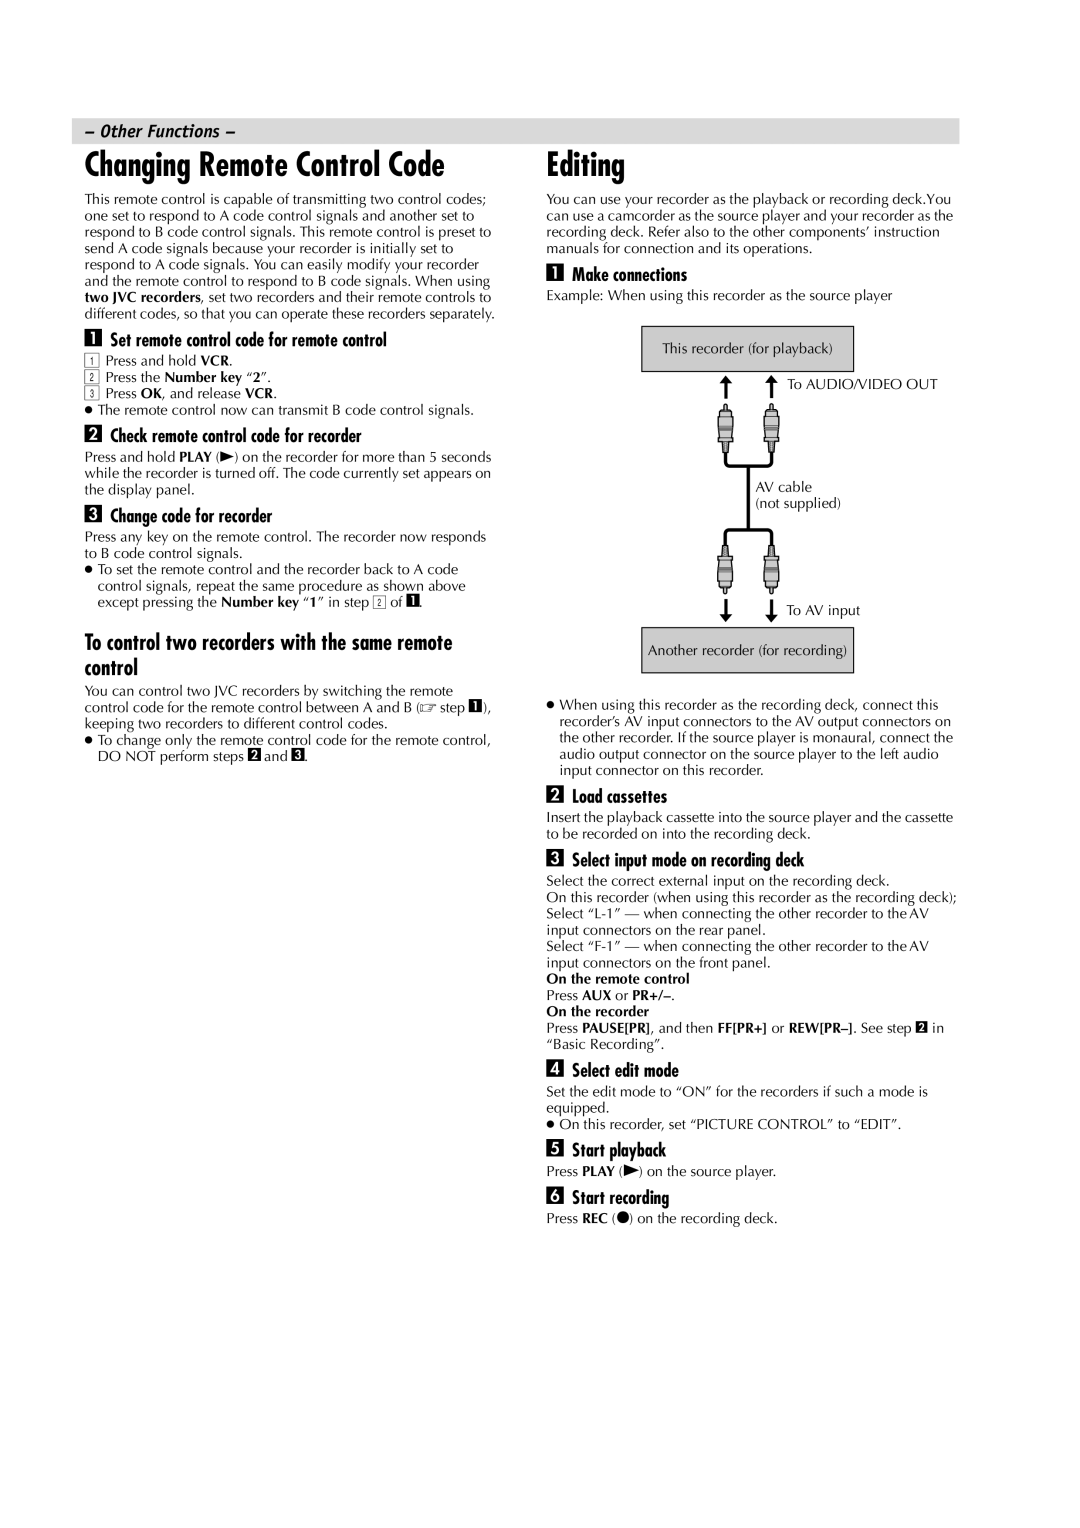
AMake connections

Example: When using this recorder as the source player

This recorder (for playback)

To AUDIO/VIDEO OUT

AV cable (not supplied)

To AV input

Another recorder (for recording)

When using this recorder as the recording deck, connect this recorder’s AV input connectors to the AV output connectors on the other recorder. If the source player is monaural, connect the audio output connector on the source player to the left audio input connector on this recorder.

BLoad cassettes

Insert the playback cassette into the source player and the cassette to be recorded on into the recording deck.

CSelect input mode on recording deck

Select the correct external input on the recording deck.

On this recorder (when using this recorder as the recording deck); Select “L-1” — when connecting the other recorder to the AV input connectors on the rear panel.

Select “F-1” — when connecting the other recorder to the AV input connectors on the front panel.

On the remote control

Press AUX or PR+/–.

On the recorder

Press PAUSE[PR], and then FF[PR+] or REW[PR–]. See step B in “Basic Recording”.

DSelect edit mode

Set the edit mode to “ON” for the recorders if such a mode is equipped.

On this recorder, set “PICTURE CONTROL” to “EDIT”.

EStart playback

Press PLAY (4) on the source player.

FStart recording

Press REC (7) on the recording deck.

Page 12
Image 12
JVC HR-J491MS, LPT0684-001A manual Editing, To control two recorders with the same remote control

LPT0684-001A, HR-J491MS specifications

The JVC HR-J491MS, identified by the model number LPT0684-001A, is a VCR that encapsulates the essence of vintage video technology, showcasing the brand's dedication to quality and user-friendly design. Released during the height of the VHS format's popularity, this model is often recognized for its robust performance and compatibility features that cater to a variety of user needs.

One of the standout features of the HR-J491MS is its excellent tape handling capabilities. The model is equipped with JVC's proprietary Super VHS technology, which enhances video playback quality. Super VHS allows for higher resolution recordings compared to standard VHS, delivering sharper images and more vivid colors. This is particularly appealing for users looking to archive home videos or watch classic films with improved clarity.

Another important characteristic of the HR-J491MS is its built-in timer recording feature. This allows users to schedule recordings well in advance, ensuring that they never miss their favorite programs. The intuitive interface makes setting up recordings straightforward, with options to specify date, time, and duration easily.

The design of the HR-J491MS supports a variety of media formats, allowing users to play both standard VHS tapes and Super VHS tapes. This versatility means that it can serve as a reliable choice for those with a substantial collection of video media from different eras. Its compatibility with various tape formats ensures that it remains functional for a broad user base.

The VCR also integrates noise reduction technologies that help minimize video and audio artifacts during playback. This feature enhances the overall viewing experience, particularly for older or more worn tapes, ensuring that users enjoy a cleaner, more enjoyable playback.

Moreover, the JVC HR-J491MS is equipped with multiple connectivity options, including composite and RF outputs. This makes it easy to connect to a range of televisions and audio systems, allowing users to enjoy their videos on different setups without hassle.

In summary, the JVC HR-J491MS, LPT0684-001A, is a remarkable piece of vintage technology that balances functionality and quality. With features like Super VHS compatibility, timer recording, and noise reduction, it stands out as an excellent choice for both collectors and casual users looking to relive their video memories.