Initial Settings - VCR
By using the VCR Setup menu, you can make various adjustments to items such as clock setting, and timer recordings.
Your unit allows remote control adjustment of several features.
General Operation
1.Press VCR on the Remote Control.
2.Press SETUP MENU and the MAIN menu will appear.
3.Use v/V to select the desired menu, then press ENTER (OK).
4.Use v/V to choose a desired option on the select- ed Menu. Then use b/B to choose a desired setting.
5.Press SETUP MENU when finished.
Note:
Menus remain
CLOCK
Use v/V/b/B to enter the necessary information.
•MONTH : Choose the month.
•DAY : Choose the date.
The day of the week will display automatically.
•YEAR : Choose the year.
•TIME : Choose the time.
Press and hold b/B to advance clock continuously.
Note:
The clock uses the
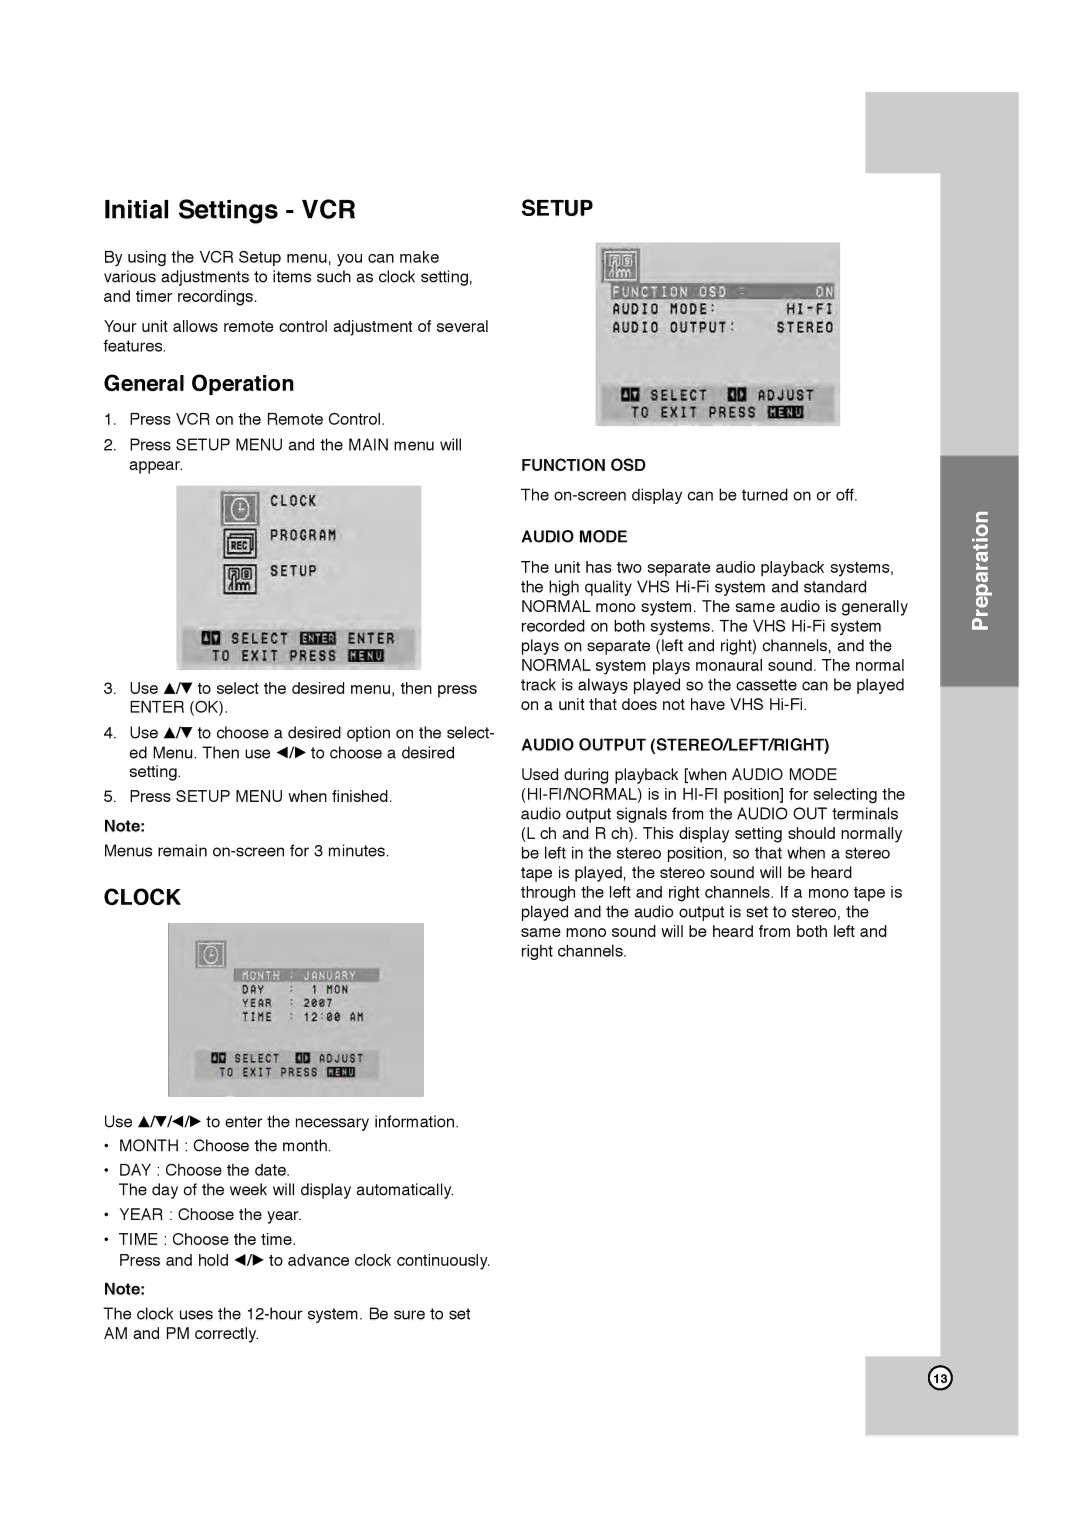
SETUP
FUNCTION OSD
The
AUDIO MODE
The unit has two separate audio playback systems, the high quality VHS
AUDIO OUTPUT (STEREO/LEFT/RIGHT)
Used during playback [when AUDIO MODE
Preparation
13