Setting the video channel/Setting the language
Setting the Video Channel
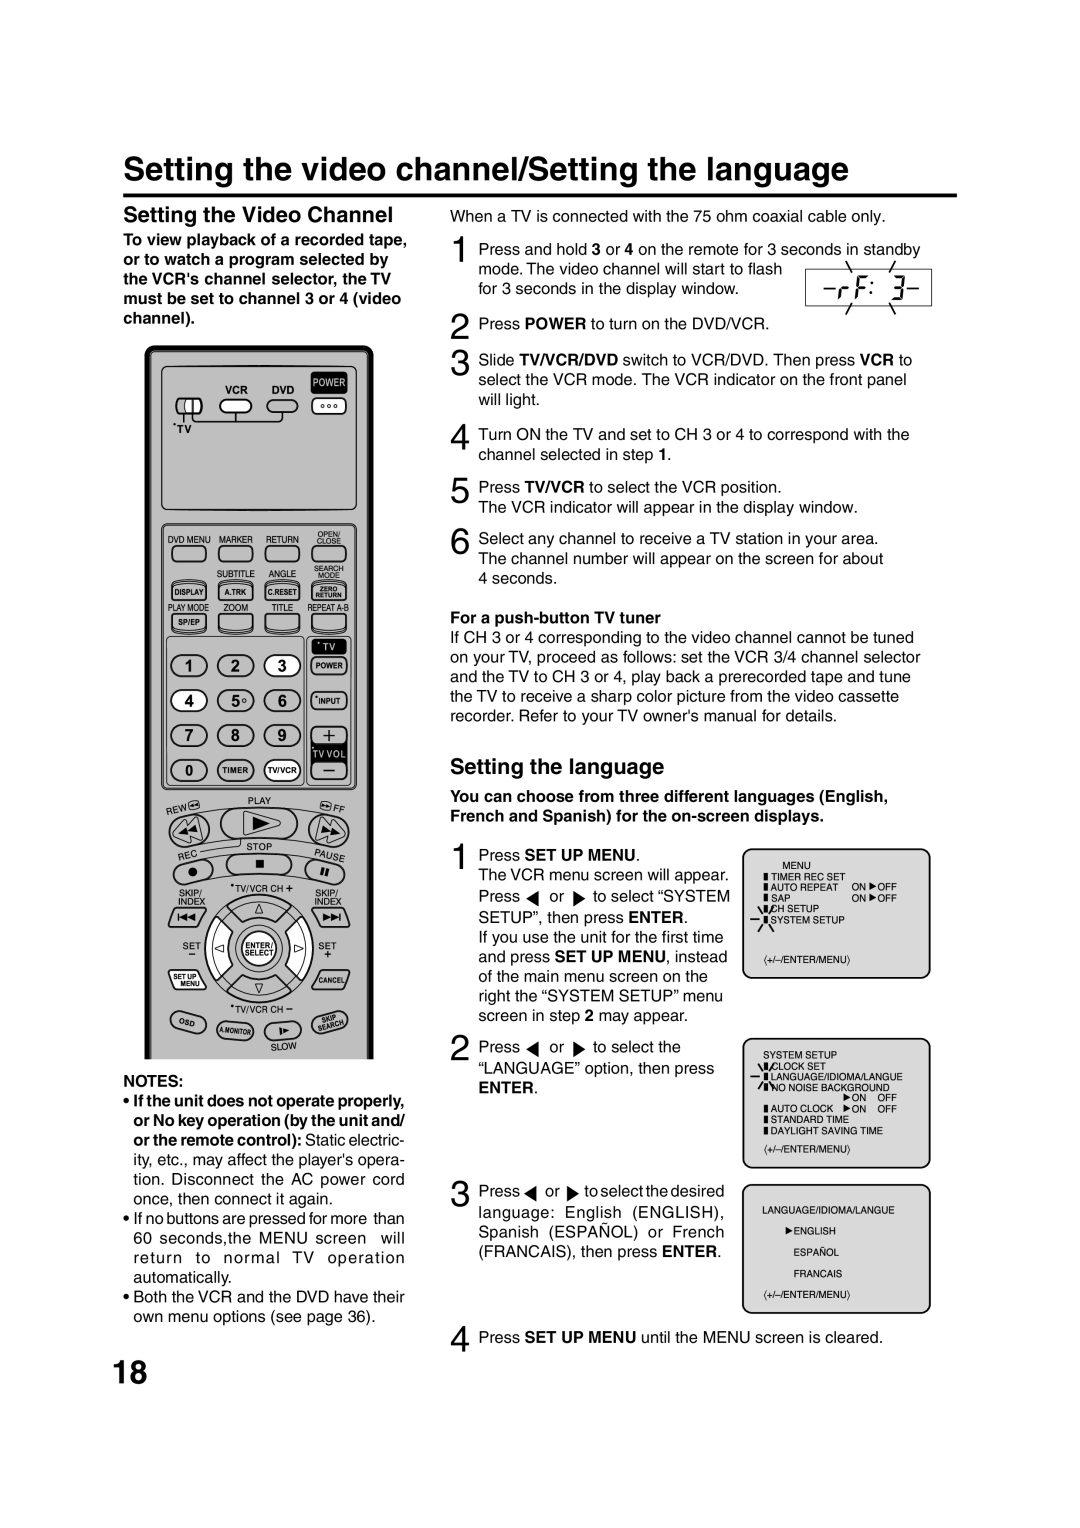
To view playback of a recorded tape, or to watch a program selected by the VCR's channel selector, the TV must be set to channel 3 or 4 (video channel).
NOTES:
•If the unit does not operate properly, or No key operation (by the unit and/ or the remote control): Static electric- ity, etc., may affect the player's opera- tion. Disconnect the AC power cord once, then connect it again.
•If no buttons are pressed for more than 60 seconds,the MENU screen will return to normal TV operation automatically.
•Both the VCR and the DVD have their own menu options (see page 36).
When a TV is connected with the 75 ohm coaxial cable only.
1 Press and hold 3 or 4 on the remote for 3 seconds in standby mode. The video channel will start to flash
for 3 seconds in the display window. 2 Press POWER to turn on the DVD/VCR.
3 Slide TV/VCR/DVD switch to VCR/DVD. Then press VCR to select the VCR mode. The VCR indicator on the front panel will light.
4 Turn ON the TV and set to CH 3 or 4 to correspond with the channel selected in step 1.
5 Press TV/VCR to select the VCR position.
The VCR indicator will appear in the display window.
6 Select any channel to receive a TV station in your area. The channel number will appear on the screen for about 4 seconds.
For a
If CH 3 or 4 corresponding to the video channel cannot be tuned on your TV, proceed as follows: set the VCR 3/4 channel selector and the TV to CH 3 or 4, play back a prerecorded tape and tune the TV to receive a sharp color picture from the video cassette recorder. Refer to your TV owner's manual for details.
Setting the language
You can choose from three different languages (English, French and Spanish) for the
Press | or | to select “SYSTEM |
|
| CHAUTOAPSETUPREEAT | ONOFF | ||||
Press SET UP MENU. |
|
| TIMERMENUREC |
| ||||||
1 The VCR menu screen will appear. |
|
|
| |||||||
|
| |||||||||
SETUP”, then press ENTER. |
|
| SYSTEMSETUP |
| ||||||
|
| |||||||||
|
| |||||||||
|
| |||||||||
|
| |||||||||
|
| |||||||||
|
| |||||||||
|
| |||||||||
If you use the unit for the first time |
| |||||||||
and press SET UP MENU, instead |
| |||||||||
of the main menu screen on the |
|
| LANGUAGE/IDIOMA/LAGUE | |||||||
right the “SYSTEM SETUP” menu |
|
| ||||||||
|
| NONOISEBACKGROUND | ||||||||
ENTER. |
|
|
|
| ||||||
|
|
|
| |||||||
|
|
|
| |||||||
|
|
|
| |||||||
|
|
|
| |||||||
|
|
|
| |||||||
|
|
|
| |||||||
screen in step 2 may appear. |
|
| AUTOCLOCK | ONOFF | ||||||
2 Press |
|
|
|
| DAYLIGHTSTANDARDSAVINGTIMETIME | |||||
or | to select the | SYSTEMCLOCKSETUP |
| |||||||
“LANGUAGE” option, then press |
|
| ||||||||
|
|
|
|
|
|
|
| |||
3 Press | or | to select the desired |
|
|
|
|
|
|
|
|
|
|
|
|
|
|
|
| |||
|
|
|
|
|
|
|
| |||
|
|
|
|
|
|
|
| |||
|
|
|
|
|
|
|
| |||
|
|
|
|
|
|
|
| |||
language: English (ENGLISH), |
|
|
|
|
|
|
|
| ||
|
|
|
|
|
|
|
| |||
Spanish (ESPAÑOL) or French |
|
|
|
|
|
|
|
| ||
|
|
|
|
|
|
|
| |||
| Ò |
| ||||||||
(FRANCAIS), then press ENTER. |
|
| ||||||||
|
|
|
|
| ||||||
|
|
|
|
| ||||||
4 Press SET UP MENU until the MENU screen is cleared.
18
