
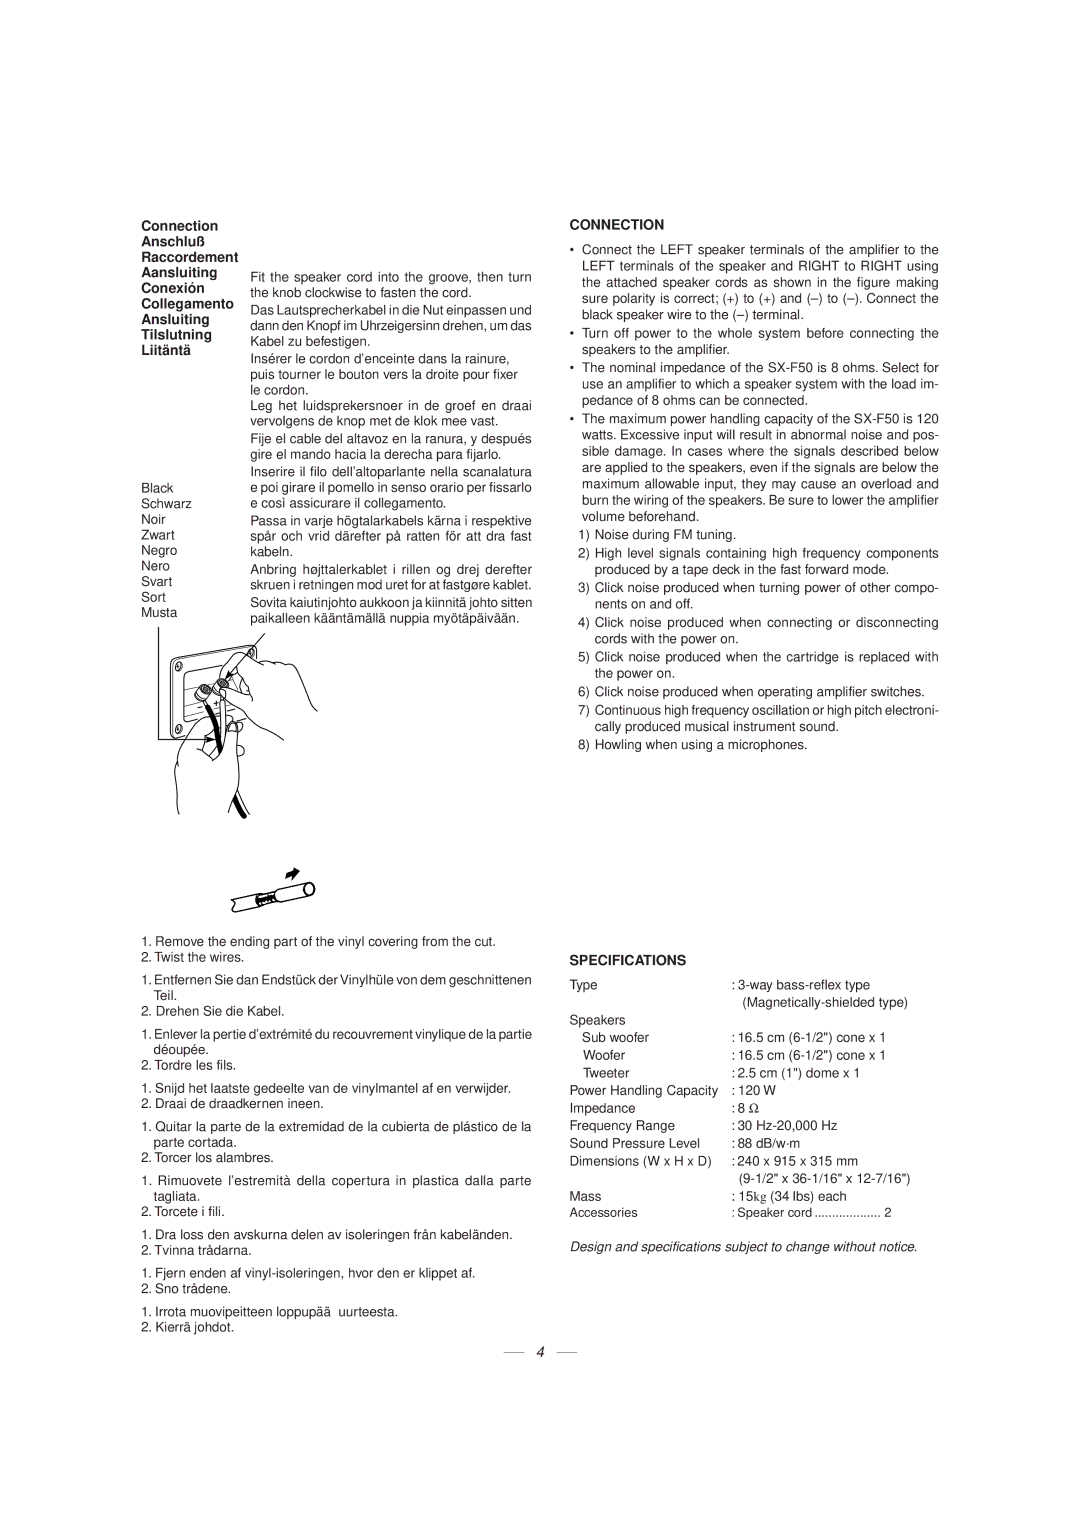
SX-F50, LVT0347-001A specifications
The JVC LVT0347-001A, SX-F50 is a remarkable speaker system that exemplifies JVC's commitment to delivering high-quality audio experiences. Designed to cater to both casual listeners and audiophiles, the SX-F50 combines advanced engineering with user-friendly features, enhancing its appeal.One of the standout characteristics of the SX-F50 is its powerful output capabilities. With a maximum power handling of 230 watts, this speaker can fill large spaces with rich, clear sound. The integration of a robust woofer allows for deep bass reproduction, making it ideal for those who enjoy listening to music across various genres, from classical to contemporary pop.
The speaker technology employed in the SX-F50 includes a high-quality dome tweeter that ensures crisp and clear high-frequency sounds. This attention to detail in sound reproduction is further supported by JVC's proprietary acoustic engineering, which minimizes distortion and maximizes sound clarity. As a result, listeners experience a well-balanced audio output that captures both the subtle nuances and dynamic ranges of their favorite tracks.
The SX-F50 features a modern, sleek design that fits seamlessly into any home or entertainment setup. Its compact size makes it easy to position in a variety of spaces without compromising aesthetic appeal. Additionally, the speaker is equipped with versatile connectivity options, allowing it to easily integrate with various audio systems, including home theaters, televisions, and music players.
Another essential aspect of the SX-F50 is its durability. Constructed with quality materials, the speaker is designed to withstand regular use, ensuring longevity without sacrificing sound quality. Users can enjoy peace of mind knowing that their investment is built to last.
The JVC LVT0347-001A, SX-F50 also excels in user-friendly features. Whether it's for listening to music, watching movies, or gaming, the intuitive controls allow for easy adjustment of sound settings to match personal preferences. This versatility makes it a favorite choice for individuals looking to enhance their audio experience in everyday activities.
In conclusion, the JVC LVT0347-001A, SX-F50 is a standout speaker that brings together powerful sound, advanced technology, and user-friendly features. Its combination of performance and design ensures that it meets the needs of a diverse range of listeners, making it a valuable addition to any audio setup. Whether you're an avid music lover or someone who simply enjoys quality sound, the SX-F50 delivers an outstanding auditory experience.