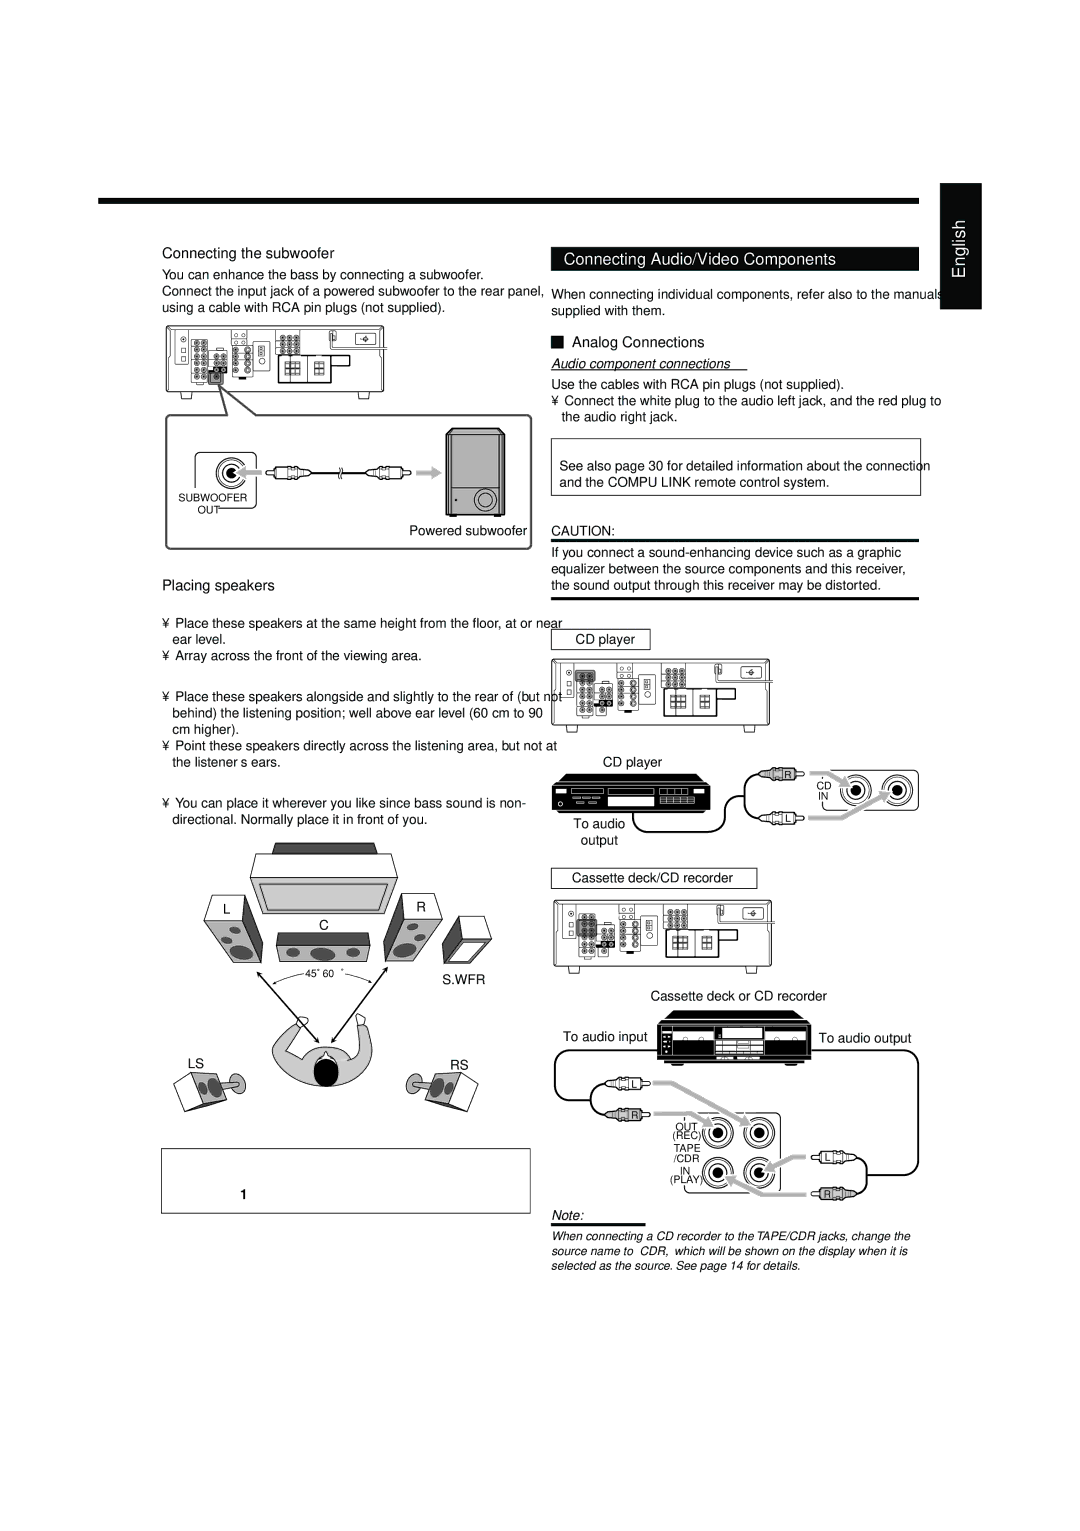
Connecting the subwoofer | Connecting Audio/Video Components | |
You can enhance the bass by connecting a subwoofer. | ||
| ||
Connect the input jack of a powered subwoofer to the rear panel, | When connecting individual components, refer also to the manuals | |
using a cable with RCA pin plugs (not supplied). | supplied with them. |
English
SUBWOOFER
OUT
Powered subwoofer
Placing speakers
Front speakers (L/R) and center speaker (C)
•Place these speakers at the same height from the floor, at or near ear level.
•Array across the front of the viewing area.
Surround speakers (LS/RS)
•Place these speakers alongside and slightly to the rear of (but not behind) the listening position; well above ear level (60 cm to 90 cm higher).
•Point these speakers directly across the listening area, but not at the listener’s ears.
Subwoofer (S.WFR)
•You can place it wherever you like since bass sound is non- directional. Normally place it in front of you.
L ![]() R
R
C
45![]() – 60
– 60![]()
S.WFR
LS | RS |
After connecting the speakers, set the speaker installation information properly. You can use Quick Speaker Setup for it (see page 18).

 Analog Connections
Audio component connections
Use the cables with RCA pin plugs (not supplied).
•Connect the white plug to the audio left jack, and the red plug to the audio right jack.
If your audio components have a COMPU LINK jack
See also page 30 for detailed information about the connection and the COMPU LINK remote control system.
CAUTION:
If you connect a
CD player
CD player
| R |
| CD |
| IN |
To audio | L |
| |
output |
|
Cassette deck/CD recorder |
|
Cassette deck or CD recorder
To audio input ![]()
![]()
![]()
![]()
![]()
![]()
![]()
![]()
![]()
![]()
![]() To audio output
To audio output
![]()
![]()
![]()
![]()
![]()
![]() L
L ![]()
![]()
![]()
![]()
![]()
![]()
![]() R
R ![]()
![]()
OUT
(REC)
TAPE
/CDR![]()
![]() L
L ![]()
![]()
![]()
![]()
![]()
IN
(PLAY)
![]()
![]() R
R ![]()
![]()
![]()
![]()
![]()
![]()
Note:
When connecting a CD recorder to the TAPE/CDR jacks, change the source name to “CDR,” which will be shown on the display when it is selected as the source. See page 14 for details.
7