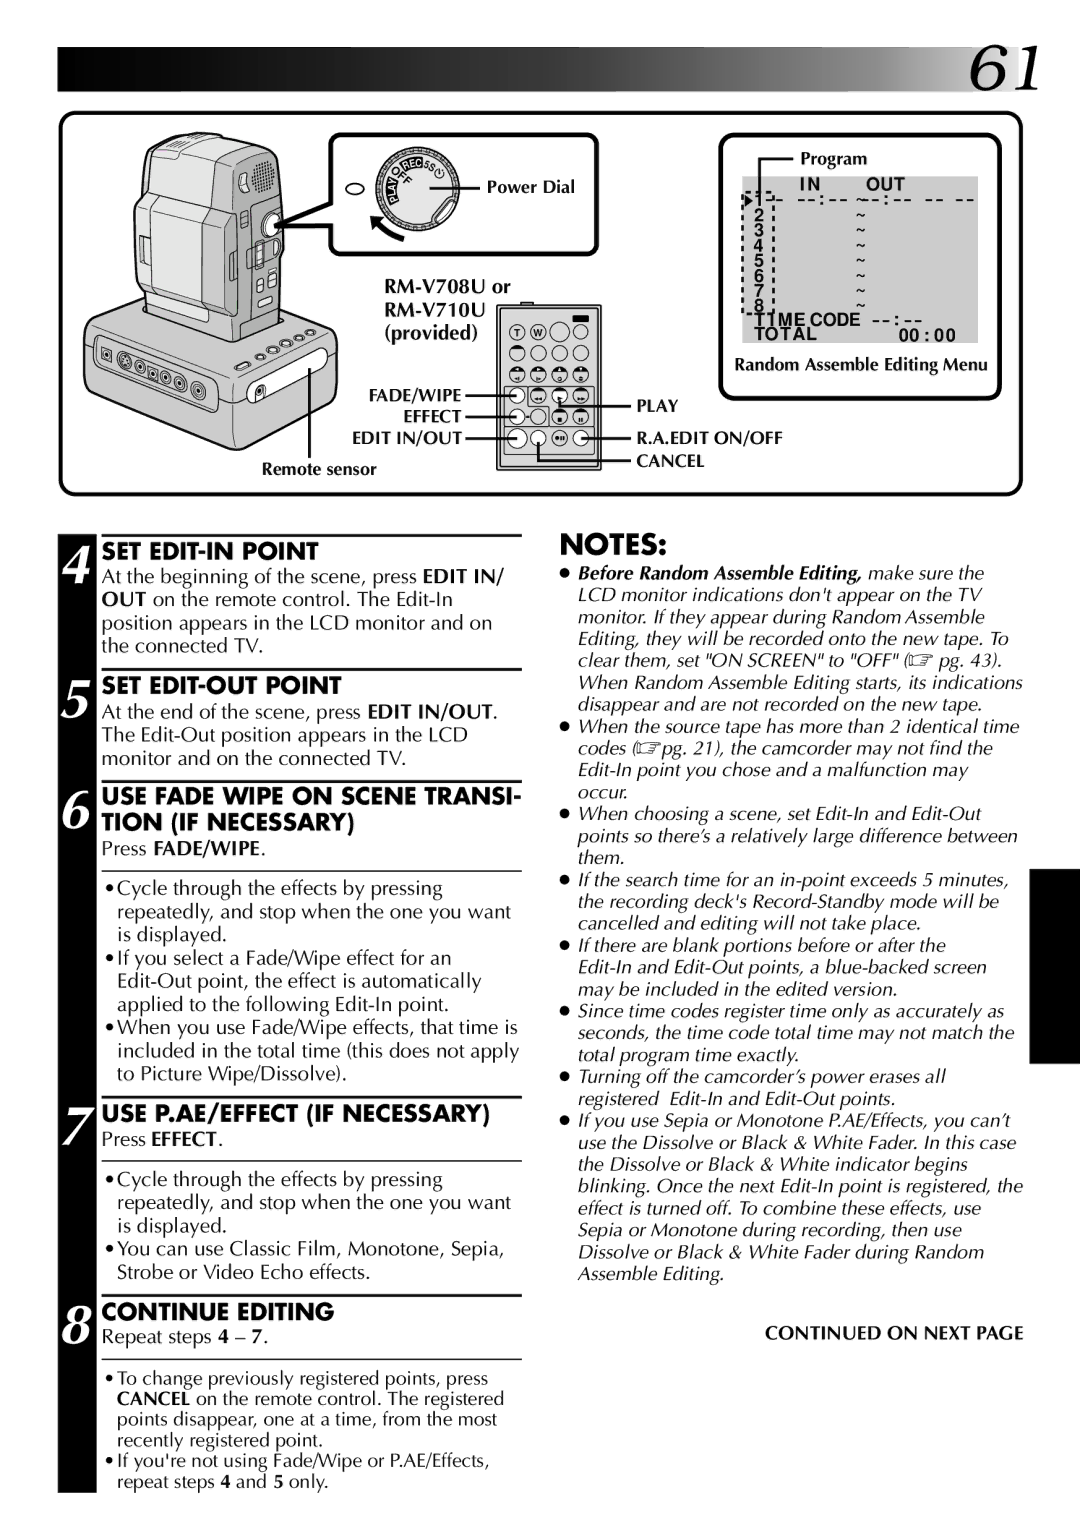
LYT0002-0A1A specifications
The JVC LYT0002-0A1A is a cutting-edge camera accessory designed specifically for enhancing video and imaging capabilities. Aimed at both amateur and professional videographers, this product incorporates various advanced features and technologies to facilitate exceptional video capture and improved functionality.One of the key features of the LYT0002-0A1A is its high compatibility with a range of JVC camcorders. This ensures seamless integration and allows users to leverage its full potential without needing extensive adjustments or additional equipment. The accessory is built with precision, enhancing the overall filming experience by providing stability and versatility.
Another significant characteristic of the LYT0002-0A1A is its lightweight and compact design. Weighing in at just a few ounces, it allows for easy transport and setup, ensuring that users can take it anywhere without the hassle of heavy equipment. This makes it ideal for on-the-go filming, whether for professional projects or personal content creation.
In terms of technology, the LYT0002-0A1A boasts impressive stabilization capabilities. The in-built stabilization technology minimizes shake and vibrations, resulting in smoother footage even in challenging shooting conditions. This feature is especially beneficial for action shots or outdoor filming where movement is unavoidable.
The user-friendly interface of the LYT0002-0A1A should not be overlooked. Designed with the end-user in mind, it incorporates intuitive controls that provide quick access to essential functions, making it suitable for beginners and experienced users alike. This simplicity enhances the overall user experience, allowing for more focus on creativity rather than on technical adjustments.
Additionally, the LYT0002-0A1A supports high-resolution video recording, which is crucial for producing high-quality content. Its ability to capture sharp, detailed images ensures that users can produce professional-grade videos that stand out in an increasingly competitive digital landscape.
Overall, the JVC LYT0002-0A1A is a remarkable camera accessory that combines cutting-edge technology with user-friendly design. Its main features, including compatibility with JVC camcorders, lightweight construction, advanced stabilization, and high-resolution recording, make it an essential tool for anyone serious about videography. This accessory not only enhances video quality but also simplifies the filming process, allowing users to focus on their creativity and storytelling.