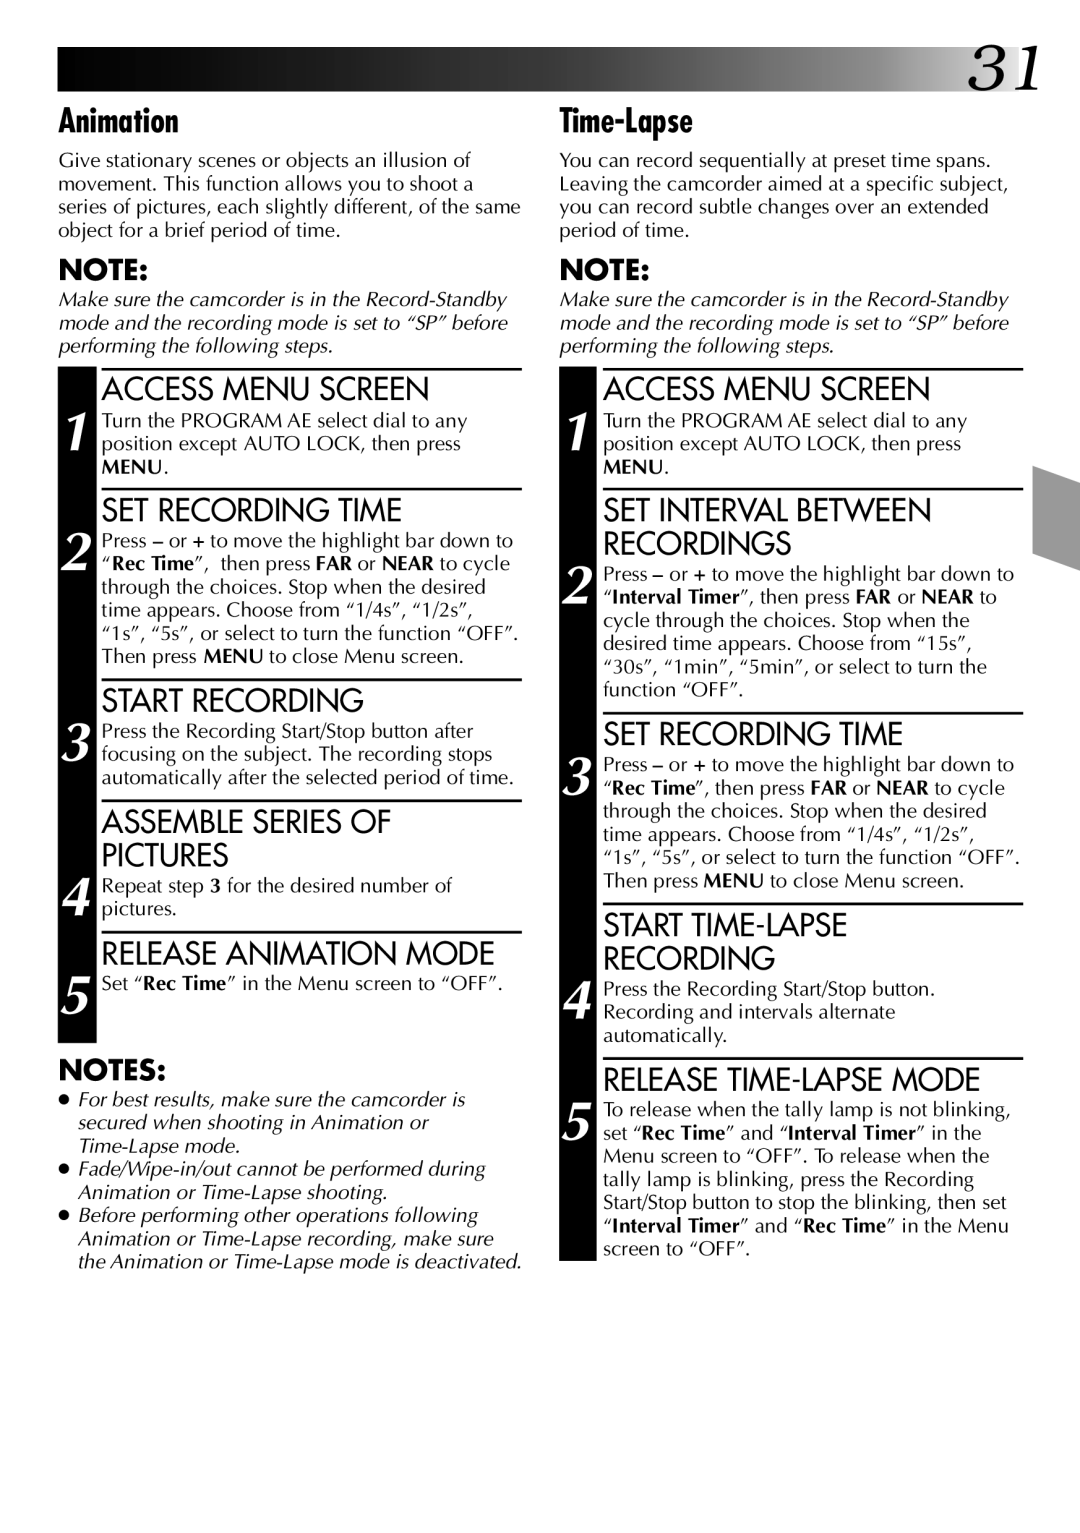
Animation

Give stationary scenes or objects an illusion of movement. This function allows you to shoot a series of pictures, each slightly different, of the same object for a brief period of time.

NOTE:

Make sure the camcorder is in the Record-Standby mode and the recording mode is set to “SP” before performing the following steps.

ACCESS MENU SCREEN

1 Turn the PROGRAM AE select dial to any position except AUTO LOCK, then press MENU.

SET RECORDING TIME

2 Press or + to move the highlight bar down to

Rec Time”, then press FAR or NEAR to cycle through the choices. Stop when the desired time appears. Choose from “1/4s”, “1/2s”, “1s”, “5s”, or select to turn the function “OFF”. Then press MENU to close Menu screen.

START RECORDING

3 Press the Recording Start/Stop button after focusing on the subject. The recording stops automatically after the selected period of time.

ASSEMBLE SERIES OF

PICTURES

4 Repeat step 3 for the desired number of pictures.

RELEASE ANIMATION MODE

5 Set “Rec Time” in the Menu screen to “OFF”.

NOTES:

For best results, make sure the camcorder is secured when shooting in Animation or Time-Lapse mode.

Fade/Wipe-in/out cannot be performed during Animation or Time-Lapse shooting.

Before performing other operations following Animation or Time-Lapse recording, make sure the Animation or Time-Lapse mode is deactivated.

31

Time-Lapse

You can record sequentially at preset time spans. Leaving the camcorder aimed at a specific subject, you can record subtle changes over an extended period of time.

NOTE:

Make sure the camcorder is in the Record-Standby mode and the recording mode is set to “SP” before performing the following steps.

ACCESS MENU SCREEN

1 Turn the PROGRAM AE select dial to any position except AUTO LOCK, then press MENU.

SET INTERVAL BETWEEN

RECORDINGS

2 Press or + to move the highlight bar down to “Interval Timer”, then press FAR or NEAR to cycle through the choices. Stop when the desired time appears. Choose from “15s”, “30s”, “1min”, “5min”, or select to turn the function “OFF”.

SET RECORDING TIME

3 Press or + to move the highlight bar down to “Rec Time”, then press FAR or NEAR to cycle through the choices. Stop when the desired time appears. Choose from “1/4s”, “1/2s”, “1s”, “5s”, or select to turn the function “OFF”. Then press MENU to close Menu screen.

START TIME-LAPSE

RECORDING

4 Press the Recording Start/Stop button. Recording and intervals alternate automatically.

RELEASE TIME-LAPSE MODE

5 To release when the tally lamp is not blinking, set “Rec Time” and “Interval Timer” in the Menu screen to “OFF”. To release when the tally lamp is blinking, press the Recording Start/Stop button to stop the blinking, then set “Interval Timer” and “Rec Time” in the Menu screen to “OFF”.

Page 31
Image 31
JVC Model GR-AX820 manual Animation, Time-Lapse

Model GR-AX820 specifications

The JVC Model GR-AX820 is a notable camcorder that exemplifies the brand's commitment to delivering advanced technology and user-friendly features. Launched during the 1990s, this model has become a classic among enthusiasts of compact camcorders, appreciated for both its innovative features and its portability.

One of the standout characteristics of the GR-AX820 is its compact design, making it easy to carry for on-the-go recording. Weighing approximately 2.5 pounds and featuring an ergonomic design, it is comfortable to hold for extended periods, allowing for a seamless recording experience. The camcorder utilizes a 1/4-inch CCD sensor, which helps capture high-quality video, offering an excellent balance of sensitivity and resolution.

The GR-AX820 is equipped with a 20x optical zoom lens, providing users with the flexibility to capture close-up shots without sacrificing image quality. Additionally, a digital zoom feature allows for even greater magnification, though it is generally recommended to rely on optical zoom for maintaining clarity. The lens is complemented by an autofocus system that ensures subjects are in sharp focus, making it an ideal choice for both amateur and more experienced videographers.

One of the notable technologies implemented in the GR-AX820 is JVC's advanced image stabilization system. This feature significantly reduces the effects of shakiness during handheld shooting, resulting in smoother footage. The camcorder also comes with various manual and automatic settings that cater to different shooting environments, allowing users to adjust exposure, white balance, and more.

For audio, the GR-AX820 incorporates a built-in stereo microphone that captures clear sound, a key element in enhancing the overall quality of the recorded videos. Additionally, it supports the connection of an external microphone for those looking to improve their audio setup further.

The camcorder records in the VHS-C format, allowing for convenient playback on standard VCRs with the use of an adapter. This format, along with its intuitive controls and LCD screen for playback, makes sharing memories more accessible without the need for a complex editing setup.

In summary, the JVC Model GR-AX820 is a well-rounded camcorder that combines portability, advanced optical technology, and effective stabilization to deliver quality video recording. Its user-friendly features and reliable performance make it a solid choice for families, hobbyists, and professionals who appreciate vintage technology.