Using the Timers | Continued |
|
There are three timers available — Recording Timer, Daily Timer, and Sleep Timer.
Before using the timers, you need to set the clock built in the unit. (See page 9.)
Using Daily Timer
With Daily Timer, you can wake to your favorite music or radio program.
How Daily Timer actually works
The unit automatically turns on, set the volume level to the preset level, and starts playing the specified source when the
![]() indicator flashes just before the on- time, and continues flashing while the timer is operating). Then, when the
indicator flashes just before the on- time, and continues flashing while the timer is operating). Then, when the
The timer setting remains in memory until you change it.
•There is a time limit in doing the following steps. If the setting is canceled before you finish, start from step 1 again.
•If you have made a mistake while setting timer, press CANCEL. (However, this does not always work. If CANCEL does not work, press TIMER/CLOCK repeatedly and start from step 1 again.)
On the unit ONLY:
1 | Press TIMER/CLOCK until | TIMER | |
/CLOCK | |||
|
| ||
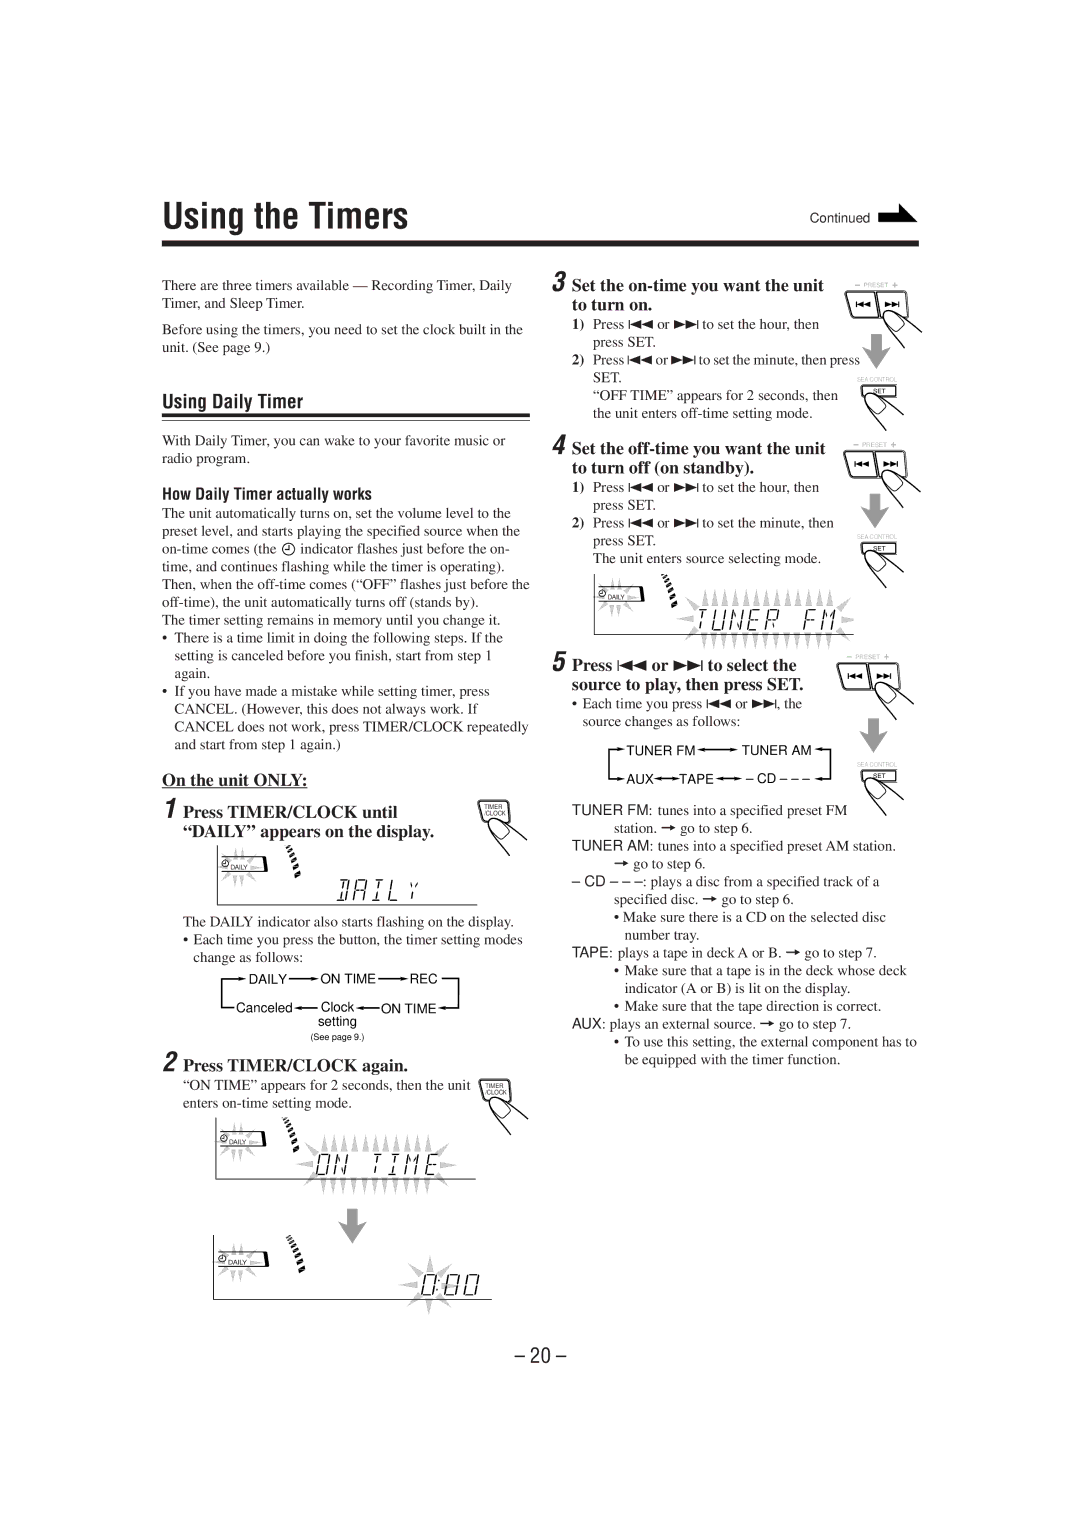
| “DAILY” appears on the display. |
| |
| DAILY |
|
The DAILY indicator also starts flashing on the display.
•Each time you press the button, the timer setting modes change as follows:
![]() DAILY
DAILY ![]() ON TIME
ON TIME ![]() REC
REC
Canceled |
| Clock |
| ON TIME |
|
| |||
|
| setting |
|
|
(See page 9.)
2 Press TIMER/CLOCK again.
“ON TIME” appears for 2 seconds, then the unit | TIMER |
enters | /CLOCK |
| |
DAILY |
|
![]() DAILY
DAILY ![]()
3 Set the on-time you want the unit to turn on.
1) Press 4 or ¢to set the hour, then press SET.
2)Press 4or ¢to set the minute, then press
SET.
“OFF TIME” appears for 2 seconds, then the unit enters
4 Set the off-time you want the unit to turn off (on standby).
1)Press 4 or ¢to set the hour, then press SET.
2)Press 4 or ¢to set the minute, then
press SET.
The unit enters source selecting mode.
DAILY |
5 Press 4or ¢to select the source to play, then press SET.
•Each time you press 4 or ¢, the source changes as follows:
![]() TUNER FM
TUNER FM![]()
![]() TUNER AM
TUNER AM ![]()
![]() AUX
AUX![]() TAPE
TAPE![]()
![]() – CD – – –
– CD – – – ![]()
TUNER FM: tunes into a specified preset FM station. =go to step 6.
TUNER AM: tunes into a specified preset AM station.
= go to step 6.
–CD – –
• Make sure there is a CD on the selected disc number tray.
TAPE: plays a tape in deck A or B. =go to step 7.
•Make sure that a tape is in the deck whose deck indicator (A or B) is lit on the display.
•Make sure that the tape direction is correct. AUX: plays an external source. = go to step 7.
•To use this setting, the external component has to be equipped with the timer function.
– 20 –