Using the Tuner

Manual Tuning

Briefly press the 22 or ¡ button on the Unit to move from frequency to frequency until you find the station you want.

OR

Auto Tuning

If you hold down the 22 or ¡ button on the Unit for 1 second or more and then release it, the frequency changes

down, or up, automatically until a station is found.

OR

Preset Tuning (Possible only after presetting sta- tions)

Preset tuning using the Unit:

Select the preset number you want, using the 4 or ¢ button.

Example:

Press the ¢ button until the preset number “P-12” appears on the display. After 2 seconds, the display will show the preset number’s band and frequency.

PRESET

or

(After 2 seconds)

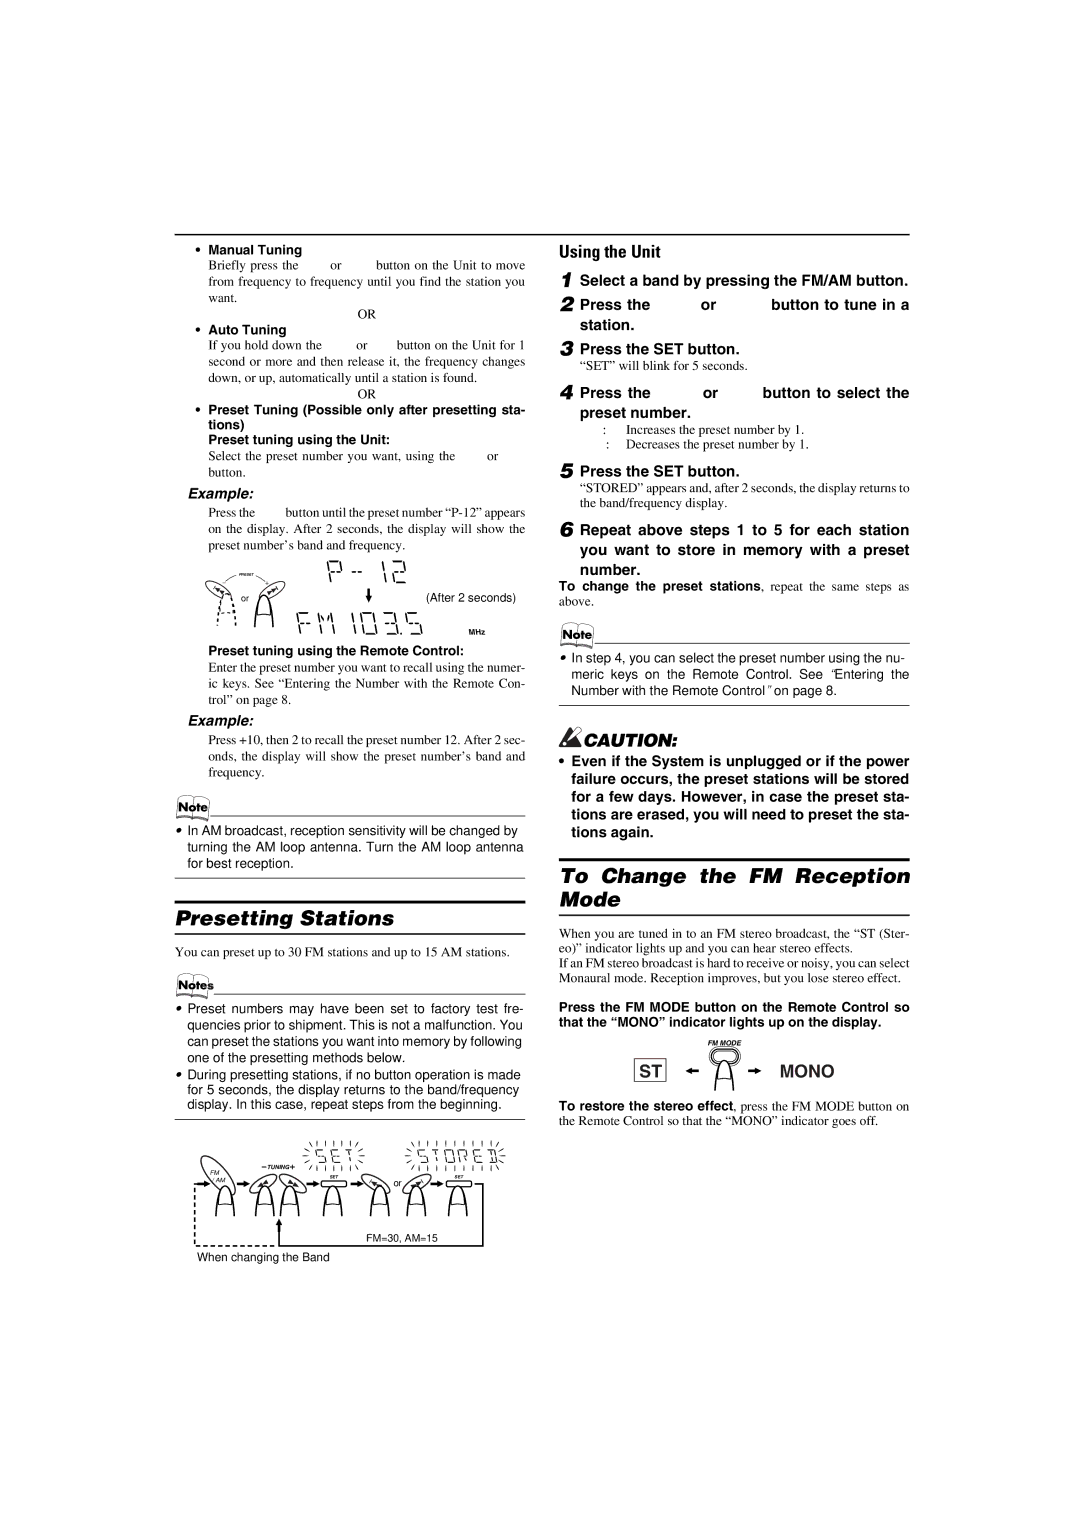
Using the Unit

1 Select a band by pressing the FM/AM button. 2 Press the 22 or ¡ button to tune in a

station.

3 Press the SET button. “SET” will blink for 5 seconds.

4 Press the 4 or ¢ button to select the preset number.

¢: Increases the preset number by 1.

4: Decreases the preset number by 1.

5 Press the SET button.

“STORED” appears and, after 2 seconds, the display returns to the band/frequency display.

6 Repeat above steps 1 to 5 for each station you want to store in memory with a preset number.

To change the preset stations, repeat the same steps as

above.

kHz MHz

Preset tuning using the Remote Control:

Enter the preset number you want to recall using the numer- ic keys. See “Entering the Number with the Remote Con- trol” on page 8.

In step 4, you can select the preset number using the nu- meric keys on the Remote Control. See “Entering the Number with the Remote Control” on page 8.

Example:

Press +10, then 2 to recall the preset number 12. After 2 sec- onds, the display will show the preset number’s band and frequency.

In AM broadcast, reception sensitivity will be changed by turning the AM loop antenna. Turn the AM loop antenna for best reception.

Presetting Stations

You can preset up to 30 FM stations and up to 15 AM stations.

Preset numbers may have been set to factory test fre- quencies prior to shipment. This is not a malfunction. You can preset the stations you want into memory by following one of the presetting methods below.

During presetting stations, if no button operation is made for 5 seconds, the display returns to the band/frequency display. In this case, repeat steps from the beginning.

TUNING

FM

/ AM

SET

SET


or


CAUTION:

Even if the System is unplugged or if the power failure occurs, the preset stations will be stored for a few days. However, in case the preset sta- tions are erased, you will need to preset the sta- tions again.

To Change the FM Reception Mode

When you are tuned in to an FM stereo broadcast, the “ST (Ster- eo)” indicator lights up and you can hear stereo effects.

If an FM stereo broadcast is hard to receive or noisy, you can select Monaural mode. Reception improves, but you lose stereo effect.

Press the FM MODE button on the Remote Control so that the “MONO” indicator lights up on the display.


FM MODE

ST

MONO

To restore the stereo effect, press the FM MODE button on the Remote Control so that the “MONO” indicator goes off.

FM=30, AM=15

When changing the Band

10

Page 12
Image 12
JVC MX-K10 manual Presetting Stations, To Change the FM Reception Mode, Using the Unit, Press the SET button

MX-K10 specifications

The JVC MX-K10 is a compact yet powerful home audio system that combines modern technology with a sleek design. Released in the early 2000s, the MX-K10 has remained popular among audiophiles and casual listeners alike for its impressive performance and versatility.

One of the standout features of the JVC MX-K10 is its dual cassette decks, which allow users to play and record tapes with ease. This feature appeals to nostalgic consumers who still enjoy physical media and want to preserve their cassette collections. The unit includes a high-speed dubbing function, enabling users to copy their favorite cassettes quickly, without compromising sound quality.

In addition to the cassette decks, the MX-K10 also supports CD playback, accommodating the transition from analog to digital media. The system can play various CD formats, including audio CDs and CD-R/RW. The inclusion of a programmable memory feature allows users to create custom playlists, making it convenient to listen to favorite tracks without interruptions.

The audio output is powered by an impressive integrated amplifier that delivers robust sound quality. With a peak power output of up to 110 watts, the MX-K10 offers dynamic audio performance, ensuring that users experience rich bass and clear treble across a range of music genres. The system features a 3-band equalizer, providing listeners with the ability to fine-tune their audio experience according to their preferences.

Connectivity is another strong point of the JVC MX-K10. It offers multiple input options, including auxiliary inputs, which allows users to connect external devices such as smartphones and tablets. The built-in FM/AM tuner provides access to radio stations, broadening the listening options available to users.

The design of the MX-K10 is both stylish and functional. The compact unit fits easily into any room layout, while its clean lines and modern aesthetics make it an attractive addition to home decor. The front-facing display is easy to read, providing essential information at a glance, including track number and radio frequency.

Overall, the JVC MX-K10 is a versatile and reliable audio system, offering an array of features that cater to both modern and classic media formats. Its enduring popularity speaks to its quality and performance, making it a notable choice for anyone seeking an impressive home audio experience.