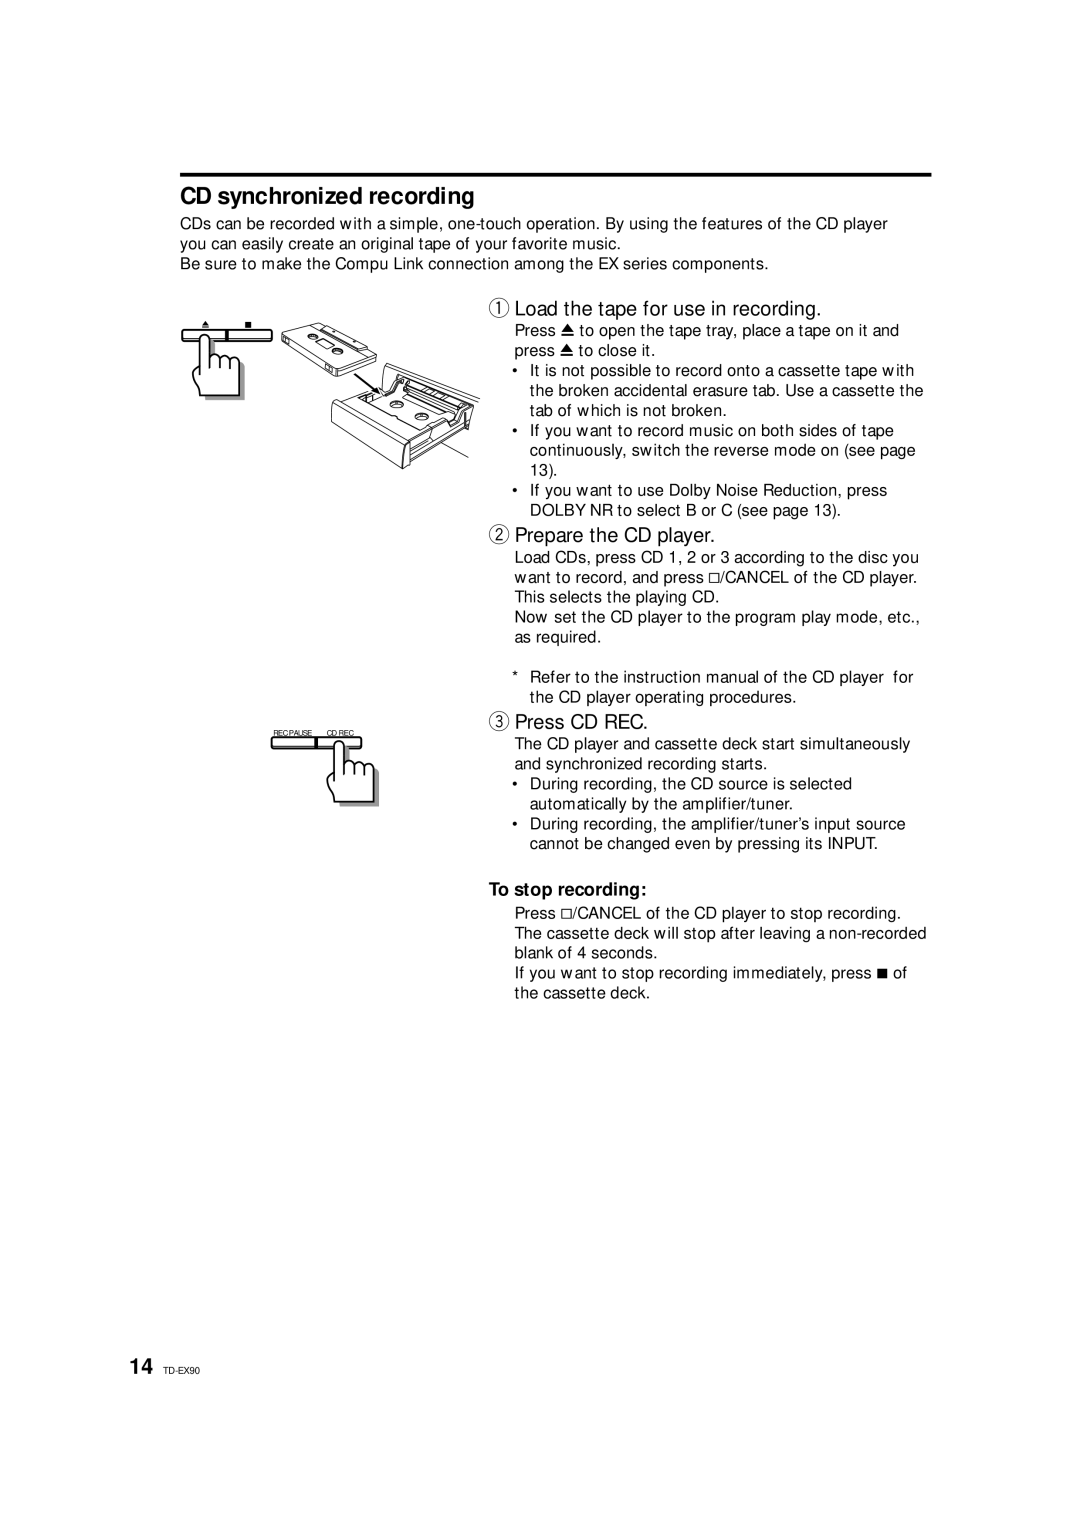
TD-EX90 specifications
The JVC TD-EX90 is a remarkable compact cassette deck that emerged during the golden age of analog audio technology, appealing to audiophiles and music enthusiasts alike. Launched in the late 1980s, the TD-EX90 embodies the essence of high-fidelity sound reproduction, blending functionality with advanced engineering.One of its most notable features is its dual capstan transport mechanism, which ensures accurate tape threading and consistent tape speed. This technology minimizes wow and flutter, resulting in clearer and more stable audio playback. The dual capstan design also allows for improved tape tracking, reducing the chances of skew and dropouts, which are common issues in cassette playback.
In terms of sound quality, the TD-EX90 boasts a signal-to-noise ratio that rivals some of the best decks of its time. Its Dolby B and C noise reduction systems enhance the listening experience by suppressing background noise, enabling users to enjoy their favorite recordings with greater clarity and depth. The deck is also equipped with a high-performance playback head, which is integral to delivering accurate and rich sound across a wide frequency range.
The TD-EX90's build quality is impressive, featuring a solid chassis designed to minimize vibrations that can negatively affect audio fidelity. Its stylish design showcases an ergonomic layout, with intuitive controls for playback, recording, and monitoring, making it user-friendly for both beginners and seasoned audiophiles. The inclusion of an LCD display allows users to easily track tape length and remaining time, providing valuable information during usage.
Another key aspect of the JVC TD-EX90 is its versatility. It supports various tape types, including normal, chrome, and metal tapes, allowing users to choose the best medium for their recordings. The recording capabilities are equally commendable, with high-quality sound reproduction ensured through the deck's advanced circuitry and components.
In summary, the JVC TD-EX90 cemented its place in audio history as a highly regarded cassette deck that emphasizes sound quality, reliability, and ease of use. With its advanced technologies, robust performance, and aesthetic design, it remains an attractive choice for those who appreciate the analog sound experience. Whether for casual listening or serious recording projects, the TD-EX90 continues to be celebrated by audio enthusiasts around the world.

