TK-C625 specifications
The JVC TK-C625 is a compact yet highly effective industrial camera that has made a significant impact in various surveillance and monitoring contexts. Developed by JVC, a pioneer in video technology, the TK-C625 stands out for its impressive features, innovative technologies, and reliable performance.At the heart of the TK-C625 is a high-resolution CCD sensor, which captures images with exceptional clarity and detail. With a resolution of 600 TV lines, this camera is adept at delivering sharp images even in challenging lighting conditions. This capability makes it suitable for a variety of environments, including retail spaces, educational institutions, and parking lots, where detail and accuracy are paramount.
One of the notable features of the TK-C625 is its effective low-light performance. Equipped with a built-in Automatic Gain Control (AGC) feature, the camera can enhance sensitivity in low-light environments, ensuring that quality footage can be captured even in dimly lit areas. This feature is crucial for security applications where monitoring takes place during nighttime hours.
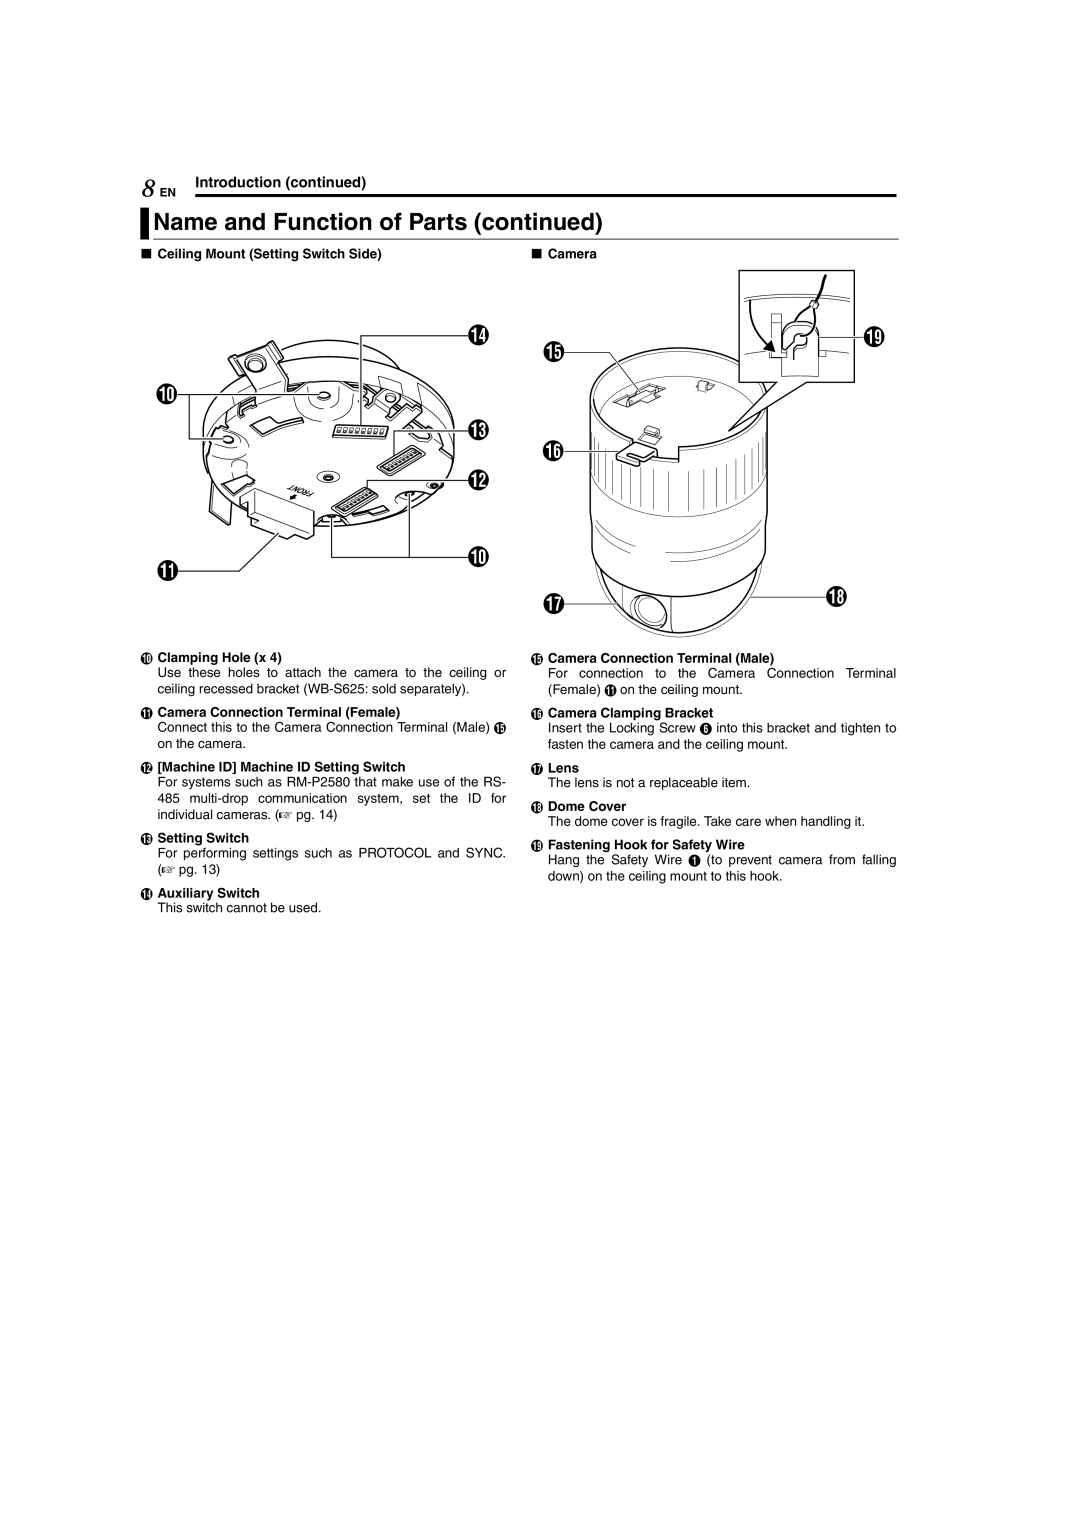
In addition to its impressive imaging capabilities, the TK-C625 offers versatile mounting options. The compact design allows for a range of installation configurations, including wall, ceiling, or even desktop setups. The camera's lightweight build is also a plus, facilitating ease of installation without compromising on stability.
The JVC TK-C625 incorporates advanced signal processing technologies, providing enhanced image quality and reducing noise, which is particularly important in surveillance situations where clarity can mean the difference between identifying a suspect or missing critical details. Its electronic shutter technology allows for quick response to changing light conditions, improving its adaptability to various scenes and preventing overexposure.
Another significant aspect of the TK-C625 is its robust construction. Designed with durability in mind, the camera can withstand the rigors of consistent use in commercial settings, delivering reliable operation over long periods. This resilience is further complemented by its ease of use and maintenance, making it an ideal choice for businesses seeking dependable surveillance solutions.
Overall, the JVC TK-C625 is a high-performance camera that combines advanced features with user-friendly operation. Its high resolution, low-light capabilities, flexible installation, and durable design make it a standout option for surveillance professionals looking for quality and reliability in their monitoring solutions.

