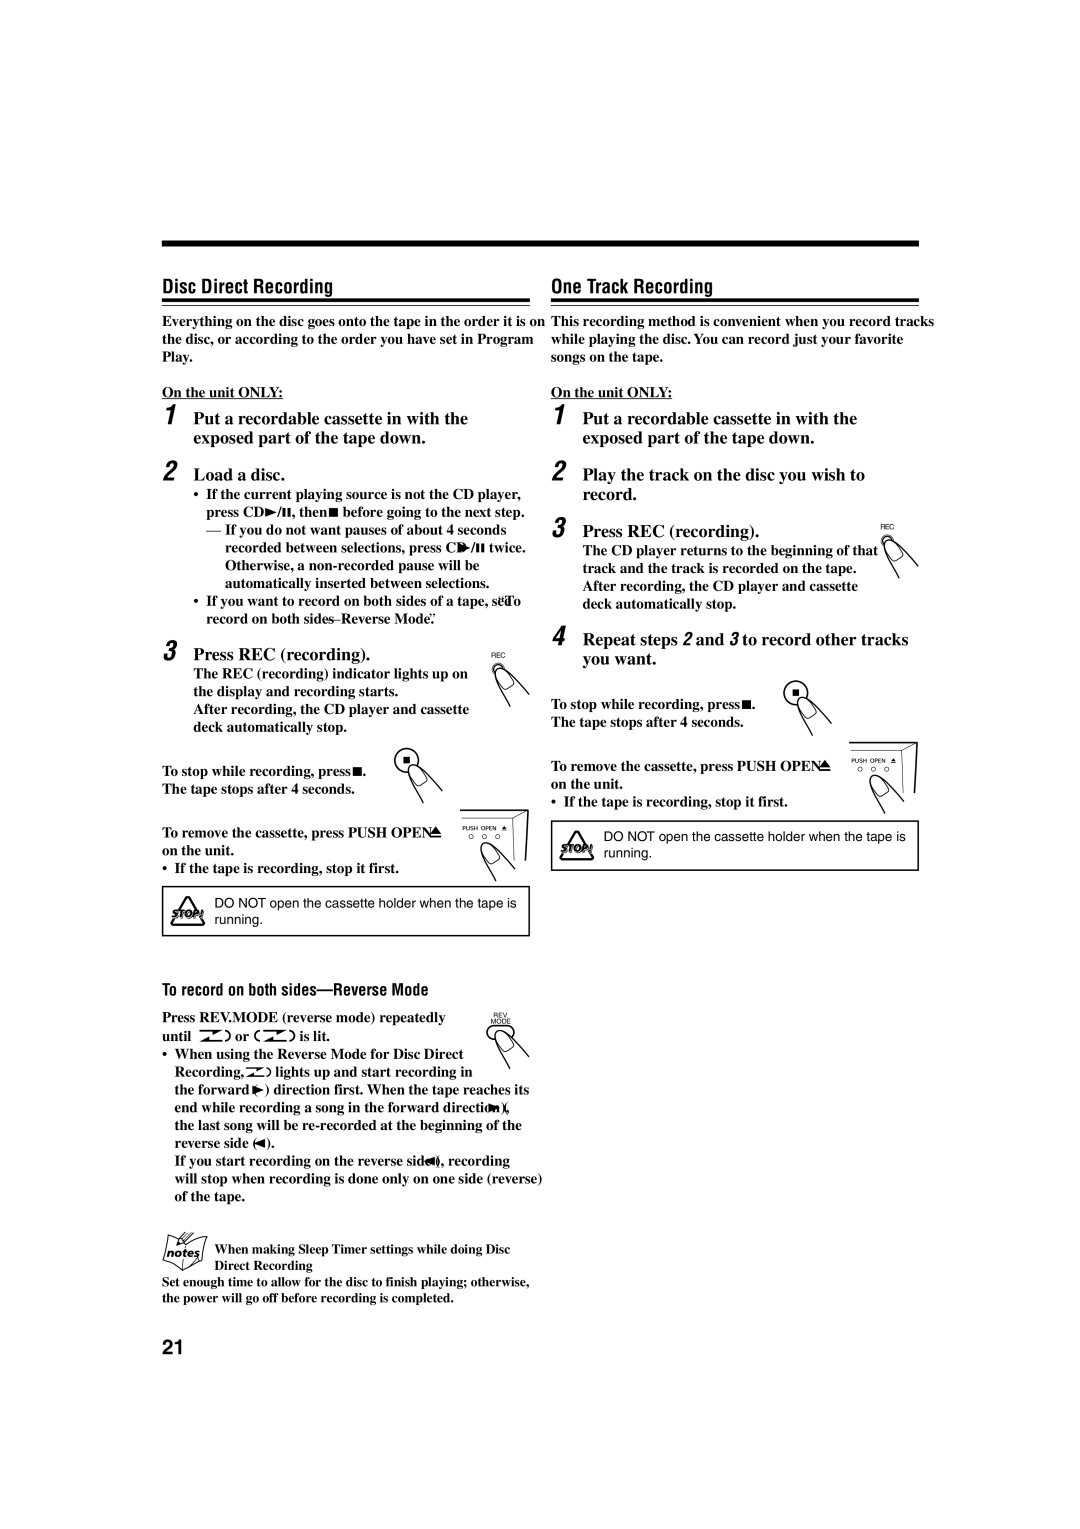
Disc Direct Recording
Everything on the disc goes onto the tape in the order it is on the disc, or according to the order you have set in Program Play.
On the unit ONLY:
1 Put a recordable cassette in with the exposed part of the tape down.
2 Load a disc.
•If the current playing source is not the CD player, press CD 3/8, then 7 before going to the next step.
—If you do not want pauses of about 4 seconds recorded between selections, press CD 3/8 twice. Otherwise, a
•If you want to record on both sides of a tape, see “To record on both
3 Press REC (recording).
REC
The REC (recording) indicator lights up on the display and recording starts.
After recording, the CD player and cassette deck automatically stop.
To stop while recording, press 7.
The tape stops after 4 seconds.
To remove the cassette, press PUSH OPEN 0 | 0 |
|
on the unit.
•If the tape is recording, stop it first.
DO NOT open the cassette holder when the tape is running.
To record on both sides—Reverse Mode
Press REV.MODE (reverse mode) repeatedly
until 
 or
or 

 is lit.
REV.
MODE
•When using the Reverse Mode for Disc Direct
Recording, ![]()
![]() lights up and start recording in
lights up and start recording in
the forward (3) direction first. When the tape reaches its end while recording a song in the forward direction (3), the last song will be
If you start recording on the reverse side (2), recording will stop when recording is done only on one side (reverse) of the tape.
When making Sleep Timer settings while doing Disc Direct Recording
Set enough time to allow for the disc to finish playing; otherwise, the power will go off before recording is completed.
21
