SP-UXP7, UX-P7R, CA-UXP7R specifications
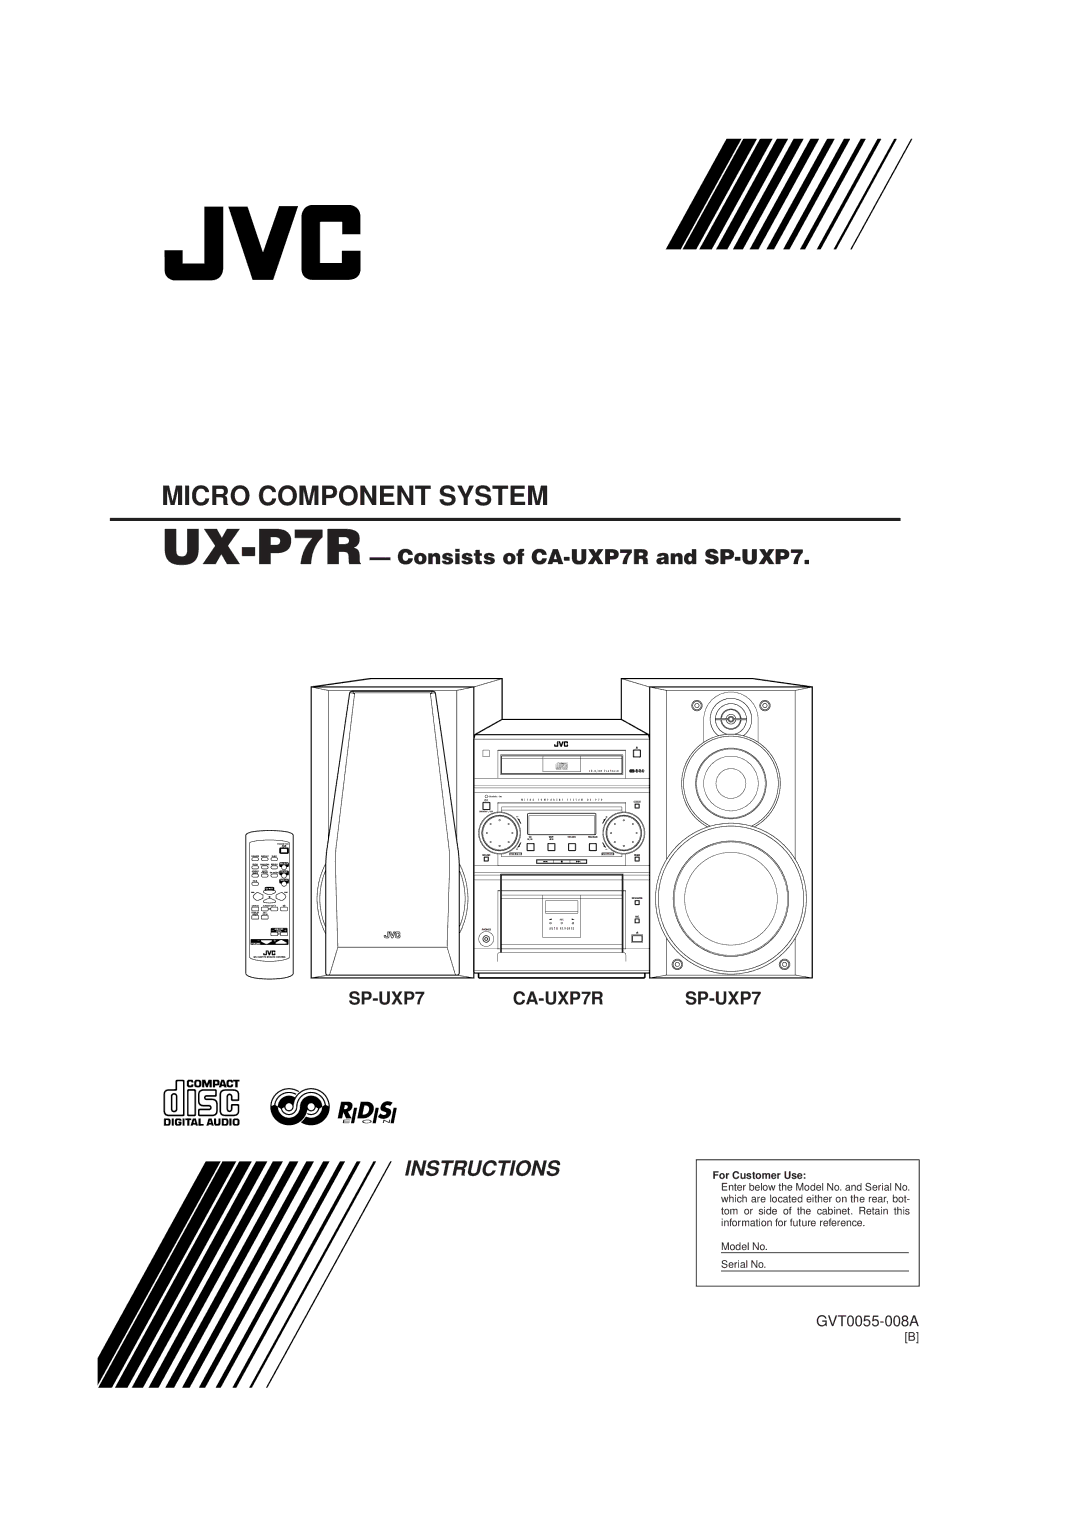
The JVC CA-UXP7R, UX-P7R, and SP-UXP7 represent a sophisticated audio system designed for enthusiasts who appreciate high-quality sound and versatile functionality. These models are part of JVC's compact audio range, which combines advanced technology with an elegant design, making it a perfect addition to any home or office environment.One of the standout features of the JVC CA-UXP7R is its powerful audio performance. This system is equipped with a high-output amplifier that delivers clear and dynamic sound, making it ideal for various musical genres, from classical to contemporary. The speakers, part of the SP-UXP7 model, utilize advanced drivers and specially designed enclosures to produce rich bass tones and crystal-clear highs, ensuring a balanced audio experience.
Connectivity is a critical aspect of modern audio systems, and the JVC CA-UXP7R excels in this area. It includes multiple input options, such as an AUX input for connecting external devices like smartphones and tablets, as well as USB ports for quick access to digital music files. Additionally, users can enjoy their favorite radio stations with the built-in FM/AM tuner, which provides a wide range of listening options.
Another noteworthy feature is the user-friendly interface. The system includes a remote control that allows users to adjust settings and navigate through tracks effortlessly. The easy-to-read display shows track information, radio frequencies, and playback modes, ensuring that users can operate the system without confusion.
The JVC UX-P7R also emphasizes aesthetics, featuring a sleek and modern design that fits seamlessly into any décor. Its compact size makes it easy to place on shelves or desktop spaces without taking up too much room.
In terms of additional technologies, the JVC CA-UXP7R supports various audio formats, enabling playback from CDs, USB drives, and other devices. The integration of advanced sound processing technologies enhances audio playback, ensuring that every note and beat is delivered with precision.
Overall, the JVC CA-UXP7R, UX-P7R, and SP-UXP7 offer a comprehensive audio solution that caters to those who seek both performance and style. With its robust sound capabilities, versatile connectivity options, and contemporary design, this audio system is sure to satisfy audiophiles and casual listeners alike.