PUTTING IT ALL TOGETHER
You will be pleased with the ease of installation of this unit. With just a few quick steps, your unit will be up and running in a very short period of time.
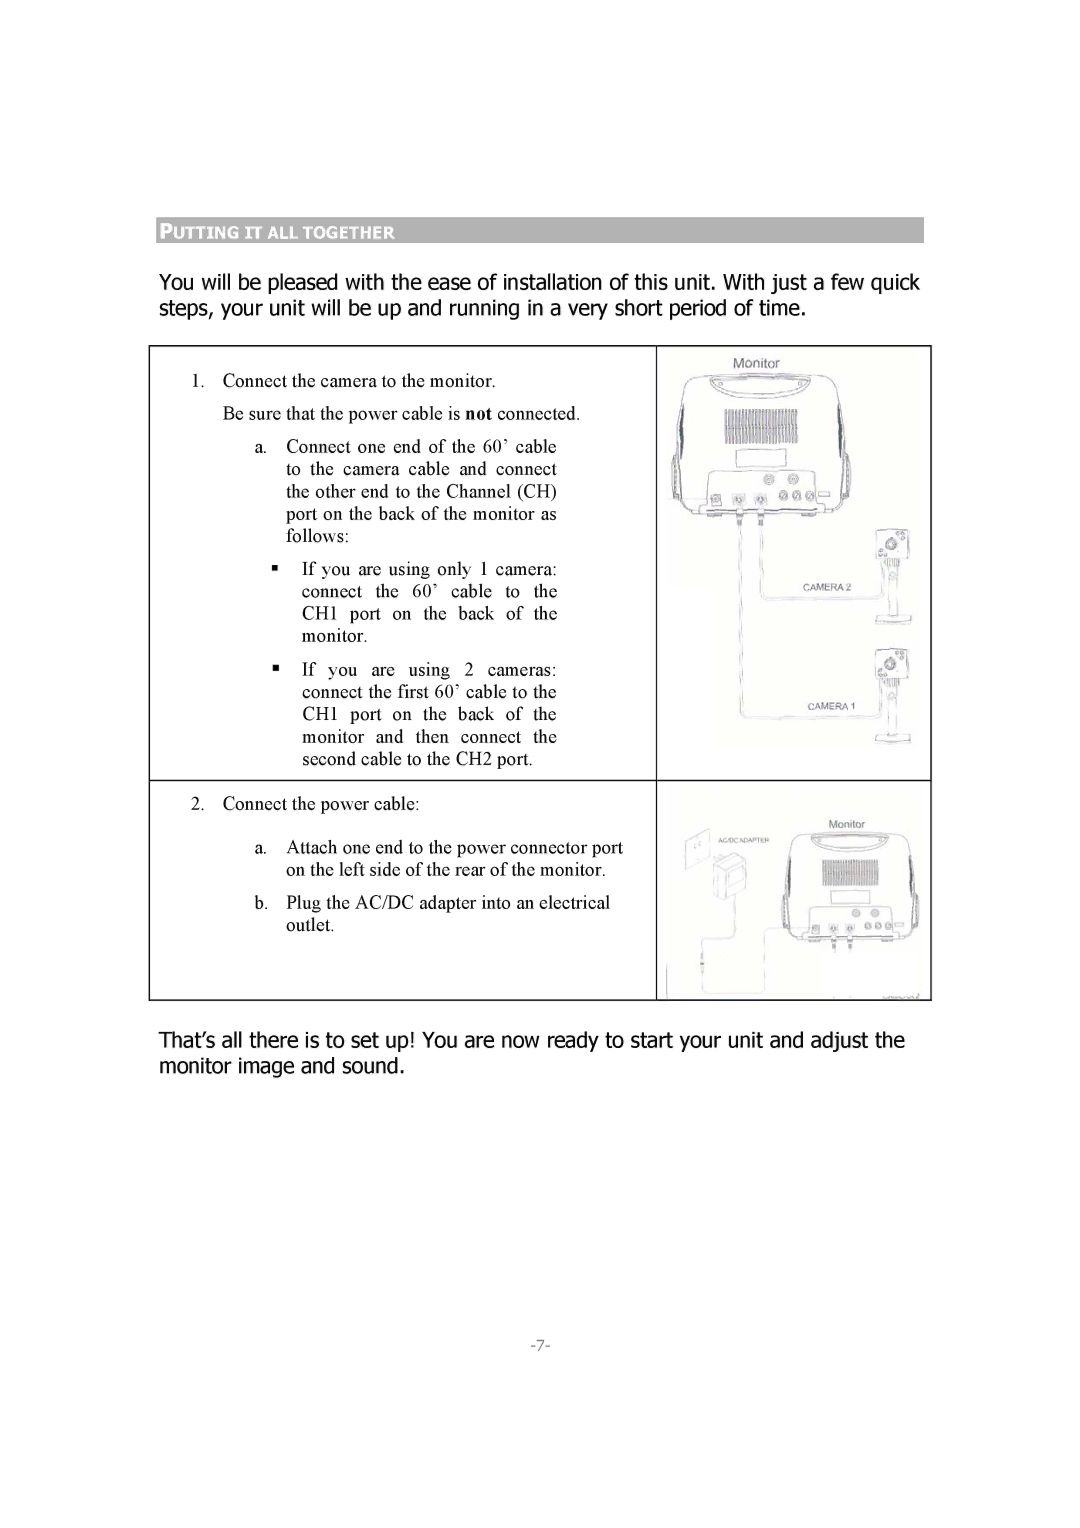
1.Connect the camera to the monitor.
Be sure that the power cable is not connected.
a.Connect one end of the 60’ cable to the camera cable and connect the other end to the Channel (CH) port on the back of the monitor as follows:
If you are using only 1 camera: connect the 60’ cable to the CH1 port on the back of the monitor.
If you are using 2 cameras: connect the first 60’ cable to the CH1 port on the back of the monitor and then connect the second cable to the CH2 port.
2.Connect the power cable:
a.Attach one end to the power connector port on the left side of the rear of the monitor.
b.Plug the AC/DC adapter into an electrical outlet.
That’s all there is to set up! You are now ready to start your unit and adjust the monitor image and sound.
