The Ice Dispenser
Ice dispenses from the ice maker storage bin in the freezer. When the dispenser lever is pressed:
•A trap door opens in a chute between the dispenser and the ice bin. Ice moves from the bin and falls through the chute.
•When you release the dispenser lever, the trap door closes and the ice dispensing stops. The dispensing system will not operate when the freezer door is open.
Before dispensing ice, select which type of ice you prefer. The button controls are designed for easy use and cleaning.
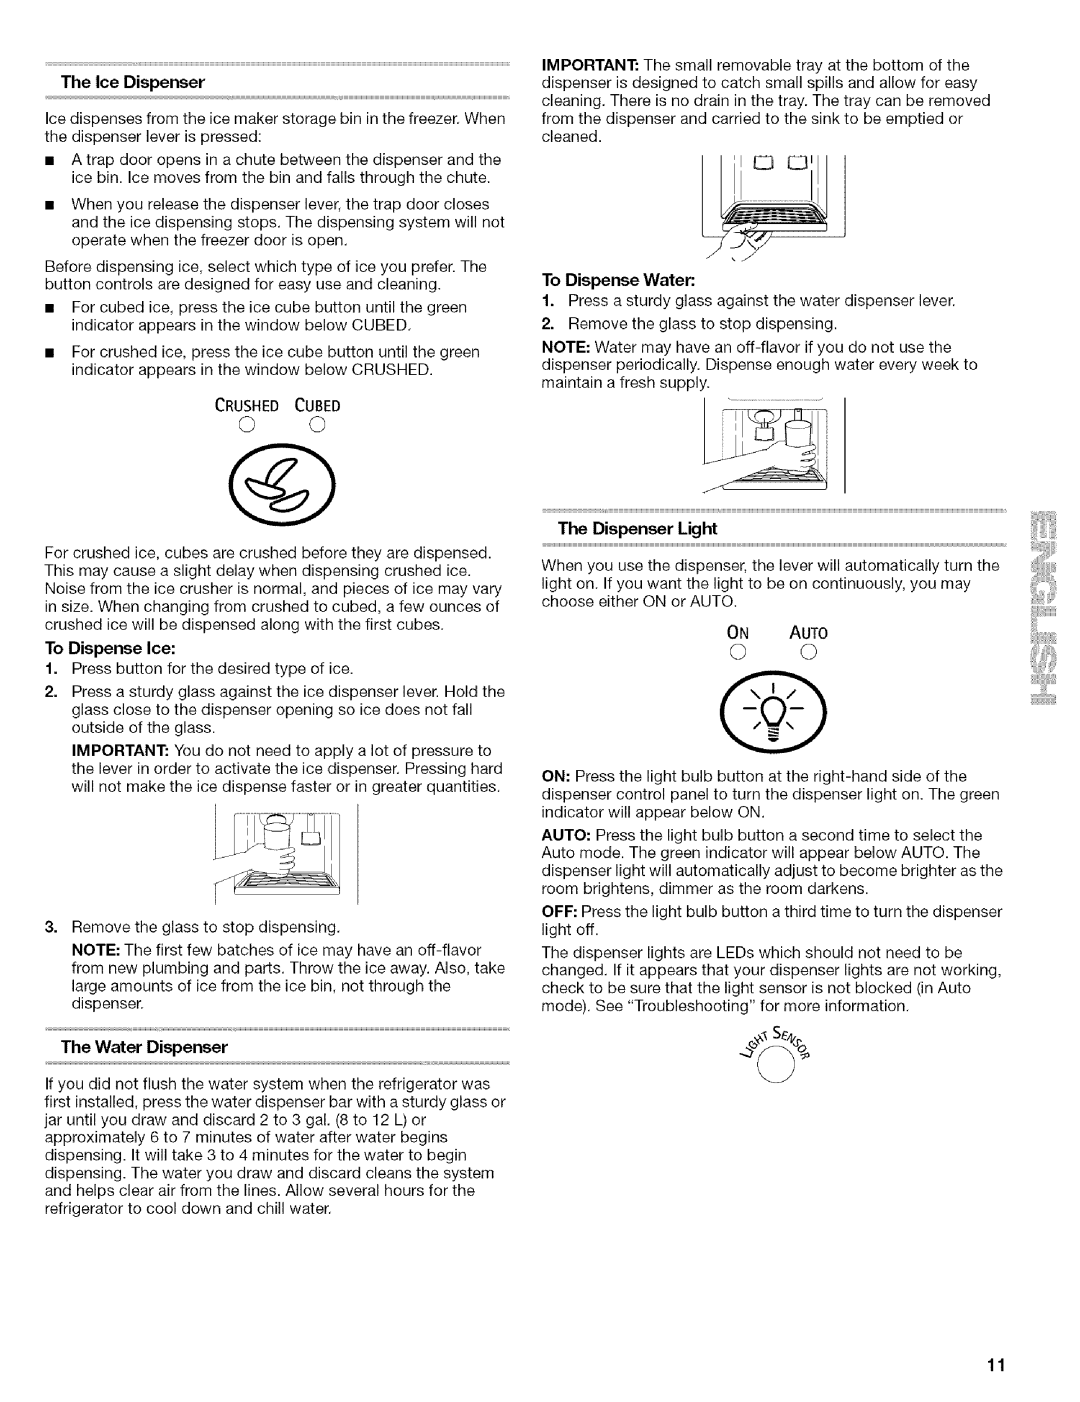
•For cubed ice, press the ice cube button until the green indicator appears in the window below CUBED.
•For crushed ice, press the ice cube button until the green indicator appears in the window below CRUSHED.
CRUSHED CUBED
© ©
For crushed ice, cubes are crushed before they are dispensed. This may cause a slight delay when dispensing crushed ice. Noise from the ice crusher is normal, and pieces of ice may vary in size. When changing from crushed to cubed, a few ounces of crushed ice will be dispensed along with the first cubes.
To Dispense Ice:
1.Press button for the desired type of ice.
2.Press a sturdy glass against the ice dispenser lever. Hold the glass close to the dispenser opening so ice does not fall outside of the glass.
IMPORTANT: You do not need to apply a lot of pressure to the lever in order to activate the ice dispenser. Pressing hard will not make the ice dispense faster or in greater quantities.
Remove the glass to stop dispensing.
NOTE: The first few batches of ice may have an
large amounts of ice from the ice bin, not through the dispenser.
The Water Dispenser
If you did not flush the water system when the refrigerator was first installed, press the water dispenser bar with a sturdy glass or jar until you draw and discard 2 to 3 gal. (8 to 12 L) or approximately 6 to 7 minutes of water after water begins dispensing. It will take 3 to 4 minutes for the water to begin dispensing. The water you draw and discard cleans the system and helps clear air from the lines. Allow several hours for the refrigerator to cool down and chill water.
IMPORTANT: The small removable tray at the bottom of the dispenser is designed to catch small spills and allow for easy cleaning. There is no drain in the tray. The tray can be removed from the dispenser and carried to the sink to be emptied or cleaned.
To Dispense Water:
1.Press a sturdy glass against the water dispenser lever.
2.Remove the glass to stop dispensing.
NOTE: Water may have an
maintain a fresh supply.
The Dispenser Light
When you use the dispenser, the lever will automatically turn the i; light on. If you want the light to be on continuously, you may
choose either ON or AUTO.
ON AUTO
O O
ON: Press the light bulb button at the
AUTO: Press the light bulb button a second time to select the Auto mode. The green indicator will appear below AUTO. The dispenser light will automatically adjust to become brighter as the room brightens, dimmer as the room darkens.
OFF: Press the light bulb button a third time to turn the dispenser light off.
The dispenser lights are LEDs which should not need to be changed. If it appears that your dispenser lights are not working, check to be sure that the light sensor is not blocked (in Auto mode). See "Troubleshooting" for more information.
_ s_,_
11
