Lighting

Instructions

for


Standing

Pilot Models


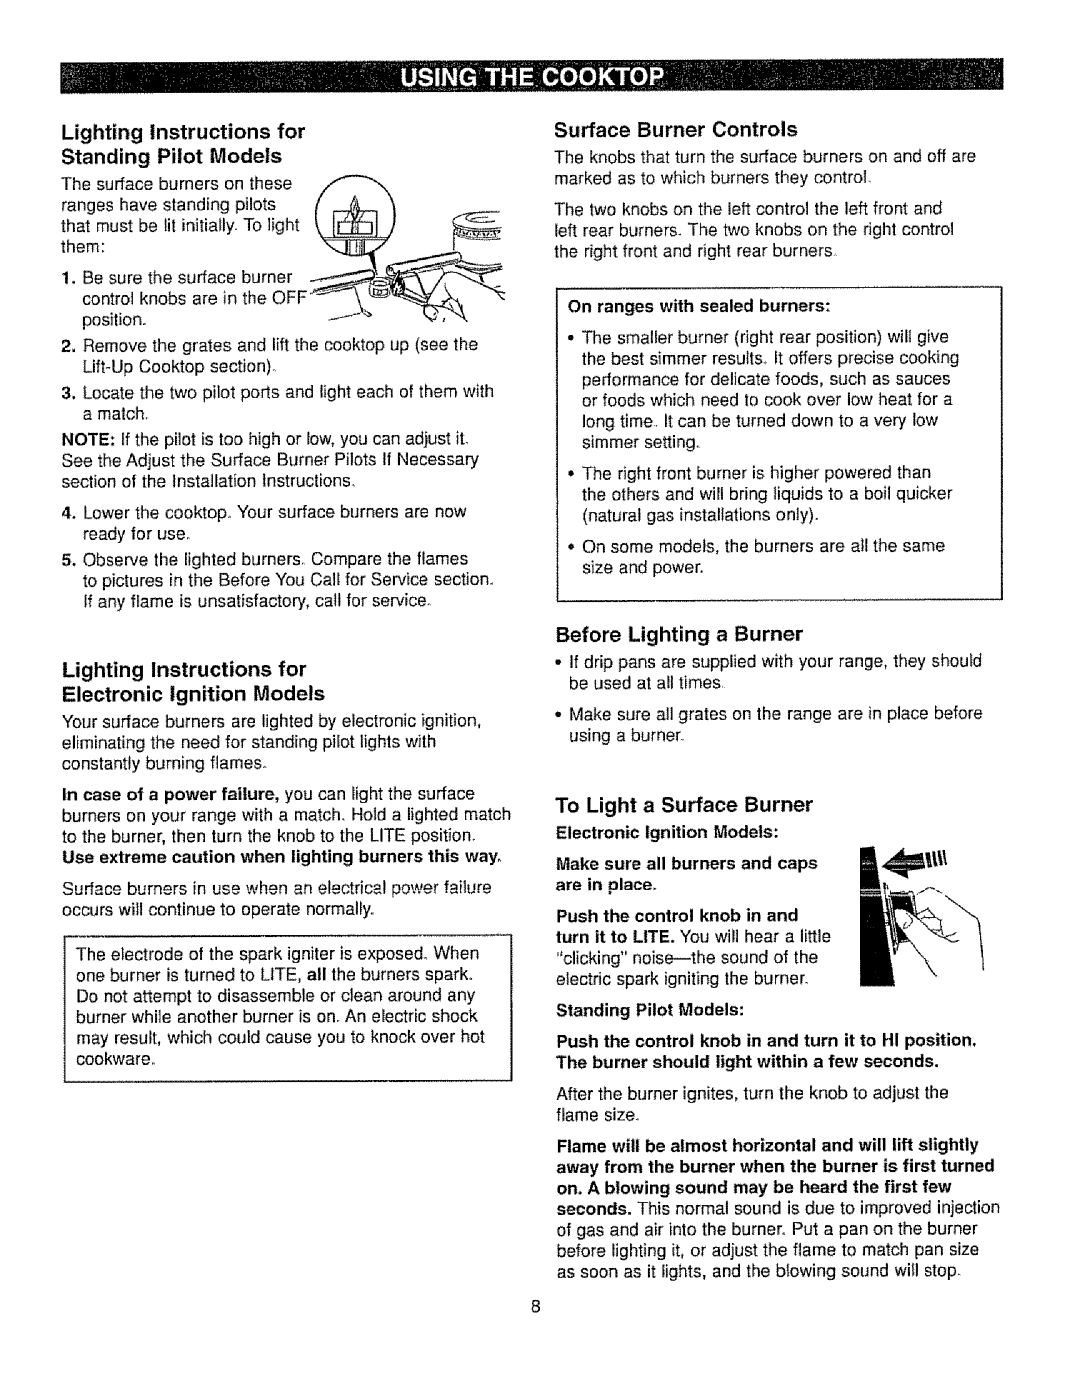
The surface burners on these


ranges have standing pilots

(

_

_

tt_eatm:must:be lit initially. To light _


1 Be sure the surface burner

_""_

_

control

knobs are in the OFF__


-''__

position.


_-_*-"_

'_, "_

2, Remove the grates and lift the cooktop up (see the Lift-Up Cooktop section)°

3, Locate the two pilot ports and light each of them with a match.

NOTE: If the pilot is too high or low, you can adjust it. See the Adjust the Surface Burner Pilots If Necessary section of the Installation Instructions.

4.Lower the cooktopo Your surface burners are now ready for use.

5, Observe the lighted burners. Compare the flames to pictures in the Before You Call for Service section. If any flame is unsatisfactory, call for service_

Lighting Instructions for

Electronic Ignition Models

Your surface burners are lighted by electronic ignition, eliminating the need for standing pilot lights with constantly burning flames.

In case of a power failure, you can light the surface burners on your range with a match. Hold a lighted match to the burner, then turn the knob to the LITE position° Use extreme caution when lighting burners this way.

Surface burners in use when an electrical power failt, re occurs will continue to operate normally.,

The electrode of the spark igniter is expose& When one burner is turned to LITE, all the burners spark. Do not attempt to disassemble or clean around any burner while another burner is on. An electric shock may result, which could cause you to knock over hot cookware.

Surface Burner Controls

The knobs that turn the surface burners on and off are marked as to which burners they control.

The two knobs on the left control the left front and left rear burners. The two knobs on the right control the right front and right rear burners,

On ranges with sealed burners:

The smaller burner (right rear position) will give the best simmer results., It offers precise cooking performance for delicate foods, such as sauces or foods which need to cook over low heat for a long time. It can be turned down to a very low simmer setting,.

The right front burner is higher powered than the others and will bring liquids to a boil quicker (natural gas installations only).

On some models, the burners are all the same size and power.

Before Lighting a Burner

If drip pans are supplied with your range, they should be used at all times

°Make sure all grates on the range are in place before using a burner..

To Light a Surface Burner

Electronic Ignition Models:

Make sure all burners and caps are in place.

Push the control knob in and

turn it to LifE. You will hear a little "clicking" noise--the sound of the electric spark igniting the burner.

Standing Pilot Models:

Push the control knob in and turn it to HI position. The burner should light within a few seconds.

After the burner ignites, turn the knob to adjust the flame size.

Flame will be almost horizontal and will lift slightly away from the burner when the burner is first turned on. A blowing sound may be heard the first few seconds. This normal sound is due to improved injection of gas and air into the burner. Put a pan on the burner before lighting it, or adjust the flame to match pan size as soon as it lights, and the blowing sound will stoF

Page 8
Image 8
Kenmore 362.72230 Lighting Instructions For Standing Pilot Models, Lighting Instructions for Electronic Ignition Models

362.71332, 362.61021, 362.61020, 362.61121, 362.72224 specifications

The Kenmore 362 series, which includes models 362.72232, 362.72221, 362.72220, 362.72222, and 362.71330, is a notable range of appliances known for their reliability, performance, and innovative features. These models are designed to cater to diverse cooking needs while ensuring energy efficiency and user convenience.

One of the main features of the Kenmore 362 series is its versatility in cooking options. These appliances typically come equipped with various cooking modes, including baking, broiling, and roasting, allowing users to prepare a wide range of recipes. Additionally, some models in the series incorporate a convection feature, which circulates hot air for even cooking and browning, making it perfect for baking pastries and roasting meats.

User-friendly digital controls are another characteristic of the Kenmore 362 line. These intuitive interfaces allow for precise temperature settings and cooking times, making it easier than ever to achieve perfect results. Many models may also include pre-programmed cooking settings, enabling users to select options based on specific meals, which simplifies the cooking process.

In terms of characteristics, the Kenmore 362 series is designed with quality materials that provide durability and longevity. The interiors are often coated with non-stick surfaces, making cleaning a breeze. The external designs typically feature sleek finishes that can complement any kitchen decor while ensuring easy operation through strategically placed knobs and buttons.

Energy efficiency is a significant consideration in the Kenmore 362 models. These units are generally ENERGY STAR rated, which denotes lower energy consumption without compromising performance. This focus on sustainability helps reduce utility bills while serving the dual purpose of being an environmentally friendly choice.

Safety features are also paramount in the Kenmore 362 series. Many models are fitted with automatic shut-off functions, ensuring that the appliances turn off after a set period of inactivity. Moreover, cool-to-the-touch exteriors help prevent accidental burns, making these ovens suitable for families with children.

Overall, the Kenmore 362 series, including the models 362.72232, 362.72221, 362.72220, 362.72222, and 362.71330, combines modern technology with practical design, providing users with efficient, reliable, and versatile cooking solutions for any kitchen.