Wiring the KlCKERImpulse Amplifier
The preferred method of bringing input signal in to the amplifier is with RCA cables from a quality tape or CD player A high (speaker) level input signal may also be used if your factory deck or aftermarket source does not have low level RCA jacks Regardless of which input is used the output RCAjacks on your Kicker Impulse amplifier will provide a low level signal for multiple amplifier configurations
Some of the system possibilities are shown in the System Diagrams section of this manual
When working with power connections always hook up the ground wire first and disconnect the ground wire last Never make any wiring changes with the amplifier powered up
The chassis mounted fuse(s) are in place to protect the circuitry of the amplifier in the event of major trouble An
IX | 2302 | 4Ga | 8OA fuse | |
IX | 1302 | 6Ga | 50A | fuse |
IX 702 | 8Ga | 30A | fuse | |
IX | 402 | IOGa | ZOA fuse | |
IX | 252 | IOGa | 15A fuse | |
Any time that a power wire goes through a metal panel such as the firewall, or if there is any chance of abrasion, it is necessary to use a grommet or other suitable form of protection to avoid shorts
The ground wire should be as short as possible and attached to the body of the vehicle The ground point must be free from paint and corrosion Use the same size wire for ground connection as is used for power
Mounting the KICKERImpulse Amplifier
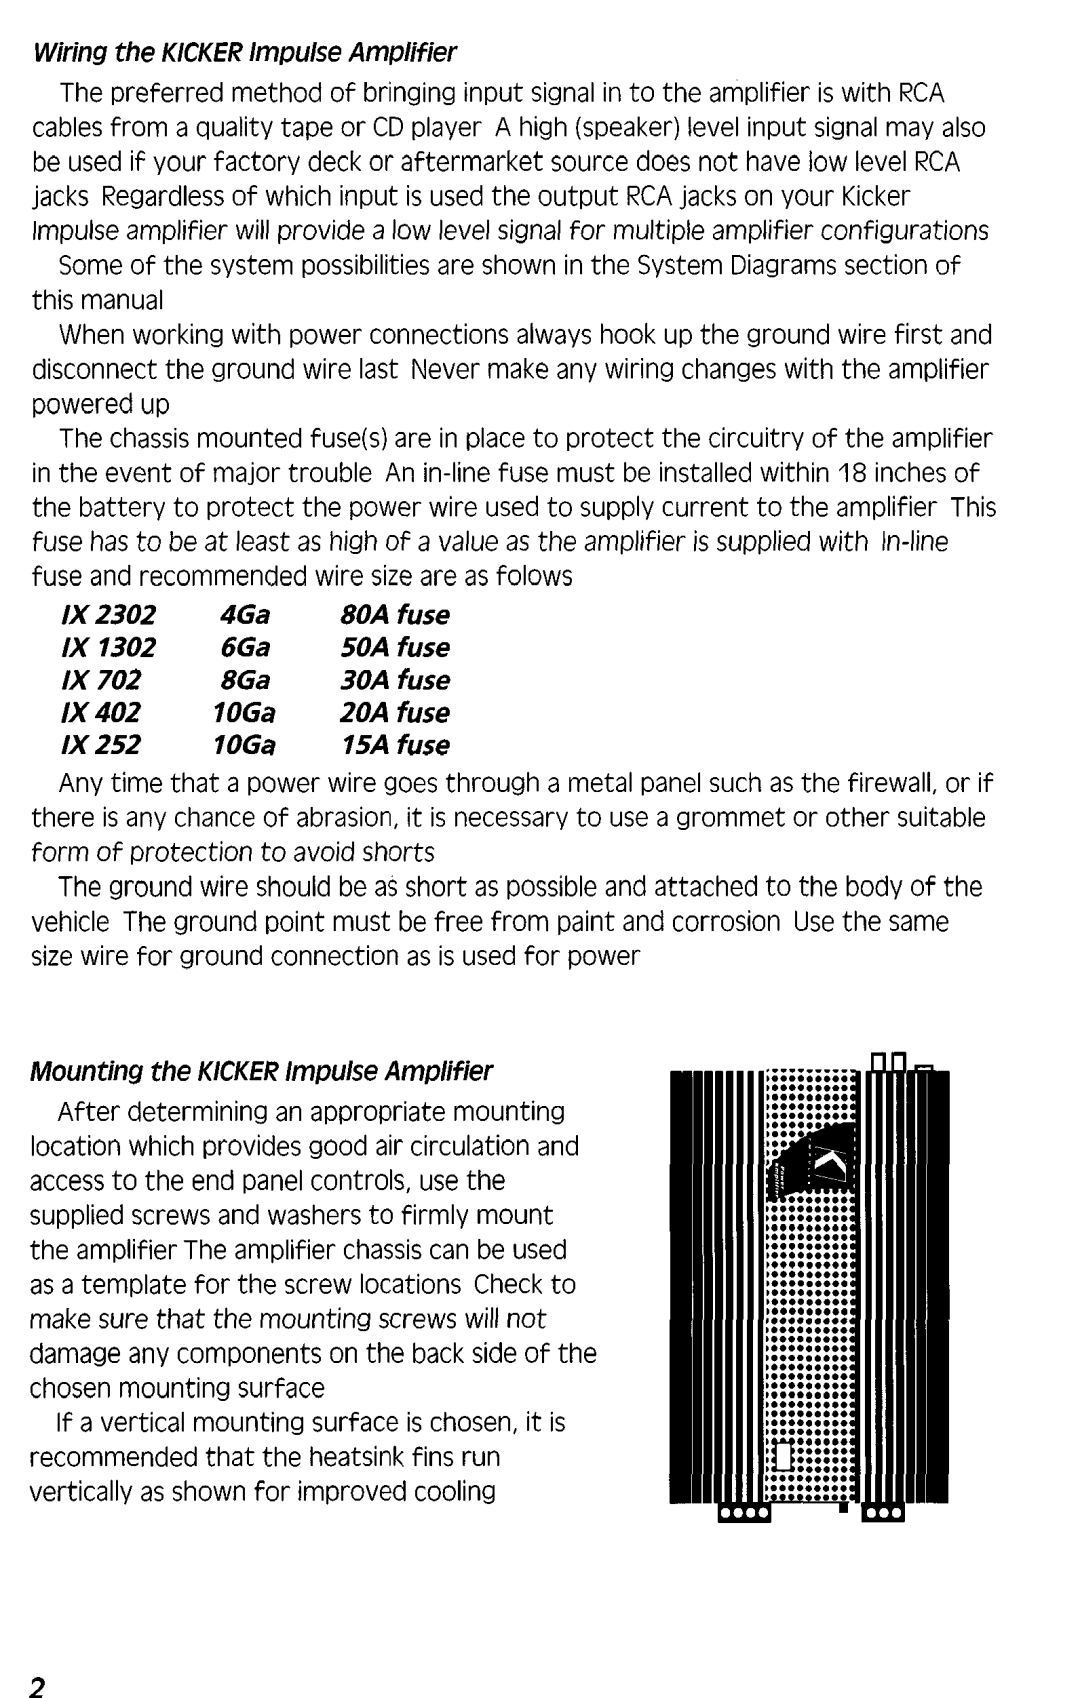
After determining an appropriate mounting location which provides good air circulation and access to the end panel controls, use the supplied screws and washers to firmly mount the amplifier The amplifier chassis can be used as a template for the screw locations Check to make sure that the mounting screws will not damage any components on the back side of the chosen mounting surface
If a vertical mounting surface is chosen, it is recommended that the heatsink fins run vertically as shown for improved cooling