SUBWOOFER SOLOX specifications
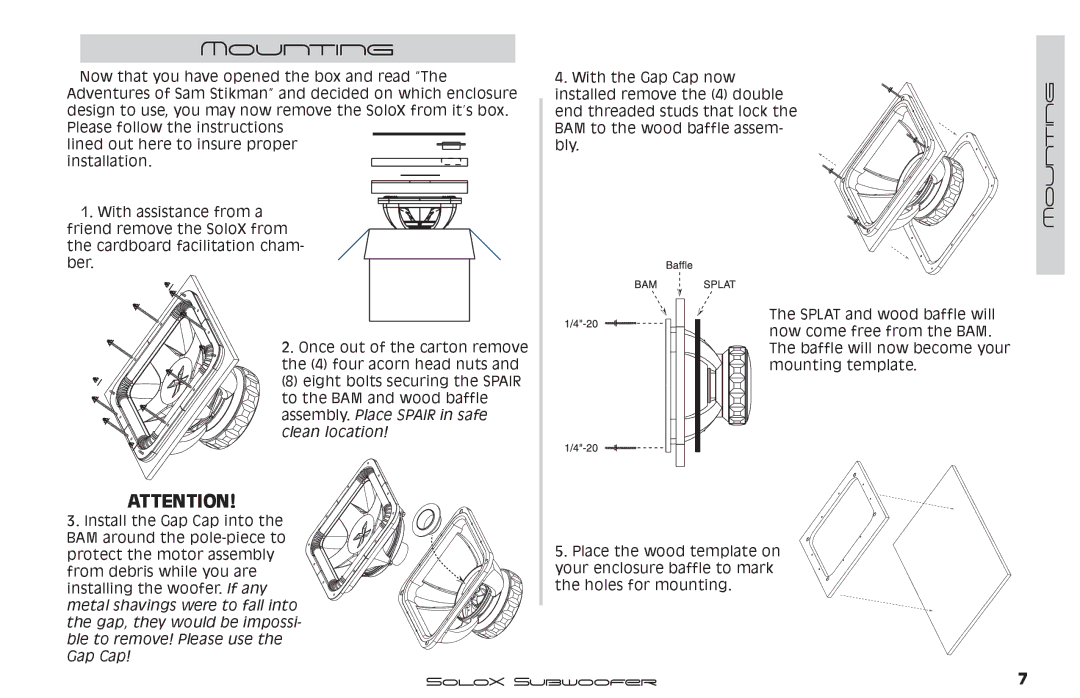
The Kicker SoloX subwoofer stands out in the world of high-performance audio equipment, delivering unrivaled power and clarity for audiophiles and casual listeners alike. Boasting a unique design and cutting-edge technology, the SoloX is engineered to provide an exhilarating bass experience, making it a top choice for car audio enthusiasts and home theater setups.At the heart of the Kicker SoloX is its impressive power-handling capability. Designed to handle up to 3,000 watts of peak power, this subwoofer can deliver deep, resonant bass that fills the room or vehicle with a rich, immersive sound. This power is complemented by its efficient design, allowing it to maximize sound output without compromising on quality. With a dual 2-ohm voice coil configuration, users benefit from flexibility in wiring options, making it easier to integrate the subwoofer into various audio systems.
The SoloX features an innovative cone design made from a high-strength material that not only enhances durability but also contributes to the overall sound quality. The injection-molded polypropylene cone is lightweight yet robust, ensuring minimal distortion during high-performance use. Moreover, the subwoofer is equipped with a premium surround that allows for greater cone movement, resulting in an increased output level and an extended frequency response that produces deep, booming lows.
For those looking for efficient cooling, the SoloX utilizes advanced thermal management technology. The subwoofer features a large, optimized vent system designed to dissipate heat effectively, preventing overheating during extensive use. This feature is especially beneficial in high-volume environments, ensuring consistent performance without the risk of damage.
The Kicker SoloX also incorporates a patented equilizer and advanced motor structure that contribute to its superb linearity and fidelity. The result is a clean, distortion-free sound that enables the listener to experience music and sound effects in their full glory, capturing even the finest details.
In summary, the Kicker SoloX subwoofer combines power, durability, and innovation, making it an exceptional choice for anyone seeking to elevate their audio experience. With its robust construction, advanced technologies, and impressive performance metrics, the SoloX promises to deliver deep, rich bass that is sure to impress even the most discerning listeners.

