0916, 440375 specifications
The Kidde 440375,0916 is a highly regarded smoke and carbon monoxide detector that combines advanced technology with user-friendly features, ensuring the safety of your home and loved ones. This device is designed to provide continuous monitoring of both smoke and carbon monoxide levels, providing crucial alerts in case of danger.One of the standout features of the Kidde 440375,0916 is its dual detection capability. This model integrates a photoelectric smoke sensor, which is particularly effective at detecting smoldering fires that may produce large amounts of smoke without producing significant flames. This technology can lead to faster response times and a higher likelihood of escaping a dangerous situation.
In addition to smoke detection, this unit also includes a reliable electrochemical sensor for carbon monoxide detection. Carbon monoxide is a colorless, odorless gas that can be deadly in low concentrations, and the inclusion of this feature makes the Kidde 440375,0916 a critical addition to any home safety strategy. The electrochemical sensor is known for its accuracy and sensitivity, ensuring that even low levels of CO are detected promptly.
Another significant characteristic of the Kidde 440375,0916 is its user-friendly design. The unit includes a large digital display, providing clear visibility of current conditions and alerts. The display shows the levels of smoke and carbon monoxide, allowing users to gauge their environment easily. Additionally, this model features voice alerts that announce the type of danger present, whether it’s smoke or carbon monoxide, providing clarity in moments of panic.
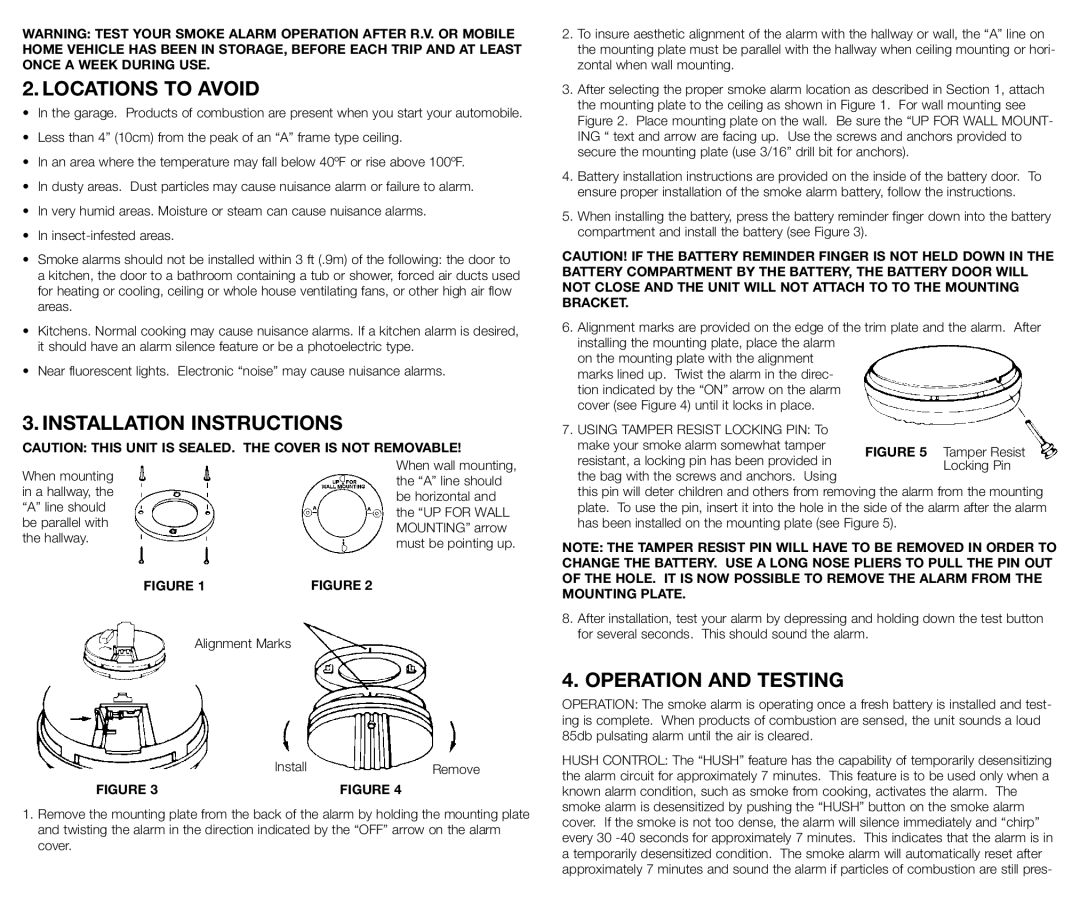
The Kidde 440375,0916 also emphasizes ease of installation and maintenance. It is designed to be easily mounted on walls or ceilings, making it a versatile option for any room in the house. The unit comes equipped with a battery backup system, ensuring continued operation during power outages. Regular maintenance is made simple with a test/reset button, allowing users to regularly check the functionality of the device.
In conclusion, the Kidde 440375,0916 is a premium smoke and carbon monoxide detector that prioritizes safety through advanced detection technologies, user-friendly design, and reliable performance. It stands out as an essential tool for home safety, offering peace of mind to families and individuals alike. By including features aimed at enhancing user experience and ensuring prompt alerts, the Kidde 440375,0916 represents an excellent choice for comprehensive home protection.

