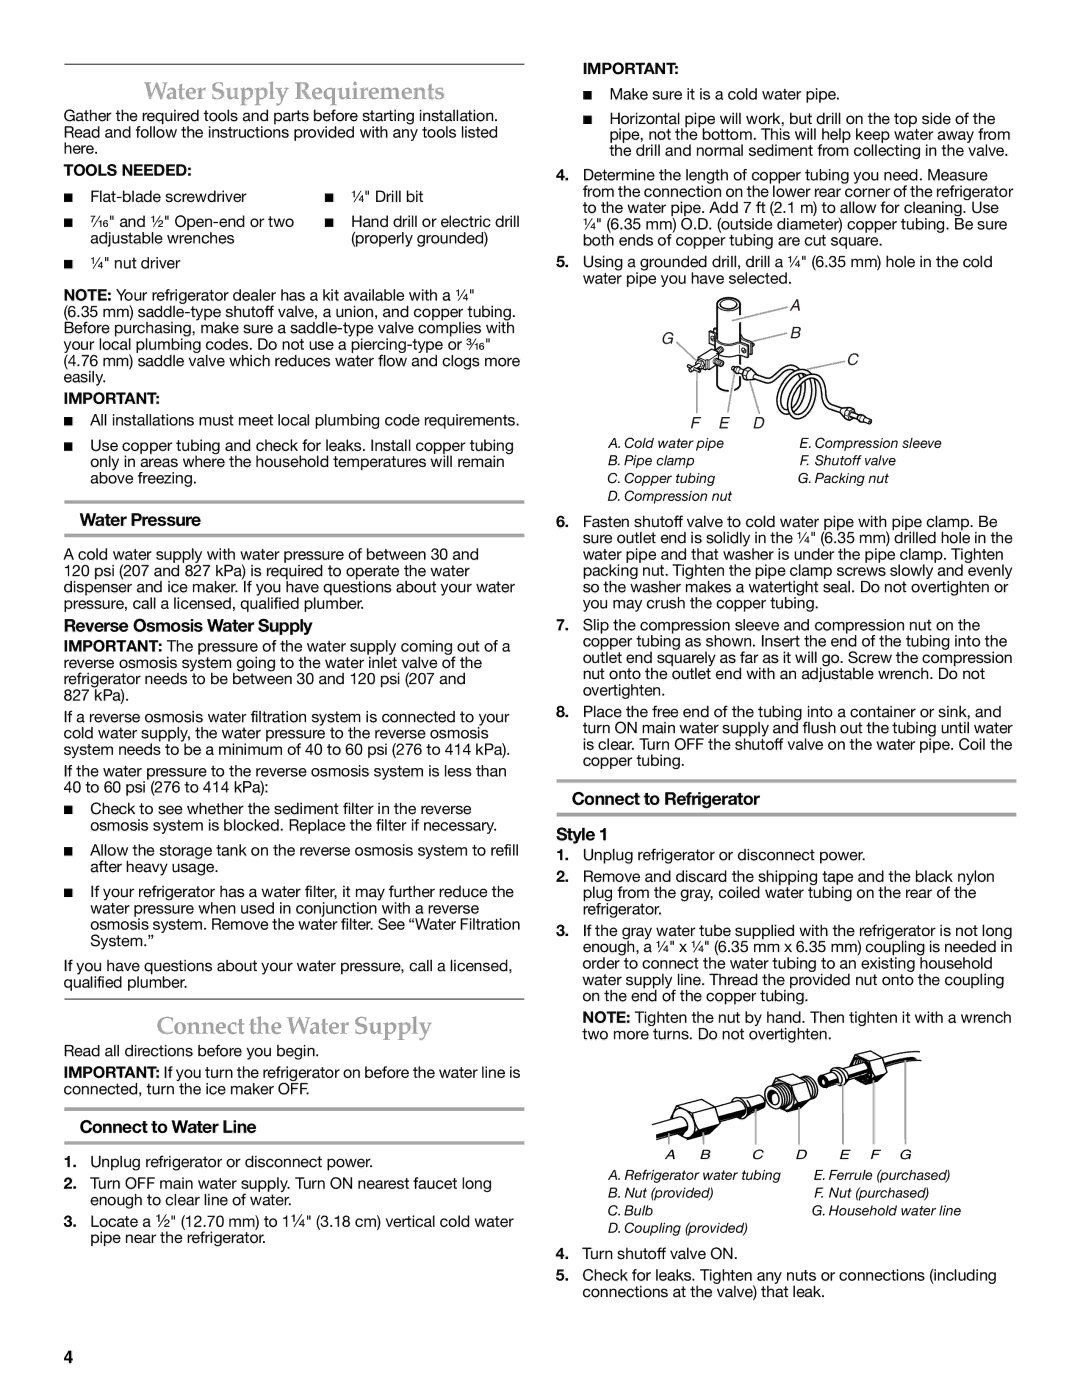
Water Supply Requirements

Gather the required tools and parts before starting installation. Read and follow the instructions provided with any tools listed here.

TOOLS NEEDED:

Flat-blade screwdriver

¹⁄₄" Drill bit

⁷⁄₁₆" and ¹⁄₂" Open-end or two

Hand drill or electric drill


adjustable wrenches


(properly grounded)

¹⁄₄" nut driver

NOTE: Your refrigerator dealer has a kit available with a ¹⁄₄"

(6.35 mm) saddle-type shutoff valve, a union, and copper tubing. Before purchasing, make sure a saddle-type valve complies with your local plumbing codes. Do not use a piercing-type or ³⁄₁₆"

(4.76 mm) saddle valve which reduces water flow and clogs more easily.

IMPORTANT:

All installations must meet local plumbing code requirements.

Use copper tubing and check for leaks. Install copper tubing only in areas where the household temperatures will remain above freezing.

Water Pressure

A cold water supply with water pressure of between 30 and 120 psi (207 and 827 kPa) is required to operate the water dispenser and ice maker. If you have questions about your water pressure, call a licensed, qualified plumber.

Reverse Osmosis Water Supply

IMPORTANT: The pressure of the water supply coming out of a reverse osmosis system going to the water inlet valve of the refrigerator needs to be between 30 and 120 psi (207 and

827 kPa).

If a reverse osmosis water filtration system is connected to your cold water supply, the water pressure to the reverse osmosis system needs to be a minimum of 40 to 60 psi (276 to 414 kPa).

If the water pressure to the reverse osmosis system is less than

40 to 60 psi (276 to 414 kPa):

Check to see whether the sediment filter in the reverse osmosis system is blocked. Replace the filter if necessary.

Allow the storage tank on the reverse osmosis system to refill after heavy usage.

If your refrigerator has a water filter, it may further reduce the water pressure when used in conjunction with a reverse osmosis system. Remove the water filter. See “Water Filtration System.”

If you have questions about your water pressure, call a licensed, qualified plumber.

Connect the Water Supply

Read all directions before you begin.

IMPORTANT: If you turn the refrigerator on before the water line is connected, turn the ice maker OFF.

Connect to Water Line

1.Unplug refrigerator or disconnect power.

2.Turn OFF main water supply. Turn ON nearest faucet long enough to clear line of water.

3.Locate a ¹⁄₂" (12.70 mm) to 1¹⁄₄" (3.18 cm) vertical cold water pipe near the refrigerator.

IMPORTANT:

Make sure it is a cold water pipe.

Horizontal pipe will work, but drill on the top side of the pipe, not the bottom. This will help keep water away from the drill and normal sediment from collecting in the valve.

4.Determine the length of copper tubing you need. Measure from the connection on the lower rear corner of the refrigerator to the water pipe. Add 7 ft (2.1 m) to allow for cleaning. Use ¹⁄₄" (6.35 mm) O.D. (outside diameter) copper tubing. Be sure both ends of copper tubing are cut square.

5.Using a grounded drill, drill a ¹⁄₄" (6.35 mm) hole in the cold water pipe you have selected.


A

G

B


C

F E

D

A. Cold water pipe

E. Compression sleeve

B. Pipe clamp

F. Shutoff valve

C. Copper tubing

G. Packing nut

D. Compression nut


6.Fasten shutoff valve to cold water pipe with pipe clamp. Be sure outlet end is solidly in the ¹⁄₄" (6.35 mm) drilled hole in the water pipe and that washer is under the pipe clamp. Tighten packing nut. Tighten the pipe clamp screws slowly and evenly so the washer makes a watertight seal. Do not overtighten or you may crush the copper tubing.

7.Slip the compression sleeve and compression nut on the copper tubing as shown. Insert the end of the tubing into the outlet end squarely as far as it will go. Screw the compression nut onto the outlet end with an adjustable wrench. Do not overtighten.

8.Place the free end of the tubing into a container or sink, and turn ON main water supply and flush out the tubing until water is clear. Turn OFF the shutoff valve on the water pipe. Coil the copper tubing.

Connect to Refrigerator

Style 1

1.Unplug refrigerator or disconnect power.

2.Remove and discard the shipping tape and the black nylon plug from the gray, coiled water tubing on the rear of the refrigerator.

3.If the gray water tube supplied with the refrigerator is not long enough, a ¹⁄₄" x ¹⁄₄" (6.35 mm x 6.35 mm) coupling is needed in order to connect the water tubing to an existing household water supply line. Thread the provided nut onto the coupling on the end of the copper tubing.

NOTE: Tighten the nut by hand. Then tighten it with a wrench two more turns. Do not overtighten.

A

B

C

D

E F G

A. Refrigerator water tubing


E. Ferrule (purchased)

B. Nut (provided)


F. Nut (purchased)

C. Bulb


G. Household water line

D. Coupling (provided)


4.Turn shutoff valve ON.

5.Check for leaks. Tighten any nuts or connections (including connections at the valve) that leak.

4

Page 4
Image 4
KitchenAid 2318586 warranty Water Supply Requirements, Connect the Water Supply

2318586 specifications

The KitchenAid 2318586 is an exceptional kitchen appliance that exemplifies quality, versatility, and performance. This model is part of KitchenAid’s renowned lineup of kitchen products, catering to both home cooks and professional chefs who seek reliability and innovation in their culinary endeavors.

One of the standout features of the KitchenAid 2318586 is its powerful motor, which delivers an impressive performance for various mixing tasks. The robust motor ensures that even the thickest doughs and mixtures are effortlessly blended, reducing preparation time and enhancing efficiency in the kitchen. This appliance is characterized by its multiple speed settings, allowing users to customize the mixing speed according to their specific needs. Whether folding ingredients, whipping cream, or kneading bread dough, the KitchenAid 2318586 provides precision control and optimal results.

Additionally, the KitchenAid 2318586 is equipped with a 4.5-quart mixing bowl made of durable stainless steel. This generous capacity is ideal for preparing large batches of ingredients, making it perfect for family gatherings, holidays, and baking sessions. The stainless steel construction not only adds a touch of elegance to the kitchen but also ensures longevity and resistance to wear and tear.

Another notable technology featured in the KitchenAid 2318586 is the Planetary Mixing Action. This innovative design rotates the mixing attachments around the bowl, ensuring that all ingredients are thoroughly combined without the need for manual intervention. This feature guarantees even mixing and minimizes the chances of unmixed ingredients remaining at the bottom of the bowl.

The appliance also comes with a variety of mixing attachments, including a flat beater, dough hook, and wire whip. Each attachment is designed to tackle specific tasks, from beating eggs to kneading tough dough, ensuring that the user has the right tool for any recipe. The ease of switching between attachments allows for a seamless cooking experience, elevating the overall efficiency in the kitchen.

Furthermore, the KitchenAid 2318586 boasts a sleek and iconic design that complements any kitchen decor. Available in a range of colors, it can match personal styles while adding an aesthetic appeal to the countertop. With its user-friendly interface and sturdy build, the KitchenAid 2318586 is a reliable appliance that enhances the culinary experience, making it a coveted addition to kitchens around the world.

Overall, the KitchenAid 2318586 stands out for its powerful performance, innovative design, and versatile capabilities, making it an indispensable tool for cooking enthusiasts.