FAUCET USE
OperatingtheFaucet
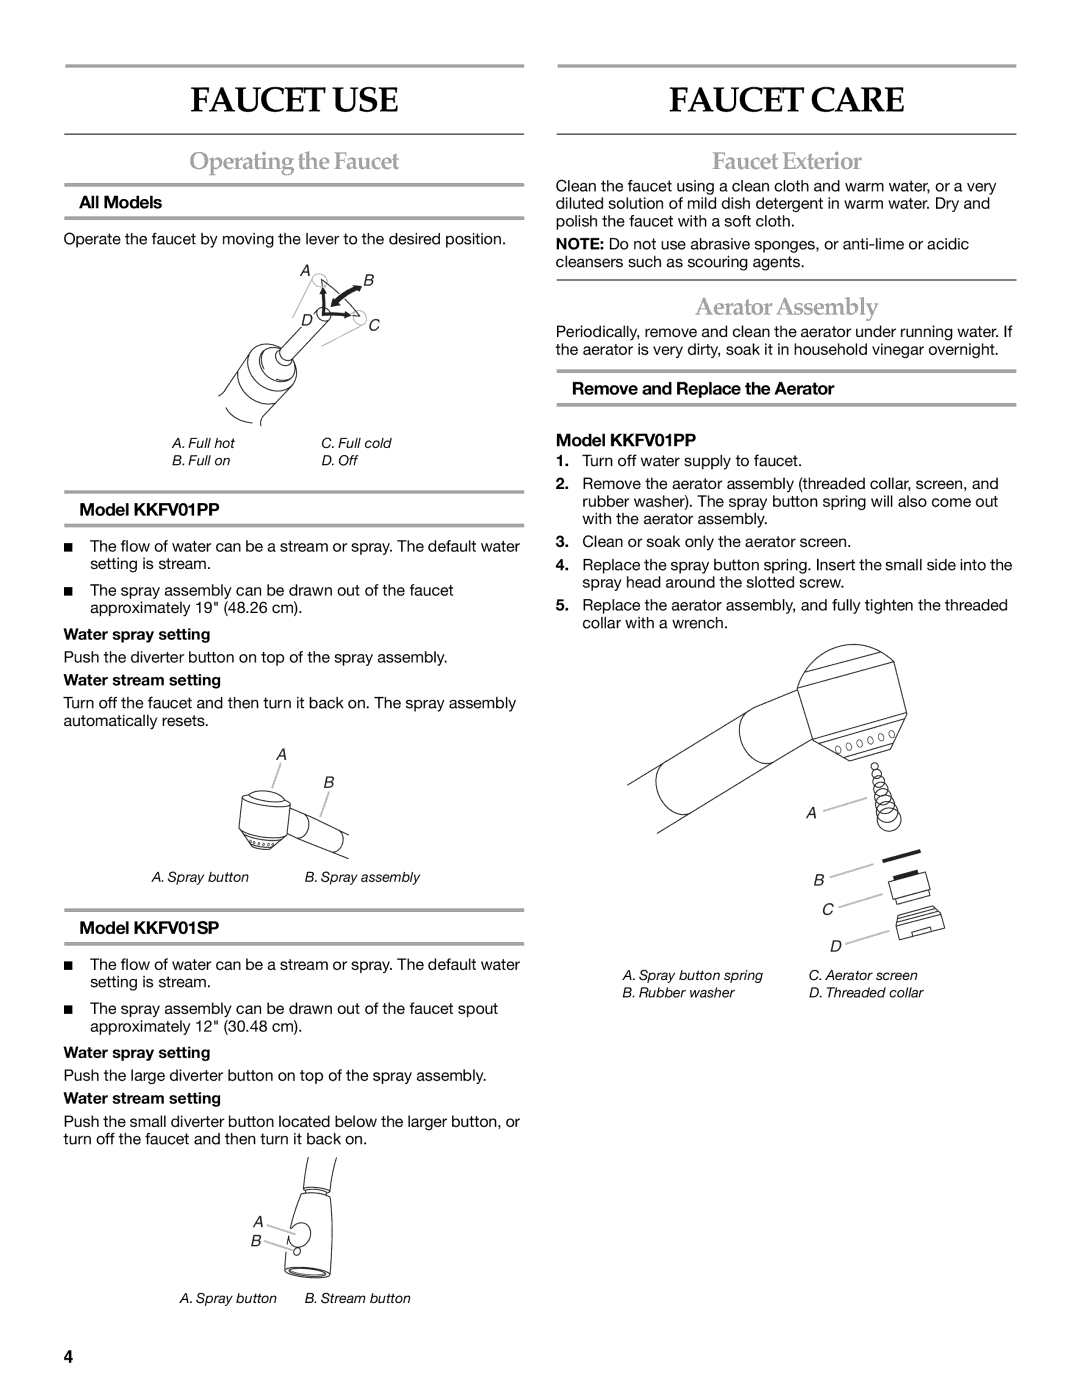
All Models
Operate the faucet by moving the lever to the desired position.
A
B
D C
FAUCET CARE
FaucetExterior
Clean the faucet using a clean cloth and warm water, or a very diluted solution of mild dish detergent in warm water. Dry and polish the faucet with a soft cloth.
NOTE: Do not use abrasive sponges, or
AeratorAssembly
Periodically, remove and clean the aerator under running water. If the aerator is very dirty, soak it in household vinegar overnight.
A. Full hot | C. Full cold |
B. Full on | D. Off |
Model KKFV01PP
■The flow of water can be a stream or spray. The default water setting is stream.
■The spray assembly can be drawn out of the faucet approximately 19" (48.26 cm).
Water spray setting
Push the diverter button on top of the spray assembly.
Water stream setting
Turn off the faucet and then turn it back on. The spray assembly automatically resets.
A
B
A. Spray button | B. Spray assembly |
Model KKFV01SP
■The flow of water can be a stream or spray. The default water setting is stream.
■The spray assembly can be drawn out of the faucet spout approximately 12" (30.48 cm).
Water spray setting
Push the large diverter button on top of the spray assembly.
Water stream setting
Push the small diverter button located below the larger button, or turn off the faucet and then turn it back on.
A
B ![]()
A. Spray button | B. Stream button |
Remove and Replace the Aerator
Model KKFV01PP
1.Turn off water supply to faucet.
2.Remove the aerator assembly (threaded collar, screen, and rubber washer). The spray button spring will also come out with the aerator assembly.
3.Clean or soak only the aerator screen.
4.Replace the spray button spring. Insert the small side into the spray head around the slotted screw.
5.Replace the aerator assembly, and fully tighten the threaded collar with a wrench.
| A |
| B |
| C |
| D |
A. Spray button spring | C. Aerator screen |
B. Rubber washer | D. Threaded collar |
4