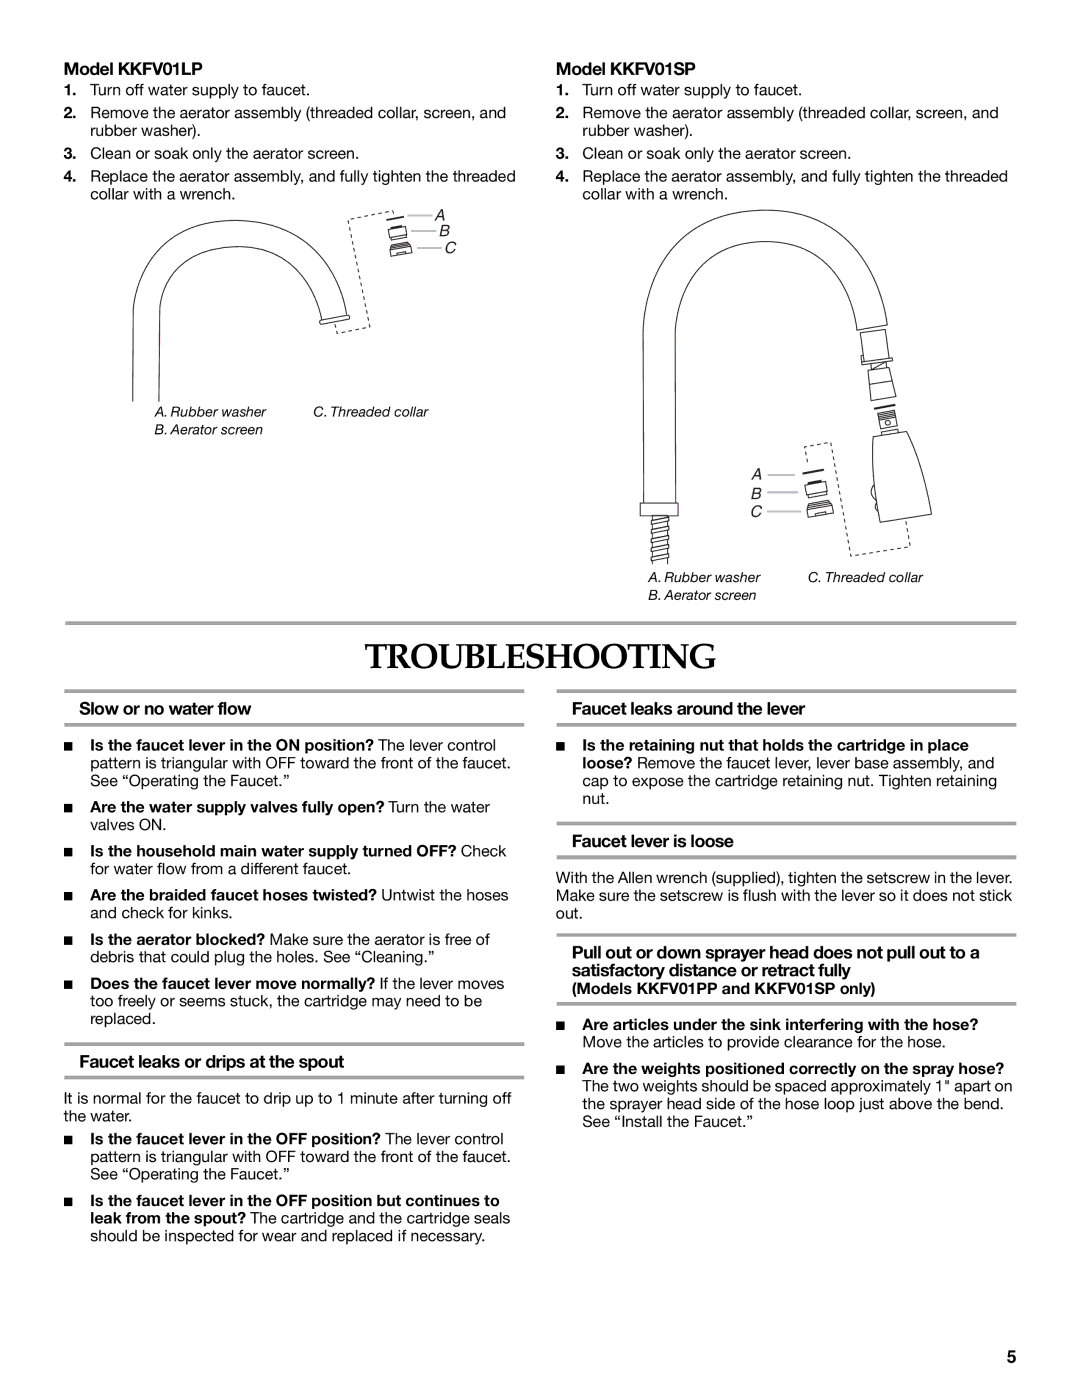
Model KKFV01LP
1.Turn off water supply to faucet.
2.Remove the aerator assembly (threaded collar, screen, and rubber washer).
3.Clean or soak only the aerator screen.
4.Replace the aerator assembly, and fully tighten the threaded collar with a wrench.
A
B
C
Model KKFV01SP
1.Turn off water supply to faucet.
2.Remove the aerator assembly (threaded collar, screen, and rubber washer).
3.Clean or soak only the aerator screen.
4.Replace the aerator assembly, and fully tighten the threaded collar with a wrench.
A. Rubber washer | C. Threaded collar |
B. Aerator screen |
|
A
B
C
A. Rubber washer | C. Threaded collar |
B. Aerator screen |
|
TROUBLESHOOTING
Slow or no water flow
■Is the faucet lever in the ON position? The lever control pattern is triangular with OFF toward the front of the faucet. See “Operating the Faucet.”
■Are the water supply valves fully open? Turn the water valves ON.
■Is the household main water supply turned OFF? Check for water flow from a different faucet.
■Are the braided faucet hoses twisted? Untwist the hoses and check for kinks.
■Is the aerator blocked? Make sure the aerator is free of debris that could plug the holes. See “Cleaning.”
■Does the faucet lever move normally? If the lever moves too freely or seems stuck, the cartridge may need to be replaced.
Faucet leaks or drips at the spout
It is normal for the faucet to drip up to 1 minute after turning off the water.
■Is the faucet lever in the OFF position? The lever control pattern is triangular with OFF toward the front of the faucet. See “Operating the Faucet.”
■Is the faucet lever in the OFF position but continues to leak from the spout? The cartridge and the cartridge seals should be inspected for wear and replaced if necessary.
Faucet leaks around the lever
■Is the retaining nut that holds the cartridge in place loose? Remove the faucet lever, lever base assembly, and cap to expose the cartridge retaining nut. Tighten retaining nut.
Faucet lever is loose
With the Allen wrench (supplied), tighten the setscrew in the lever. Make sure the setscrew is flush with the lever so it does not stick out.
Pull out or down sprayer head does not pull out to a satisfactory distance or retract fully
(Models KKFV01PP and KKFV01SP only)
■Are articles under the sink interfering with the hose? Move the articles to provide clearance for the hose.
■Are the weights positioned correctly on the spray hose? The two weights should be spaced approximately 1" apart on the sprayer head side of the hose loop just above the bend.
See “Install the Faucet.”
5
