KitchenAid W10162463A Refrigerator Care, Ice Maker and Storage Bin, Water Filtration System

Models: W10162463A W10162462A

1 35
Download 35 pages 56.68 Kb
Page 5
Image 5

Ice Maker and Storage Bin

Turning the Ice Maker On/Off

The On/Off switch is located on the top right-hand side of the freezer compartment.

To turn on the ice maker, slide the control to the ON (left) position.

To manually turn off the ice maker, slide the control to the OFF (right) position.

NOTE: Your ice maker has an automatic shutoff. The ice maker sensors will automatically stop ice production, but the control will remain in the ON (left) position.

REMEMBER:

Allow 24 hours to produce the first batch of ice. Discard the first three batches of ice produced.

The quality of your ice will be only as good as the quality of the water supplied to your ice maker. Avoid connecting the ice maker to a softened water supply. Water softener chemicals (such as salt) can damage parts of the ice maker and lead to poor quality ice. If a softened water supply cannot be avoided, make sure the water softener is operating properly and is well maintained.

Do not use anything sharp to break up the ice in the storage bin. This can cause damage to the ice container and the dispenser mechanism.

Do not store anything on top of or in the ice maker or storage bin.

Removing and Replacing Ice Storage Bin

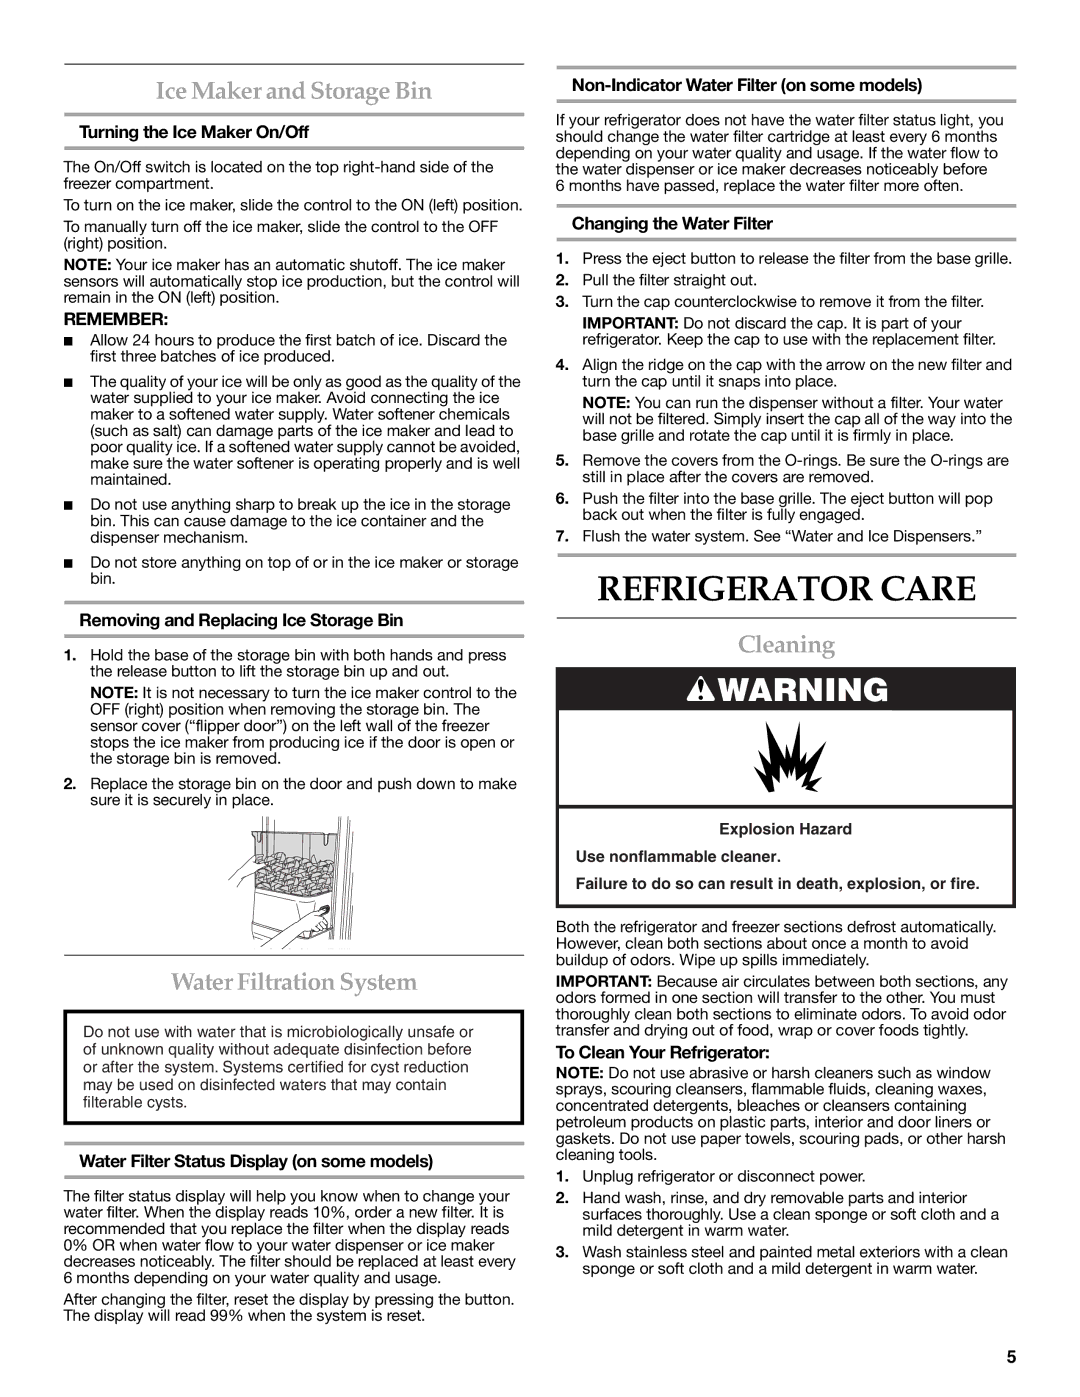
1.Hold the base of the storage bin with both hands and press the release button to lift the storage bin up and out.

NOTE: It is not necessary to turn the ice maker control to the OFF (right) position when removing the storage bin. The sensor cover (“flipper door”) on the left wall of the freezer stops the ice maker from producing ice if the door is open or the storage bin is removed.

2.Replace the storage bin on the door and push down to make sure it is securely in place.

Water Filtration System

Do not use with water that is microbiologically unsafe or of unknown quality without adequate disinfection before or after the system. Systems certified for cyst reduction may be used on disinfected waters that may contain filterable cysts.

Water Filter Status Display (on some models)

The filter status display will help you know when to change your water filter. When the display reads 10%, order a new filter. It is recommended that you replace the filter when the display reads 0% OR when water flow to your water dispenser or ice maker decreases noticeably. The filter should be replaced at least every 6 months depending on your water quality and usage.

After changing the filter, reset the display by pressing the button. The display will read 99% when the system is reset.

Non-Indicator Water Filter (on some models)

If your refrigerator does not have the water filter status light, you should change the water filter cartridge at least every 6 months depending on your water quality and usage. If the water flow to the water dispenser or ice maker decreases noticeably before 6 months have passed, replace the water filter more often.

Changing the Water Filter

1.Press the eject button to release the filter from the base grille.

2.Pull the filter straight out.

3.Turn the cap counterclockwise to remove it from the filter.

IMPORTANT: Do not discard the cap. It is part of your refrigerator. Keep the cap to use with the replacement filter.

4.Align the ridge on the cap with the arrow on the new filter and turn the cap until it snaps into place.

NOTE: You can run the dispenser without a filter. Your water will not be filtered. Simply insert the cap all of the way into the base grille and rotate the cap until it is firmly in place.

5.Remove the covers from the O-rings. Be sure the O-rings are still in place after the covers are removed.

6.Push the filter into the base grille. The eject button will pop back out when the filter is fully engaged.

7.Flush the water system. See “Water and Ice Dispensers.”

REFRIGERATOR CARE

Cleaning

WARNING

Explosion Hazard

Use nonflammable cleaner.

Failure to do so can result in death, explosion, or fire.

Both the refrigerator and freezer sections defrost automatically. However, clean both sections about once a month to avoid buildup of odors. Wipe up spills immediately.

IMPORTANT: Because air circulates between both sections, any odors formed in one section will transfer to the other. You must thoroughly clean both sections to eliminate odors. To avoid odor transfer and drying out of food, wrap or cover foods tightly.

To Clean Your Refrigerator:

NOTE: Do not use abrasive or harsh cleaners such as window sprays, scouring cleansers, flammable fluids, cleaning waxes, concentrated detergents, bleaches or cleansers containing petroleum products on plastic parts, interior and door liners or gaskets. Do not use paper towels, scouring pads, or other harsh cleaning tools.

1.Unplug refrigerator or disconnect power.

2.Hand wash, rinse, and dry removable parts and interior surfaces thoroughly. Use a clean sponge or soft cloth and a mild detergent in warm water.

3.Wash stainless steel and painted metal exteriors with a clean sponge or soft cloth and a mild detergent in warm water.

5

Page 5
Image 5
KitchenAid W10162463A, W10162462A warranty Refrigerator Care, Ice Maker and Storage Bin, Water Filtration System, Cleaning

W10162463A, W10162462A specifications

When it comes to kitchen appliances, KitchenAid has established itself as a trusted brand synonymous with quality and performance. Among their extensive range of products, the KitchenAid W10162462A and W10162463A stand out for their innovative features and reliability, making them a popular choice for both amateur cooks and professional chefs.

The KitchenAid W10162462A is an essential accessory designed to enhance the functionality of KitchenAid stand mixers. This product is specifically a wire whip attachment, enabling users to achieve perfectly whipped cream, fluffy meringues, and light soufflés. Its unique design incorporates stainless steel wires that easily incorporate air into mixtures, resulting in superior aeration and increased volume. The whip attachment is dishwasher safe, making cleanup a breeze, and is designed for compatibility with a wide range of KitchenAid mixer models, ensuring versatility in the kitchen.

On the other hand, the W10162463A is a dough hook attachment, perfect for those who enjoy baking homemade bread, pizza, and pasta. Made from durable materials, this spiral dough hook efficiently kneads dough, saving users from the time-consuming task of manual kneading. The design allows for optimal mixing of ingredients, ensuring that the dough reaches the perfect consistency without harming the integrity of the mixer. The W10162463A is also dishwasher safe, contributing to easy maintenance and hygiene.

Both of these accessories feature KitchenAid's commitment to innovation and user-friendly design. The attachments are quick and simple to install, allowing for a seamless transition between different mixing tasks. Users can easily switch between the wire whip and dough hook, making it possible to experiment with various recipes without the need for multiple appliances.

Another notable characteristic of both attachments is their ability to withstand high demands. Crafted with robust materials, they are designed to endure the rigors of daily usage, making them essential components of any kitchen setup. Furthermore, KitchenAid's reputation for customer support ensures that users can rely on them for assistance, enhancing the overall ownership experience.

In summary, the KitchenAid W10162462A and W10162463A attachments are perfect solutions for elevating culinary endeavors. With advanced features, including ease of use and reliable performance, they exemplify KitchenAid's dedication to enhancing the cooking experience for all users. Whether whipping cream or kneading dough, these attachments are indispensable tools for anyone looking to explore their culinary creativity.