
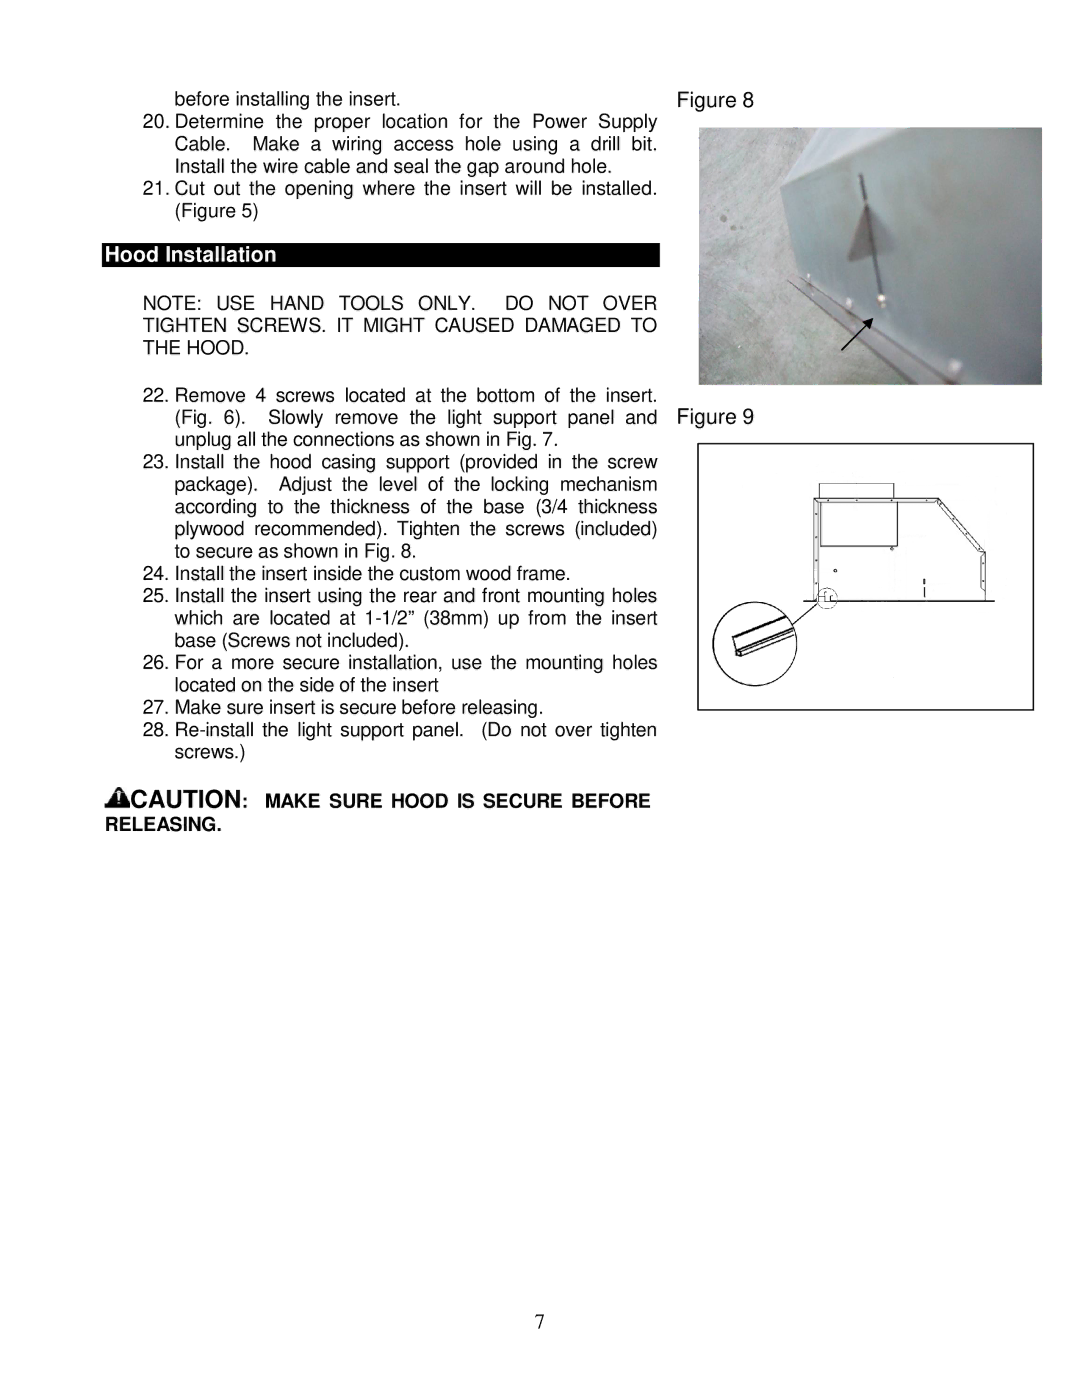
IN-026 SERIES specifications
The Kobe Range Hoods IN-026 Series stands out in the world of kitchen appliances, known for its blend of style, efficiency, and advanced technology. Designed with the modern kitchen in mind, this series features a sleek and contemporary look that complements a variety of kitchen decors while providing exceptional performance.One of the defining characteristics of the IN-026 Series is its powerful yet efficient motor, which offers exceptional ventilation with optimal airflow. The range hood is designed to effectively remove smoke, odors, and grease from your kitchen, keeping the air fresh and clean during cooking. With a maximum airflow capacity of up to 860 CFM, it ensures that even the most intense cooking sessions do not compromise air quality.
The IN-026 Series utilizes a three-speed fan control, allowing users to adjust the ventilation power according to their cooking needs. This flexibility not only maximizes efficiency but also minimizes noise levels, creating a more pleasant cooking environment. The range hood operates at a quiet level, making it suitable for open-plan kitchens where conversations and ambiance matter.
One of the standout features of the IN-026 Series is its dual-level lighting system. Equipped with energy-efficient LED lights, it illuminates the cooking surface efficiently, enhancing visibility while also adding a stylish touch. The adjustable lighting allows for both functional use and an inviting atmosphere in the kitchen.
In terms of construction, the IN-026 Series is built from high-quality stainless steel, ensuring durability and easy maintenance. The surface is resistant to stains and corrosion, making it easy to clean and maintaining its aesthetic appeal over time. This attention to quality is reflected in the meticulous design, which includes seamless edges and a modern finish.
Furthermore, the IN-026 Series comes with a dishwasher-safe baffle filter that captures grease and particles effectively. This feature not only enhances the performance of the hood but also simplifies the cleaning process, ensuring that maintenance is a breeze.
Overall, the Kobe Range Hoods IN-026 Series combines functionality, aesthetics, and advanced technology, making it a prime choice for anyone looking to elevate their kitchen experience. With its powerful ventilation, stylish design, and user-friendly features, it embodies the perfect balance of performance and elegance in modern kitchen appliances.