Manuals
/
Kodak
/
Photography
/
Film Camera
Kodak
KB 22
specifications
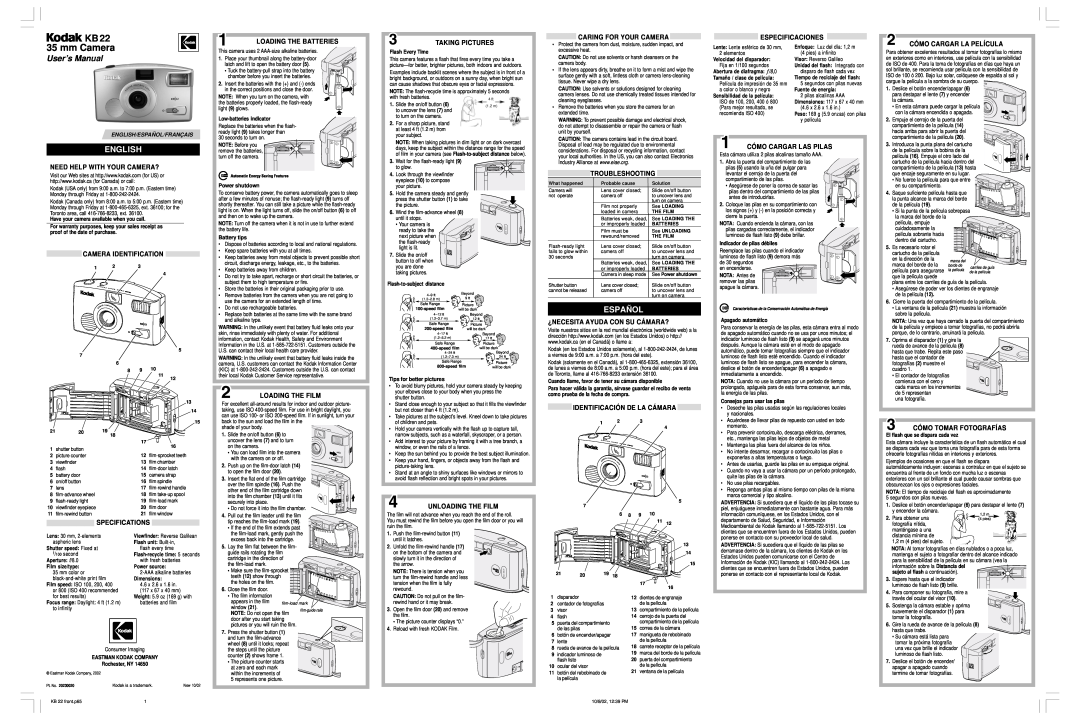
English, Español, mm Camera, User’s Manual
Models:
KB 22
1
1
2
2
Download
2 pages
16.94 Kb
1
2
Page 1
Image 1
Page 1
Page 2
Page 1
Image 1
Page 1
Page 2
Contents
ESPAÑOL
ENGLISH
35 mm Camera
User’s Manual
FRANÇ AIS
Top
Page
Image
Contents