Curtain and soft furnishing care
•Creases and wrinkles can be removed from draperies by hanging them over a pole.
•Then simply follow the directions given under “Clothing care”.
•Always carry out a test first at a concealed part.
•If you are using the appliance horizontally, every now and then hold it upright so as to have the maximum steam performance.
Fluff brush
•Threads, fluff and hairs can be easily removed with the red fluff brush e by slowly brushing over the garment with it from left to right.
•You can clean the fluff brush e by brushing with it in the opposite direction (from right to left) over, for example, a remnant of material.
Ironing function
•Dismantle the brush attachment w from the appliance (see “Attaching/detaching the brush attachment”).
•Connect the appliance to a correctly installed and earthed mains power socket.
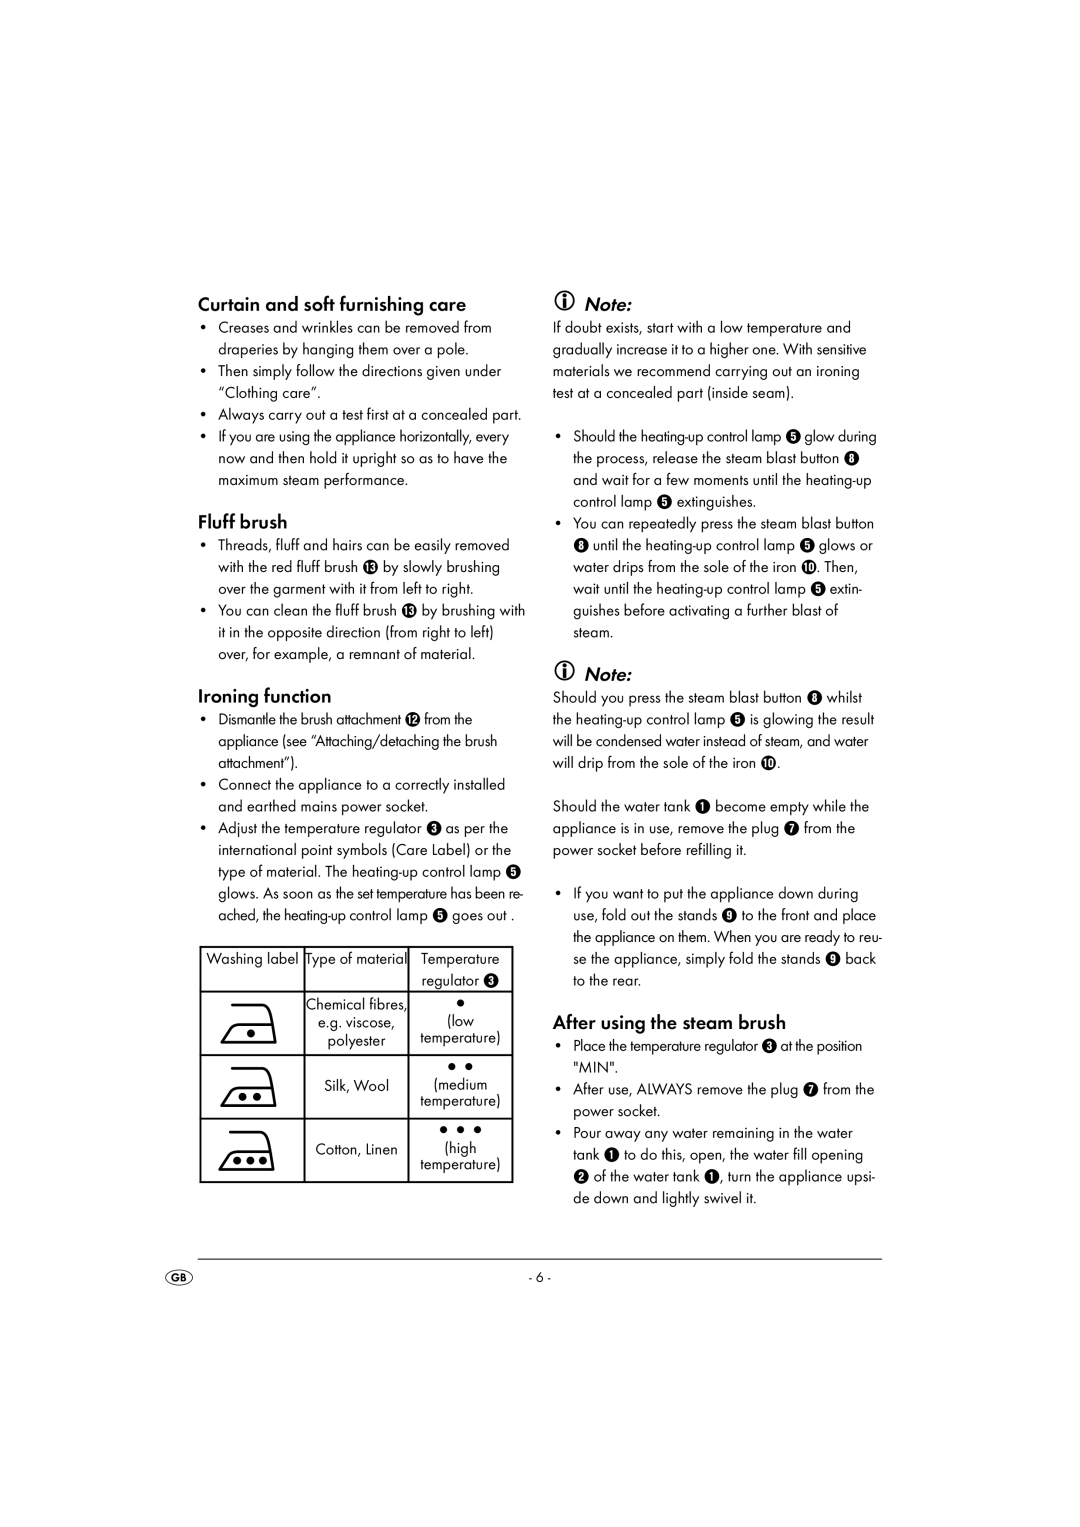
•Adjust the temperature regulator 3 as per the international point symbols (Care Label) or the type of material. The
Washing label Type of material | Temperature |
| regulator 3 |
Chemical fibres, | • |
e.g. viscose, | (low |
polyester | temperature) |
| •• |
Silk, Wool | (medium |
| temperature) |
| ••• |
Cotton, Linen | (high |
| temperature) |
Note:
If doubt exists, start with a low temperature and gradually increase it to a higher one. With sensitive materials we recommend carrying out an ironing test at a concealed part (inside seam).
•Should the
•You can repeatedly press the steam blast button 8 until the
Note:
Should you press the steam blast button 8 whilst the
Should the water tank 1 become empty while the appliance is in use, remove the plug 7 from the power socket before refilling it.
•If you want to put the appliance down during use, fold out the stands 9 to the front and place the appliance on them. When you are ready to reu- se the appliance, simply fold the stands 9 back to the rear.
After using the steam brush
•Place the temperature regulator 3 at the position "MIN".
•After use, ALWAYS remove the plug 7 from the power socket.
•Pour away any water remaining in the water tank 1 to do this, open, the water fill opening 2 of the water tank 1, turn the appliance upsi- de down and lightly swivel it.
- 6 -
