Watermarks
The printer driver’s
Form overlays
A form overlay is an image that is printed either on the first page or on all pages of a document.
Watermarks
A watermark is a word or phrase that is repeated on each printed page. You can add common text watermarks such as “CONFIDENTIAL” and “DRAFT” to a
Cover page/Separator page
This function allows you to pull different media from a designated paper tray for use as a Cover page and/or Back page. You can also choose to divide multiple copies of a document with a Separator page.
Job retention
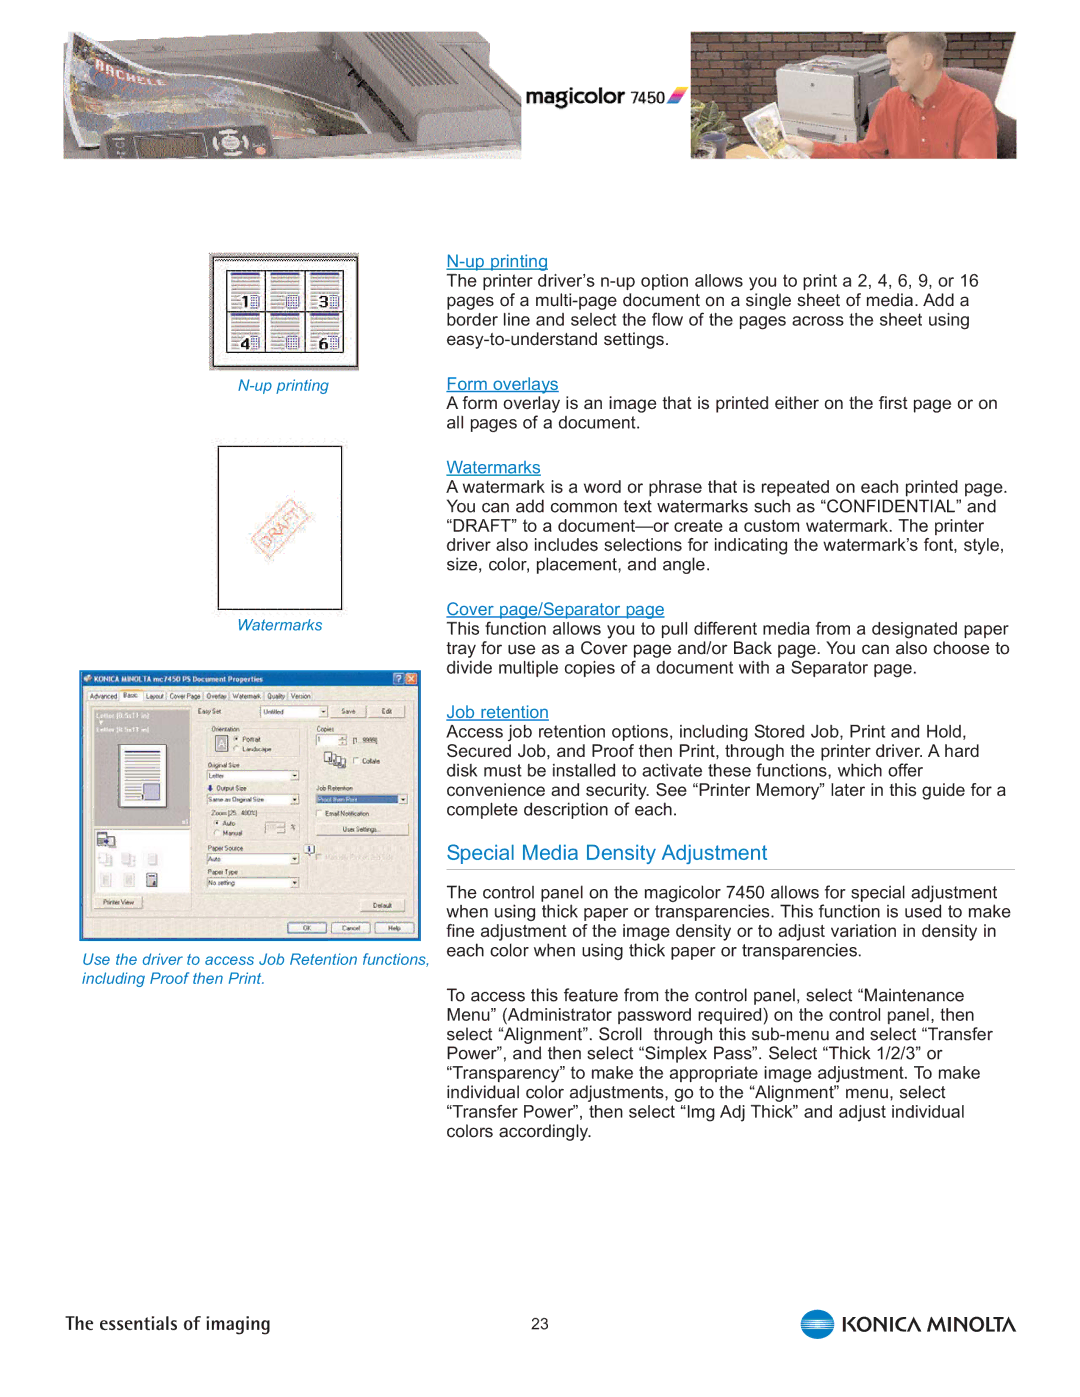
Access job retention options, including Stored Job, Print and Hold, Secured Job, and Proof then Print, through the printer driver. A hard disk must be installed to activate these functions, which offer convenience and security. See “Printer Memory” later in this guide for a complete description of each.
Use the driver to access Job Retention functions, including Proof then Print.
Special Media Density Adjustment
The control panel on the magicolor 7450 allows for special adjustment when using thick paper or transparencies. This function is used to make fine adjustment of the image density or to adjust variation in density in each color when using thick paper or transparencies.
To access this feature from the control panel, select “Maintenance Menu” (Administrator password required) on the control panel, then select “Alignment”. Scroll through this
23
