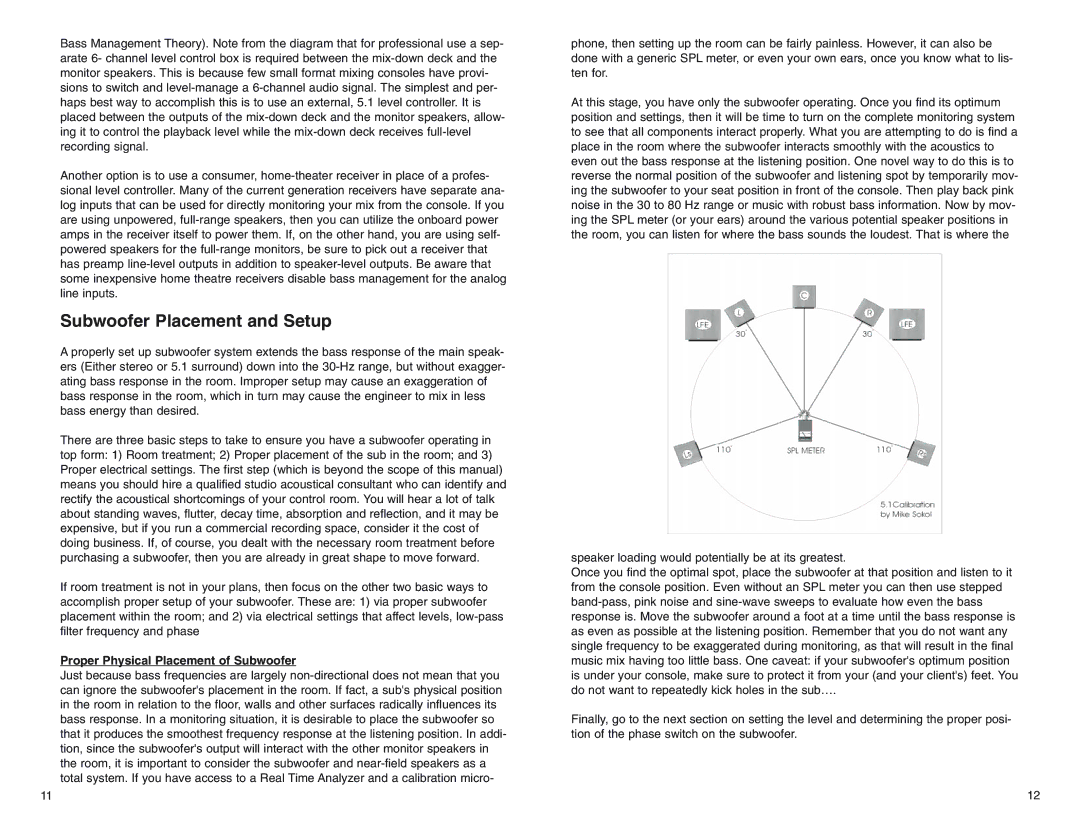
Bass Management Theory). Note from the diagram that for professional use a sep- arate 6- channel level control box is required between the
Another option is to use a consumer,
Subwoofer Placement and Setup
A properly set up subwoofer system extends the bass response of the main speak- ers (Either stereo or 5.1 surround) down into the
There are three basic steps to take to ensure you have a subwoofer operating in top form: 1) Room treatment; 2) Proper placement of the sub in the room; and 3) Proper electrical settings. The first step (which is beyond the scope of this manual) means you should hire a qualified studio acoustical consultant who can identify and rectify the acoustical shortcomings of your control room. You will hear a lot of talk about standing waves, flutter, decay time, absorption and reflection, and it may be expensive, but if you run a commercial recording space, consider it the cost of doing business. If, of course, you dealt with the necessary room treatment before purchasing a subwoofer, then you are already in great shape to move forward.
If room treatment is not in your plans, then focus on the other two basic ways to accomplish proper setup of your subwoofer. These are: 1) via proper subwoofer placement within the room; and 2) via electrical settings that affect levels,
Proper Physical Placement of Subwoofer
Just because bass frequencies are largely
11
phone, then setting up the room can be fairly painless. However, it can also be done with a generic SPL meter, or even your own ears, once you know what to lis- ten for.
At this stage, you have only the subwoofer operating. Once you find its optimum position and settings, then it will be time to turn on the complete monitoring system to see that all components interact properly. What you are attempting to do is find a place in the room where the subwoofer interacts smoothly with the acoustics to even out the bass response at the listening position. One novel way to do this is to reverse the normal position of the subwoofer and listening spot by temporarily mov- ing the subwoofer to your seat position in front of the console. Then play back pink noise in the 30 to 80 Hz range or music with robust bass information. Now by mov- ing the SPL meter (or your ears) around the various potential speaker positions in the room, you can listen for where the bass sounds the loudest. That is where the
speaker loading would potentially be at its greatest.
Once you find the optimal spot, place the subwoofer at that position and listen to it from the console position. Even without an SPL meter you can then use stepped
Finally, go to the next section on setting the level and determining the proper posi- tion of the phase switch on the subwoofer.
12
