Mounting the Bandsaw
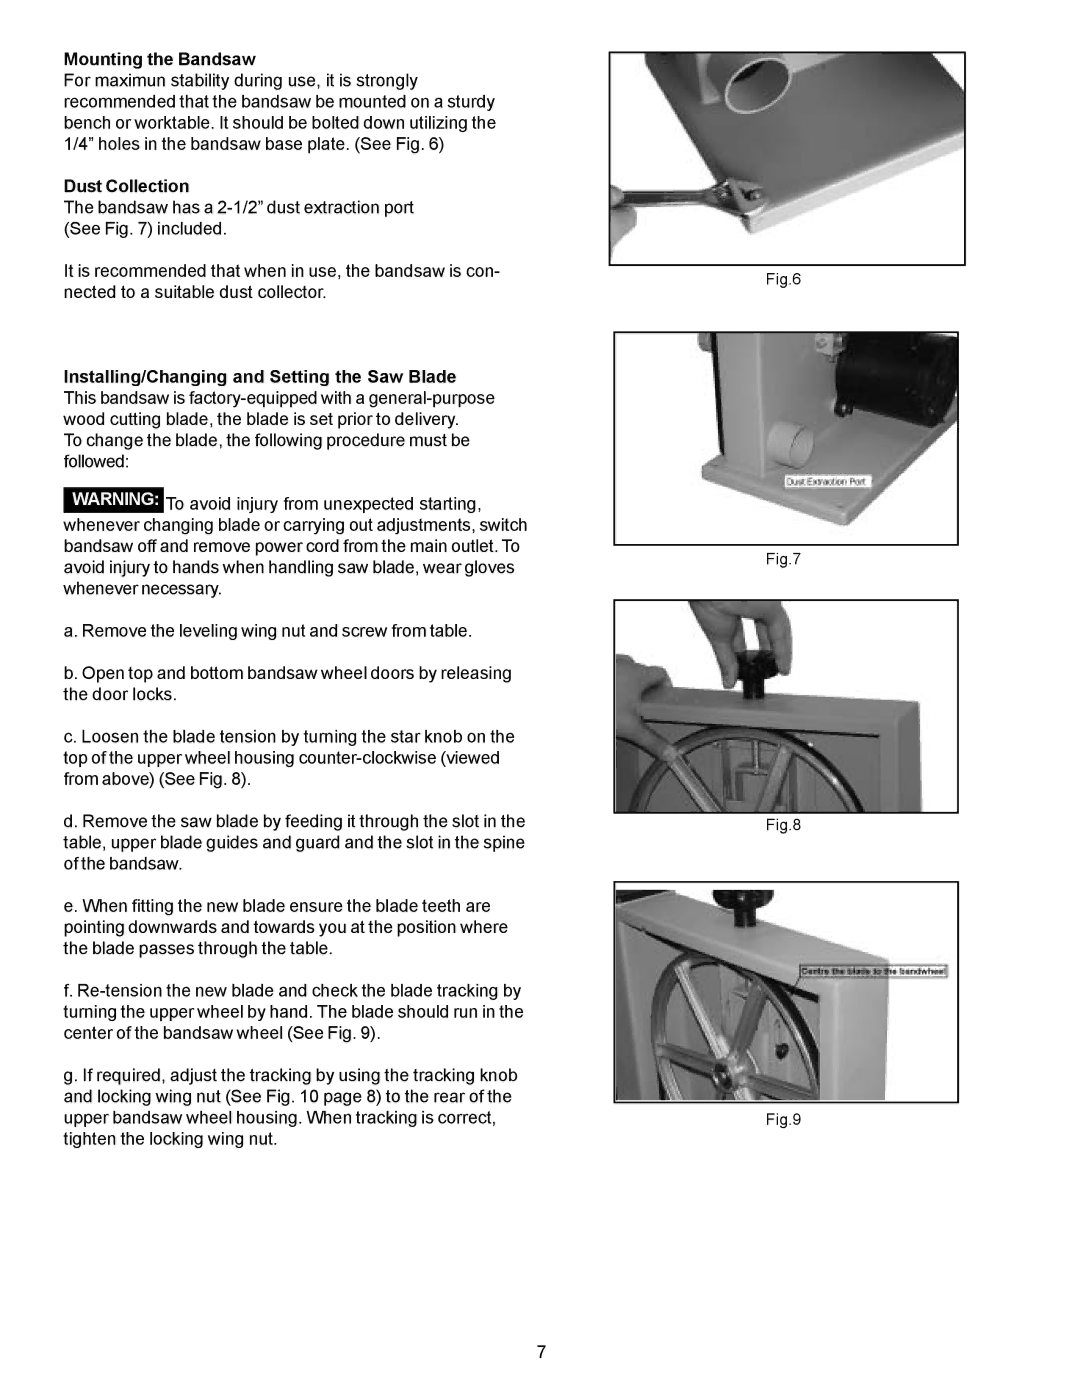
For maximun stability during use, it is strongly recommended that the bandsaw be mounted on a sturdy bench or worktable. It should be bolted down utilizing the 1/4” holes in the bandsaw base plate. (See Fig. 6)
Dust Collection
The bandsaw has a
It is recommended that when in use, the bandsaw is con- nected to a suitable dust collector.
Installing/Changing and Setting the Saw Blade This bandsaw is
To change the blade, the following procedure must be followed:
WARNING: To avoid injury from unexpected starting, whenever changing blade or carrying out adjustments, switch bandsaw off and remove power cord from the main outlet. To avoid injury to hands when handling saw blade, wear gloves whenever necessary.
a. Remove the leveling wing nut and screw from table.
b. Open top and bottom bandsaw wheel doors by releasing the door locks.
c. Loosen the blade tension by turning the star knob on the top of the upper wheel housing
d. Remove the saw blade by feeding it through the slot in the table, upper blade guides and guard and the slot in the spine of the bandsaw.
e. When fitting the new blade ensure the blade teeth are pointing downwards and towards you at the position where the blade passes through the table.
f.
g. If required, adjust the tracking by using the tracking knob and locking wing nut (See Fig. 10 page 8) to the rear of the upper bandsaw wheel housing. When tracking is correct, tighten the locking wing nut.
Fig.6
Fig.7
Fig.8
Fig.9
7
