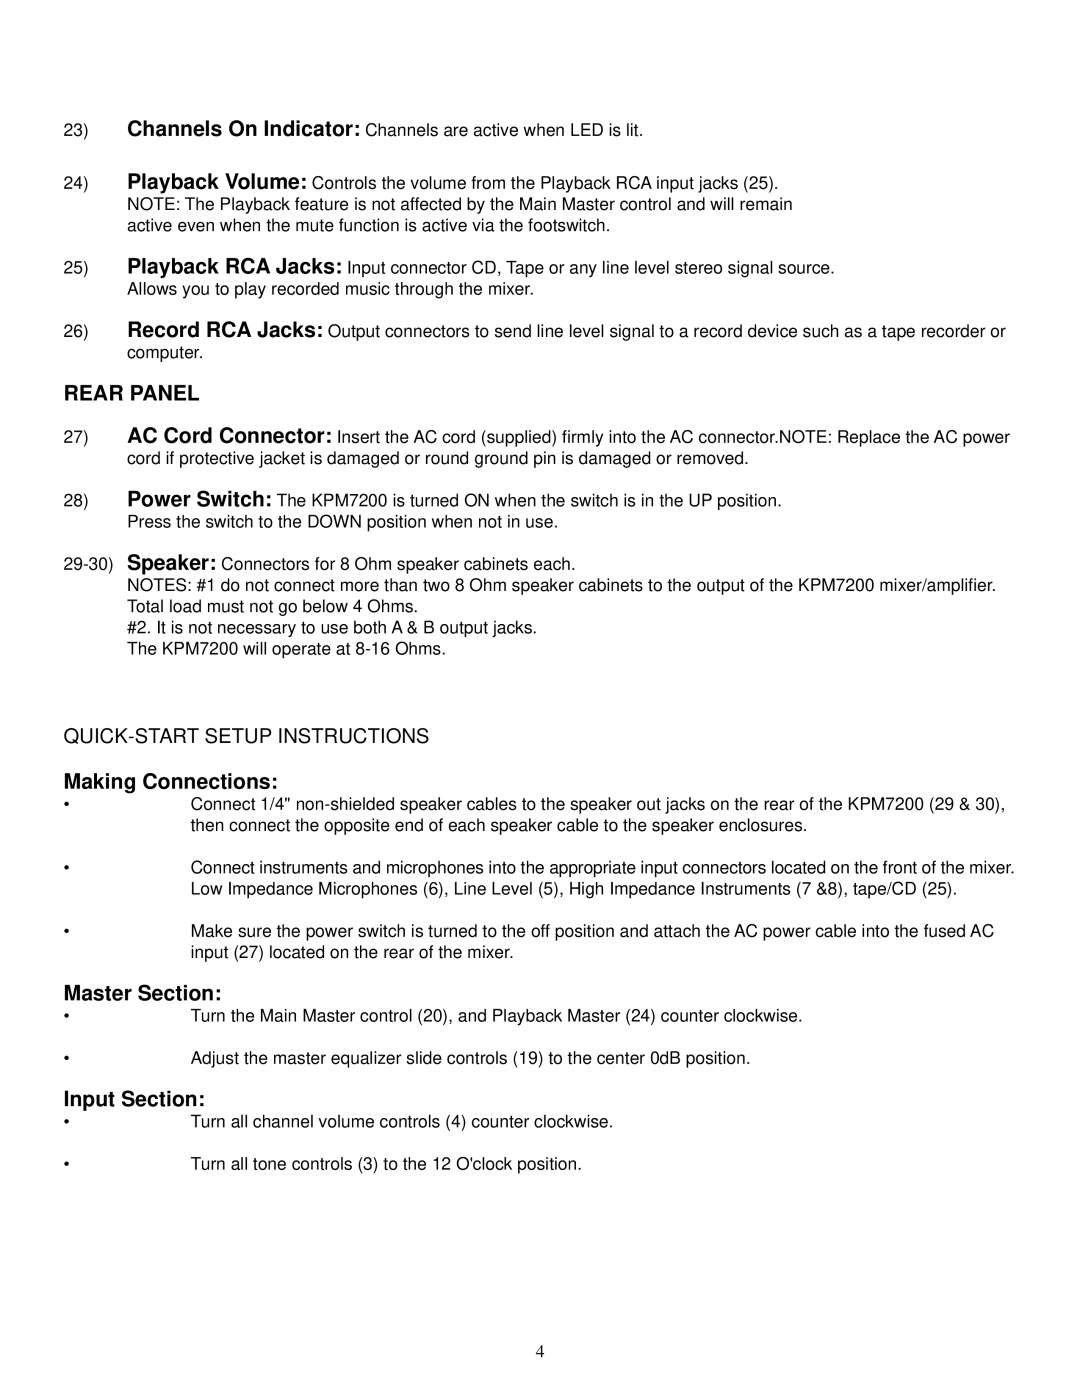
KPM7200 specifications
The Kustom KPM7200 is a powerful and versatile portable PA system that has gained considerable attention for its robust performance and user-friendly features. Designed to provide efficient sound delivery in a variety of settings, this model is ideal for musicians, presenters, and event organizers seeking a reliable audio solution.One of the standout features of the KPM7200 is its impressive power output, capable of delivering an output of 720 watts peak, which ensures clear and robust sound in large venues. This level of power is essential for effective sound coverage, where clarity and volume are paramount. The system is equipped with two high-quality speakers, which are designed to minimize distortion and maximize sound fidelity.
The KPM7200 boasts an innovative digital mixer, complete with a variety of onboard effects, allowing users to fine-tune their sound and cater to the specific acoustics of each environment. This mixer supports multiple channels, enabling the simultaneous connection of microphones, musical instruments, and additional audio devices. The individual channel EQ controls allow for further customization, ensuring that the sound can be adjusted to suit different performance needs.
Portability is another key characteristic of the KPM7200. It features a compact and lightweight design, complete with durable wheels and a telescoping handle, making it easy to transport between locations. The system can easily fit into vehicles, making it an excellent choice for traveling musicians and mobile presenters.
Another notable technology featured in the KPM7200 is its Bluetooth connectivity. This allows for seamless wireless streaming from smartphones, tablets, or laptops, eliminating the need for excess cabling and enhancing user convenience. This feature is particularly useful for background music during events or quick transitions between speakers and performances.
With its rugged construction, the KPM7200 is built to withstand the rigors of regular use. This reliability ensures that it can handle various environments, from outdoor festivals to indoor gatherings. Additionally, the system includes a variety of input and output options, such as XLR and 1/4-inch jacks, accommodating a wide range of audio equipment.
In summary, the Kustom KPM7200 is a remarkable PA system known for its power, versatility, and portability. With its integrated digital mixer, Bluetooth capability, and rugged design, it perfectly meets the demands of both casual and professional audio applications, making it an excellent investment for anyone in need of outstanding sound delivery.