Page
User Guide for the Kyocera Koi Phone
Optimize your phone’s performance
Medical devices
Battery and charger specifications Charger Input Output
Contents
Clicks into place
Installing the battery
Opening and closing Koi
Caring for the battery
Charging the battery
Recharging the battery
General safety guidelines
Camera lens Camera flash
Getting to know your phone
Home screen
Using Menus
Accessing keypad shortcuts
Navigation key shortcuts swivel open
Jog shuttle shortcuts swivel closed
Swivel open
Accessing menu items swivel open
Swivel closed
Performing basic functions
Press Wait until the phone beeps
Horizontal menu bar using
Press and hold Until the phone beeps
Press and hold Follow the system prompts
Understanding screen icons
Alarm clock is set
Ending a call
Making a call
Redialing a number
Open the swivel Enter the phone number Press
Answering calls using the swivel
Using the speakerphone
Calling a saved number
Answering calls
Dealing with missed calls
Setting missed call alerts
Viewing recent call details
Viewing recent calls
Touch dialing
Speed dialing
Calling emergency services
Setting up voicemail
Adjusting the volume during a call
Silencing an incoming call
Timing your calls
Tracking calls
Receiving data or faxes
Understanding roaming
Setting Call Guard
Setting an alert for roaming
Setting the roam ringer
Editing or erasing a contact
Creating a new contact
Adding a code or extension
Select Save
View Number-See the phone number you selected
Editing a phone number
Edit Number-Change the phone number
For more information, see Restricting calls on
Using Fast Find
Setting Fast Find
Finding contact information
Checking the Frequent List
Flash On, Off, or Automatic
Setting up the camera for photos
Tips before operating your camera
Restoring camera menu settings
Menu options for camera mode
Select Menu → Camera
Camera Pictures displays all pictures taken and stored
Taking a picture
Camera mode indicators and icons
Camera key map
Sending a picture
Key Camera Menu Screen
Key Camera
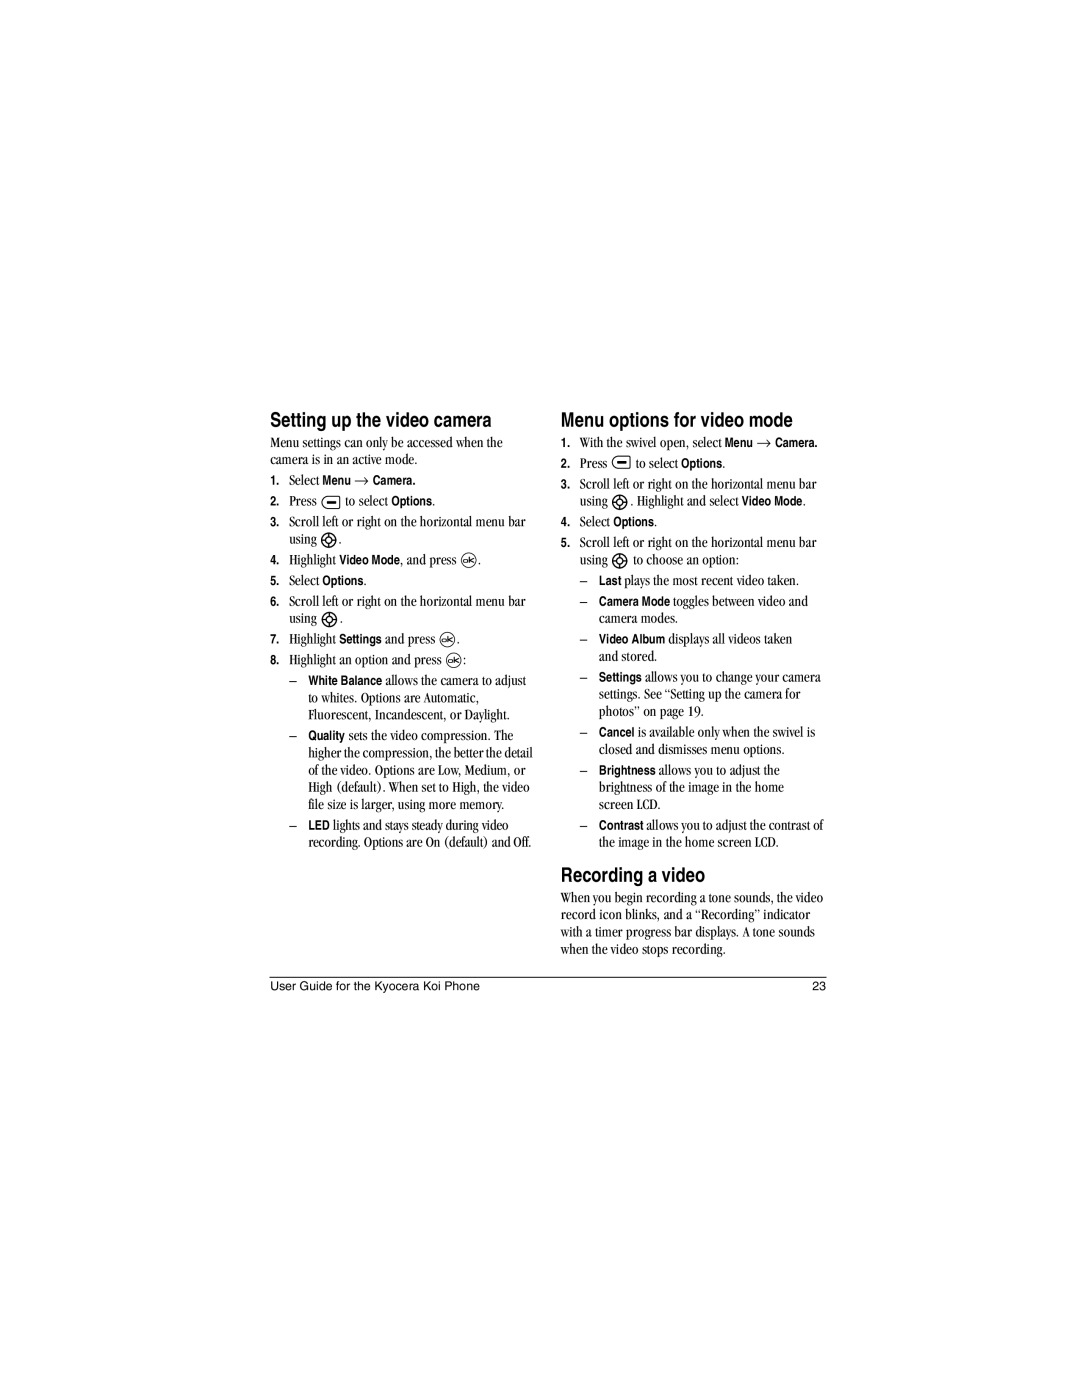
Recording a video
Setting up the video camera
Menu options for video mode
Press up or down and highlight
Video Mode
Press in again Focus on the subject you want to video
Media Gallery → Videos → Video Album
Key Video Camera Function Menu Function
Video key map
Key Video Camera Menu Function
Understanding text entry screens
Text entry modes
Entering numbers
Entering words letter by letter
Entering symbols
Capitalization settings
Switching default text entry modes
Changing modes
Quick reference to text entry
Browsing pictures
Accessing files
Modifying pictures
Select an option
Browsing sounds
Browsing images
Voice Memos contains voice memos you made to yourself
Select Menu → Media Gallery → Images
Browsing videos
Erase All erases all sounds stored Select Close when done
Creating free space
Select Menu → Media Gallery → Videos
Sending text messages
Setting sending options
Creating a text message
To send a text message to a single recipient
Understanding appended messages
Adding a signature
If you cannot send messages
Receiving incoming calls while creating messages
Message cannot be sent because service is not available
Viewing the OutBox
Message has been received by the recipient you specified
Retrieving text messages
If you see the symbol
Reading the message
Select Menu → Messages → InBox
Erasing messages
Setting message alerts
Erasing single messages
Erasing all messages
Creating group lists
Customizing message settings
When finished, select Done
Creating a multimedia message
Sending multimedia messages
Contacts or Group Lists
Picture/Video field
Prompt mode
Auto receive mode
To View the multimedia message, press To view Later, press
To View the multimedia message, press
Select Menu → Messages → Msg Settings
To activate Prompt mode
Viewing multimedia messages
Done exits the multimedia message
Customizing Your Phone
Contents of the Settings menu are as follows
Assigning a ringer to a contact
Silencing all sounds
Choosing ringers
Adjusting volume
Setting sounds for your phone
Using shortcuts
Setting message alerts
Adjusting key tone volume
Setting key length
Personalizing the screen
Choosing a different language
Changing your banner
Choosing a menu view
Setting power backlighting
Adjusting the backlighting
Setting numbers to auto-hyphenate
Changing the display contrast
Selecting wallpaper
Creating a secure environment
Selecting a color theme
Changing your lock code
Switching between phone lines
Network settings
Designating emergency numbers
Restricting calls
Setting the phone to receive data or faxes
Data Settings
Setting Com port speed
Connecting to a TTY/TDD device
Setting position location
Select Menu → Settings → Network → Location
At the message prompt, press to select OK and continue
Calling using voice tags
Setting up voice dialing
Creating a voice tag for a contact
Viewing entries with voice tags
Using voice features with hands-free car kits
Calling using digit dialing
Erasing voice tags
Waking up the phone
Training voice recognition
Answering using voice commands
Answering the phone
Answering automatically
Recording a voice memo
Voice Memo
Naming a saved voice memo
Playing or reviewing a voice memo
Scheduler
Alarm Clock
Sending a saved voice memo
Erasing a saved voice memo
Calculator
Timer
Tip Calculator
Tetris
Stopwatch
Games
Doodler
Race
Press to end all games
You can create and save graphics on your phone
Resuming a doodle
Saving a doodle
Using the Web menu options
Using the Web Browser
Starting the Web Browser
Press to continue
Checking Net alerts
Searching for a Web site
Changing the Web prompt
Going to a bookmarked site
Customer support
Phone accessories Become a product evaluator
Qualified service
Number mode OutBox Phone book Contacts directory
Touch dialing Alarm Clock, 8, 55 alerts
Erasing
Finding a saved phone number, 18 flip
Unlocking the phone
Volume Earpiece, 13, 43 key beep, 44 ringer

![]() to select Options.
to select Options.![]() .
.![]() .
.![]() .
.![]() .
.![]() :
:![]() to select Options.
to select Options.![]() . Highlight and select Video Mode.
. Highlight and select Video Mode.![]() to choose an option:
to choose an option: