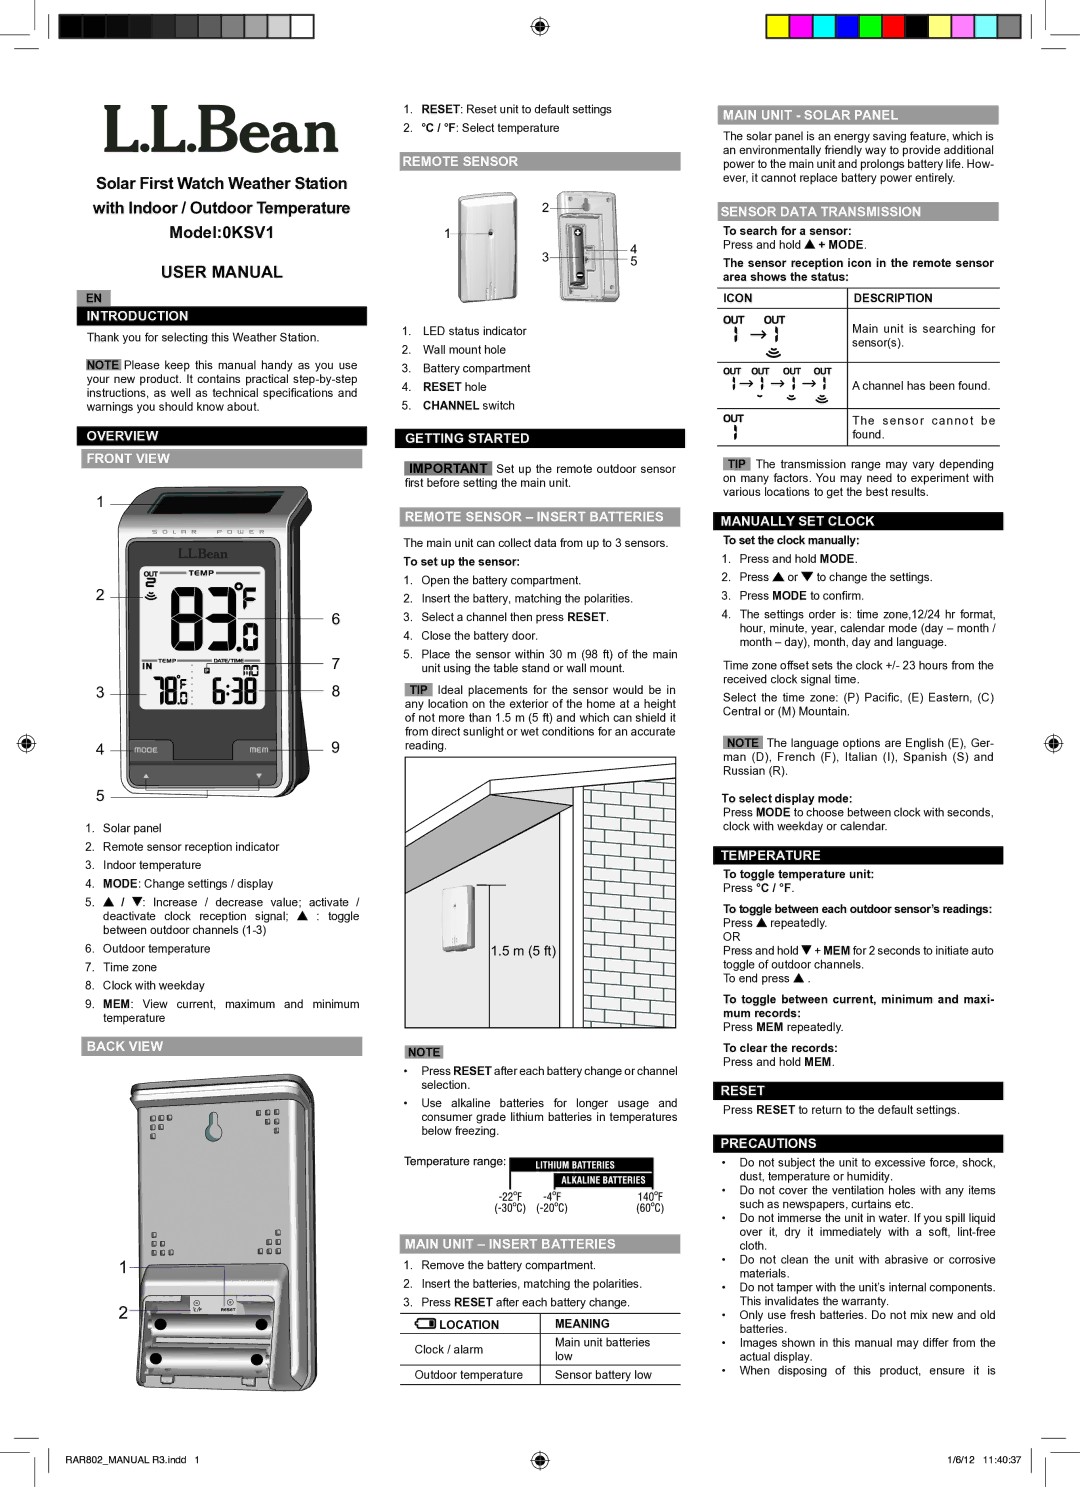
OKSV1 specifications
The L.L. Bean OKSV1 is a state-of-the-art outdoor kayak designed for both beginners and seasoned paddlers. Known for its exceptional stability and ease of handling, the OKSV1 promises a fulfilling kayaking experience whether you're navigating calm lakes or tackling mild rivers.One of the standout features of the OKSV1 is its patented hull design, which promotes excellent tracking and maneuverability. This design helps kayakers maintain a straight course while also allowing for quick turns when necessary, making it ideal for various water conditions. The kayak's length and width strike a perfect balance, resulting in a craft that glides effortlessly through the water while offering ample stability.
The OKSV1 is constructed using advanced materials that enhance its durability without adding excessive weight. The combination of high-density polyethylene and reinforced composite elements makes the kayak resistant to abrasions and impacts, ensuring it stands up to the rigors of outdoor adventures. This lightweight construction allows for easy transport, whether you're carrying it to the water's edge or loading it onto a vehicle.
Comfort is another priority in the design of the OKSV1. The kayak is equipped with an adjustable padded seat and a well-designed cockpit that allows for easy entry and exit. The adjustable backrest provides excellent lumbar support, ensuring that paddlers can enjoy longer outings without discomfort. Additionally, ample legroom accommodates various heights, making it a versatile choice for families and individuals alike.
The kayak also features built-in gear storage compartments, allowing users to stow personal items securely while on the water. These compartments are designed to be waterproof, protecting valuables from splashes and rain. For added safety, the OKSV1 is equipped with multiple grab handles and reflective accents, enhancing visibility in low-light conditions.
Innovative technologies include a responsive rudder system that can be easily deployed when needed, allowing for enhanced control in windy or challenging conditions. This feature is particularly beneficial for those venturing into unpredictable weather or navigating through narrow channels.
Overall, the L.L. Bean OKSV1 stands out for its blend of performance, comfort, and safety. Its thoughtful design and durable construction make it suitable for a wide range of paddlers. Whether you’re embarking on a leisurely lake outing or exploring rugged shorelines, the OKSV1 is built to deliver an enjoyable and dependable kayaking experience, making it a worthy addition to any outdoor enthusiast's gear collection.

