Atomic Digital Clock
515-1316
Quick Setup Guide
Congratulations on purchasing this large display clock with
FEATURES:
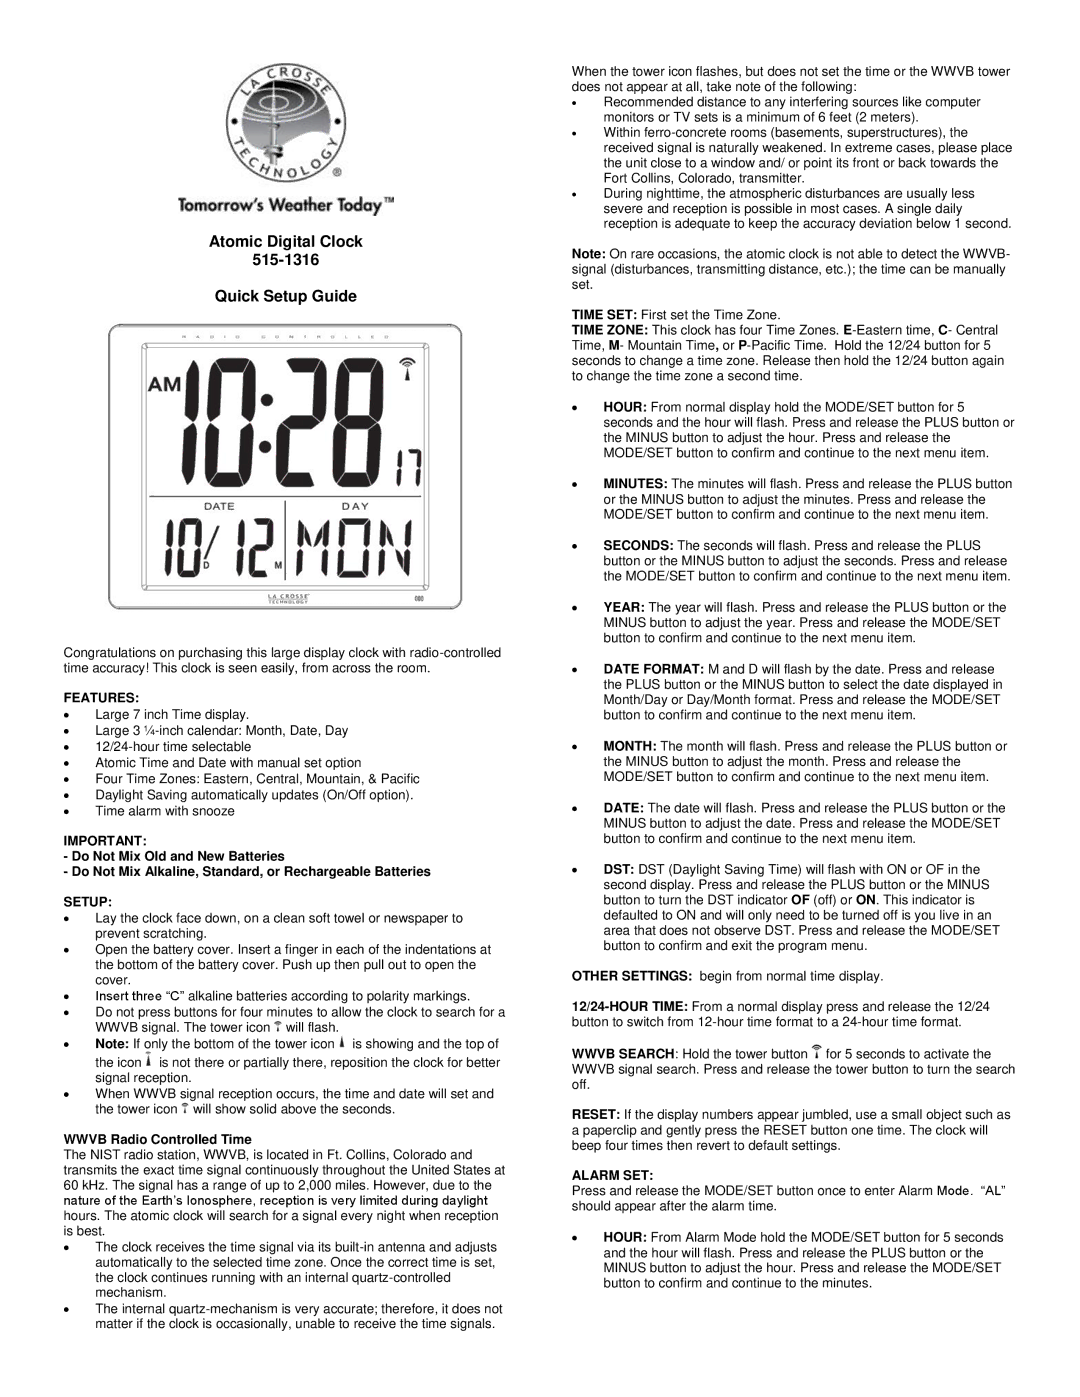
∙Large 7 inch Time display.
∙Large 3
∙
∙Atomic Time and Date with manual set option
∙Four Time Zones: Eastern, Central, Mountain, & Pacific
∙Daylight Saving automatically updates (On/Off option).
∙Time alarm with snooze
IMPORTANT:
-Do Not Mix Old and New Batteries
-Do Not Mix Alkaline, Standard, or Rechargeable Batteries
SETUP:
∙Lay the clock face down, on a clean soft towel or newspaper to prevent scratching.
∙Open the battery cover. Insert a finger in each of the indentations at the bottom of the battery cover. Push up then pull out to open the cover.
∙Insert three “C” alkaline batteries according to polarity markings.
∙Do not press buttons for four minutes to allow the clock to search for a WWVB signal. The tower icon ![]() will flash.
will flash.
∙Note: If only the bottom of the tower icon ![]() is showing and the top of the icon
is showing and the top of the icon ![]() is not there or partially there, reposition the clock for better signal reception.
is not there or partially there, reposition the clock for better signal reception.
∙When WWVB signal reception occurs, the time and date will set and the tower icon ![]() will show solid above the seconds.
will show solid above the seconds.
WWVB Radio Controlled Time
The NIST radio station, WWVB, is located in Ft. Collins, Colorado and transmits the exact time signal continuously throughout the United States at 60 kHz. The signal has a range of up to 2,000 miles. However, due to the nature of the Earth’s Ionosphere, reception is very limited during daylight hours. The atomic clock will search for a signal every night when reception is best.
∙The clock receives the time signal via its
∙The internal
When the tower icon flashes, but does not set the time or the WWVB tower does not appear at all, take note of the following:
∙Recommended distance to any interfering sources like computer monitors or TV sets is a minimum of 6 feet (2 meters).
∙Within
∙During nighttime, the atmospheric disturbances are usually less severe and reception is possible in most cases. A single daily reception is adequate to keep the accuracy deviation below 1 second.
Note: On rare occasions, the atomic clock is not able to detect the WWVB- signal (disturbances, transmitting distance, etc.); the time can be manually set.
TIME SET: First set the Time Zone.
TIME ZONE: This clock has four Time Zones.
∙HOUR: From normal display hold the MODE/SET button for 5 seconds and the hour will flash. Press and release the PLUS button or the MINUS button to adjust the hour. Press and release the MODE/SET button to confirm and continue to the next menu item.
∙MINUTES: The minutes will flash. Press and release the PLUS button or the MINUS button to adjust the minutes. Press and release the MODE/SET button to confirm and continue to the next menu item.
∙SECONDS: The seconds will flash. Press and release the PLUS button or the MINUS button to adjust the seconds. Press and release the MODE/SET button to confirm and continue to the next menu item.
∙YEAR: The year will flash. Press and release the PLUS button or the MINUS button to adjust the year. Press and release the MODE/SET button to confirm and continue to the next menu item.
∙DATE FORMAT: M and D will flash by the date. Press and release the PLUS button or the MINUS button to select the date displayed in Month/Day or Day/Month format. Press and release the MODE/SET button to confirm and continue to the next menu item.
∙MONTH: The month will flash. Press and release the PLUS button or the MINUS button to adjust the month. Press and release the MODE/SET button to confirm and continue to the next menu item.
∙DATE: The date will flash. Press and release the PLUS button or the MINUS button to adjust the date. Press and release the MODE/SET button to confirm and continue to the next menu item.
∙DST: DST (Daylight Saving Time) will flash with ON or OF in the second display. Press and release the PLUS button or the MINUS button to turn the DST indicator OF (off) or ON. This indicator is defaulted to ON and will only need to be turned off is you live in an area that does not observe DST. Press and release the MODE/SET button to confirm and exit the program menu.
OTHER SETTINGS: begin from normal time display.
WWVB SEARCH: Hold the tower button ![]() for 5 seconds to activate the WWVB signal search. Press and release the tower button to turn the search off.
for 5 seconds to activate the WWVB signal search. Press and release the tower button to turn the search off.
RESET: If the display numbers appear jumbled, use a small object such as a paperclip and gently press the RESET button one time. The clock will beep four times then revert to default settings.
ALARM SET:
Press and release the MODE/SET button once to enter Alarm Mode. “AL” should appear after the alarm time.
∙HOUR: From Alarm Mode hold the MODE/SET button for 5 seconds and the hour will flash. Press and release the PLUS button or the MINUS button to adjust the hour. Press and release the MODE/SET button to confirm and continue to the minutes.