and hold the OUT button for 5 seconds, the records for the selected Thermo Hygro Sensor unit will be reset.
MOUNTING
Note: Before permanently mounting, ensure that the Indoor Temperature Station is able to receive WWVB signals from the desired location. Also, extreme and sudden changes in temperature will decrease the accuracy of the weather station and changes in elevation will result with inaccurate weather forecasting for the next 12 to 24 hours. These changes will require a 12 to 24 hour wait before obtaining reliable data. To achieve a true temperature reading, avoid mounting where direct sunlight can reach the Thermo Hygro Sensor. We recommend that you mount the Thermo Hygro Sensor on a
I.THERMO HYGRO SENSOR
A.MOUNTING WITH THE SCREWS
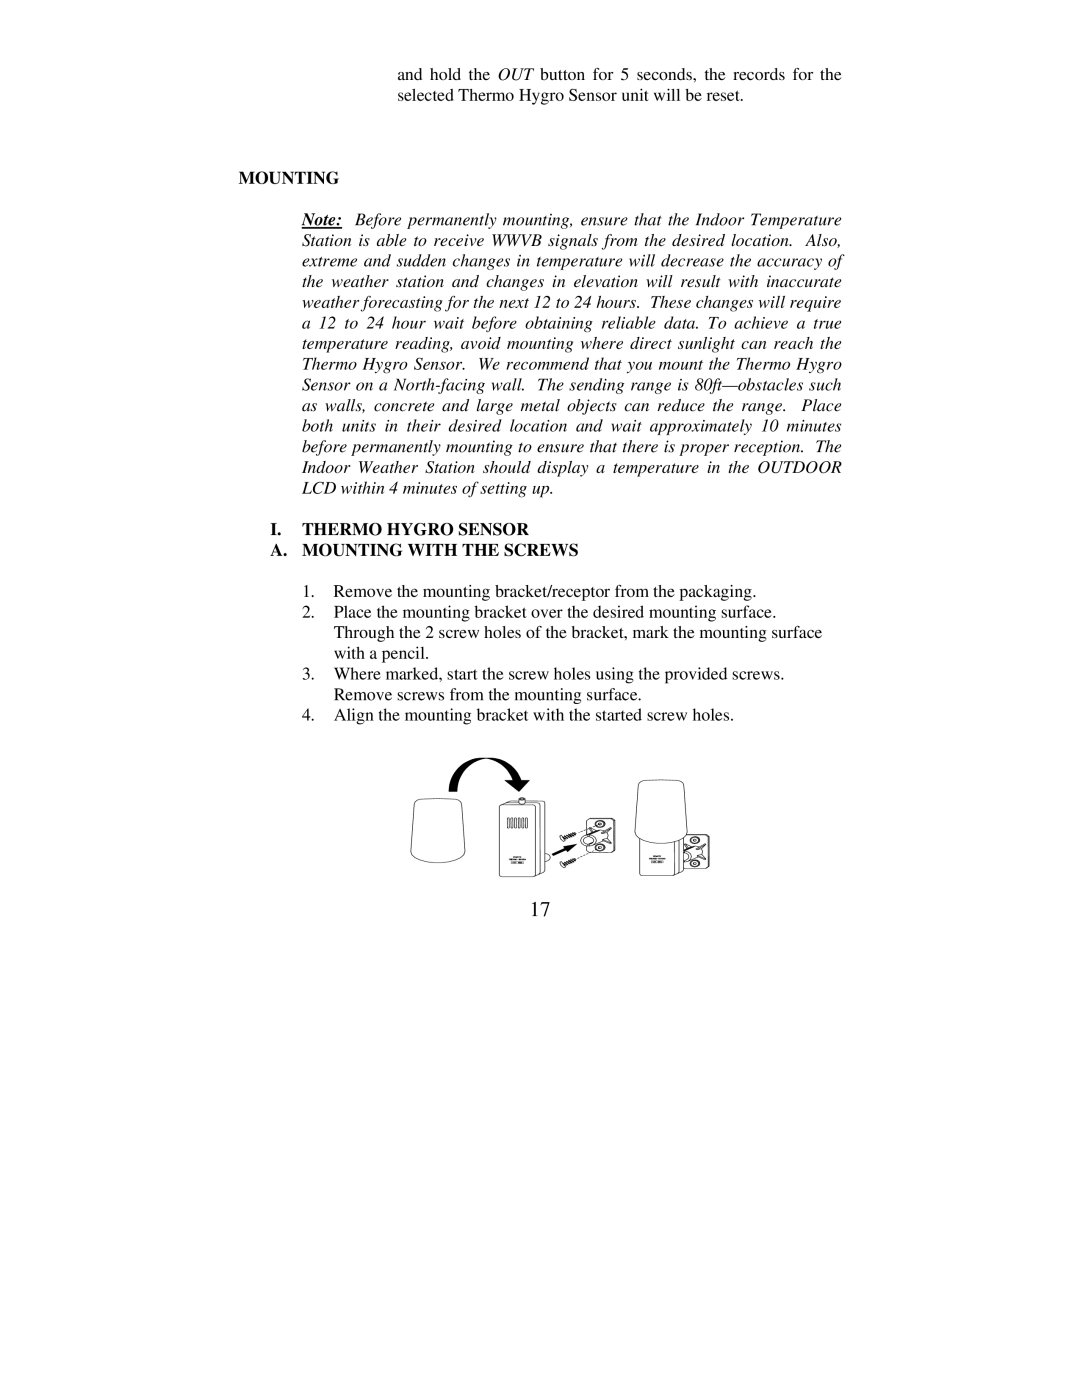
1.Remove the mounting bracket/receptor from the packaging.
2.Place the mounting bracket over the desired mounting surface. Through the 2 screw holes of the bracket, mark the mounting surface with a pencil.
3.Where marked, start the screw holes using the provided screws. Remove screws from the mounting surface.
4.Align the mounting bracket with the started screw holes.
17